Dieser Inhalt ist in der von Ihnen ausgewählten Sprache nicht verfügbar.
Chapter 2. Get Started with the CLI
2.1. Overview
The OpenShift Container Platform CLI exposes commands for managing your applications, as well as lower level tools to interact with each component of your system. This topic guides you through getting started with the CLI, including installation and logging in to create your first project.
2.2. Prerequisites
Certain operations require Git to be locally installed on a client. For example, the command to create an application using a remote Git repository:
$ oc new-app https://github.com/<your_user>/<your_git_repo>Before proceeding, install Git on your workstation. See the official Git documentation for instructions per your workstation’s operating system.
2.3. Installing the CLI
The easiest way to download the CLI is by accessing the About page on the web console if your cluster administrator has enabled the download links:
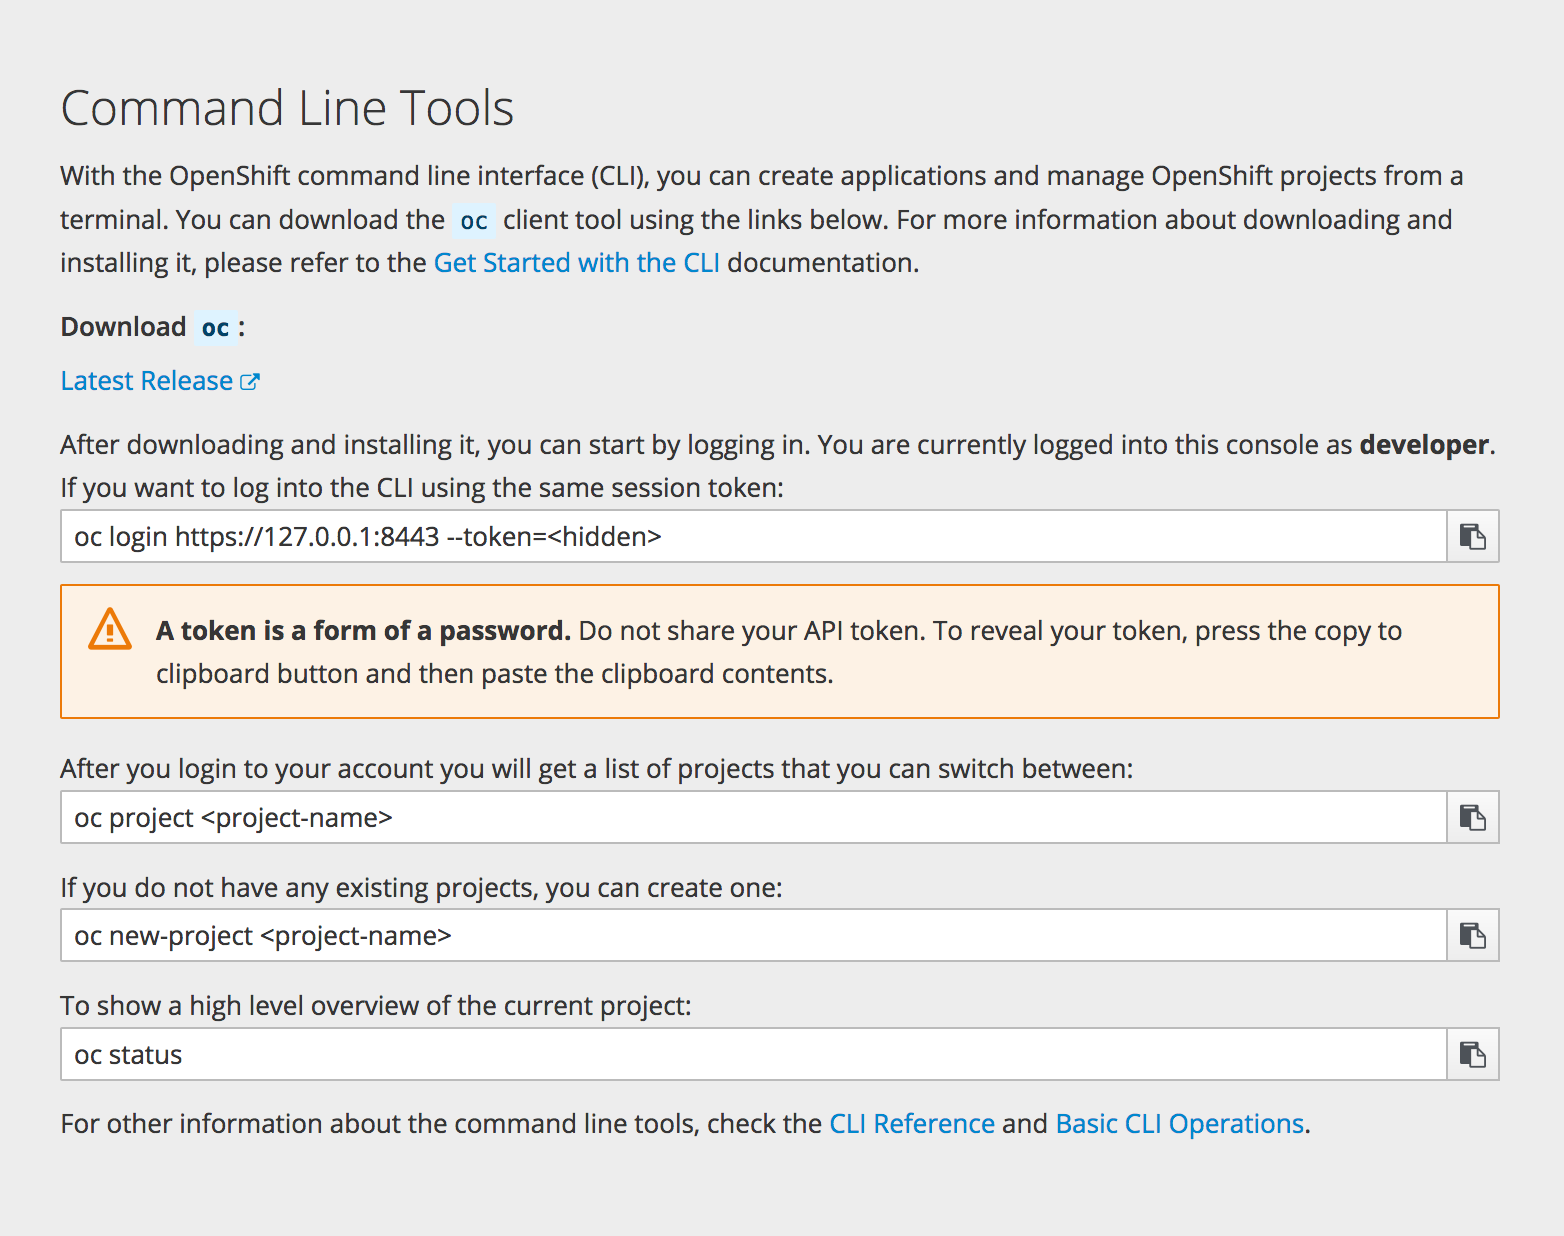
Installation options for the CLI vary depending on your operating system.
To log in using the CLI, collect your token from the web console’s Command Line page, which is accessed from Command Line Tools in the Help menu. The token is hidden, so you must click the copy to clipboard button at the end of the oc login line on the Command Line Tools page, then paste the copied contents to show the token.
2.3.1. For Windows
The CLI for Windows is provided as a zip archive; you can download it from the Red Hat Customer Portal. After logging in with your Red Hat account, you must have an active OpenShift Enterprise subscription to access the downloads page:
Download the CLI from the Red Hat Customer Portal
Alternatively, if the cluster administrator has enabled it, you can download and unpack the CLI from the About page on the web console.
Tutorial Video:
The following video walks you through this process: Click here to watch

Then, unzip the archive with a ZIP program and move the oc binary to a directory on your PATH. To check your PATH, open the Command Prompt and run:
C:\> path2.3.2. For Mac OS X
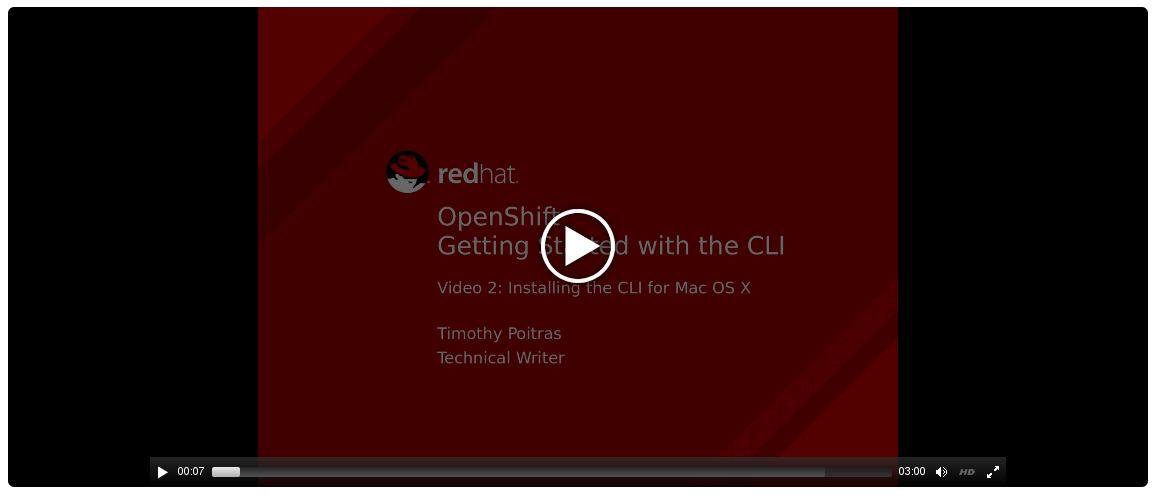
The CLI for Mac OS X is provided as a tar.gz archive; you can download it from the Red Hat Customer Portal. After logging in with your Red Hat account, you must have an active OpenShift Enterprise subscription to access the downloads page:
Download the CLI from the Red Hat Customer Portal
Alternatively, if the cluster administrator has enabled it, you can download and unpack the CLI from the About page on the web console.
Tutorial Video:
The following video walks you through this process: Click here to watch
Then, unpack the archive and move the oc binary to a directory on your PATH. To check your PATH, open a Terminal window and run:
$ echo $PATH2.3.3. For Linux
For Red Hat Enterprise Linux (RHEL) 7, you can install the CLI as an RPM using Red Hat Subscription Management (RHSM) if you have an active OpenShift Enterprise subscription on your Red Hat account:
Register with Red Hat Subscription Manager:
# subscription-manager registerPull the latest subscription data:
# subscription-manager refreshAttach a subscription to the registered system:
# subscription-manager attach --pool=<pool_id>1 - 1
- Pool ID for an active OpenShift Enterprise subscription
Enable the repositories required by OpenShift Container Platform 3.11:
# subscription-manager repos --enable="rhel-7-server-ose-3.11-rpms"Install the
atomic-openshift-clientspackage:# yum install atomic-openshift-clients
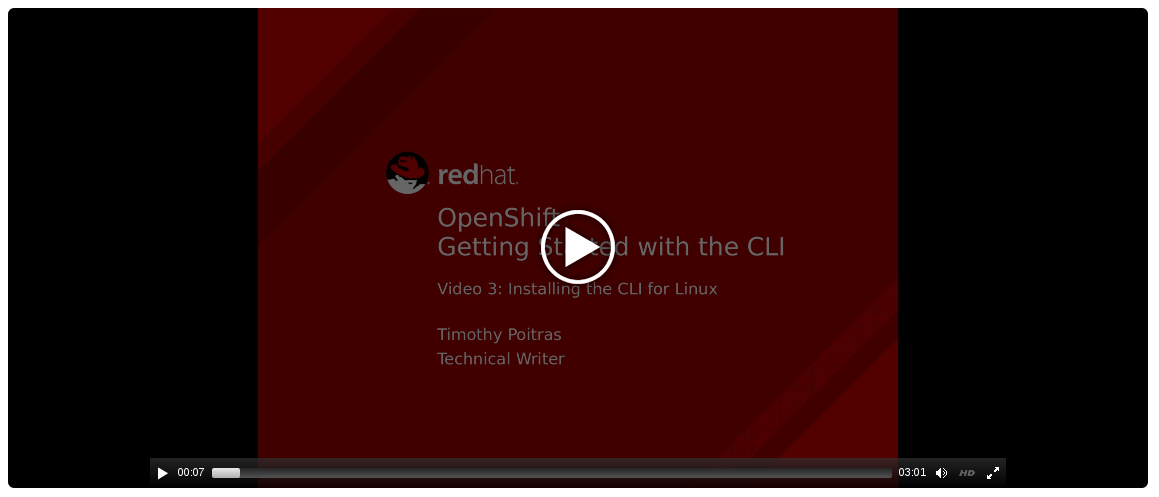
For RHEL, Fedora, and other Linux distributions, you can also download the CLI directly from the Red Hat Customer Portal as a tar.gz archive. After logging in with your Red Hat account, you must have an active OpenShift Enterprise subscription to access the downloads page.
Download the CLI from the Red Hat Customer Portal
Tutorial Video:
The following video walks you through this process: Click here to watch
Alternatively, if the cluster administrator has enabled it, you can download and unpack the CLI from the About page on the web console.
Then, unpack the archive and move the oc binary to a directory on your PATH. To check your path, run:
$ echo $PATHTo unpack the archive:
$ tar -xf <file>If you do not use RHEL or Fedora, ensure that libc is installed in a directory on your library path. If libc is not available, you might see the following error when you run CLI commands:
oc: No such file or directory2.4. Basic Setup and Login
The oc login command is the best way to initially set up the CLI, and it serves as the entry point for most users. The interactive flow helps you establish a session to an OpenShift Container Platform server with the provided credentials. The information is automatically saved in a CLI configuration file that is then used for subsequent commands.
The following example shows the interactive setup and login using the oc login command:
Example 2.1. Initial CLI Setup
$ oc loginExample Output
OpenShift server [https://localhost:8443]: https://openshift.example.com
Username: alice
Authentication required for https://openshift.example.com (openshift)
Password: ******
Login successful.
You don't have any projects. You can try to create a new project, by running

    $ oc new-project <projectname>
Welcome to OpenShift! See 'oc help' to get started.When you have completed the CLI configuration, subsequent commands use the configuration file for the server, session token, and project information.
You can log out of CLI using the oc logout command:
$ oc logoutExample Output
User, alice, logged out of https://openshift.example.comIf you log in after creating or being granted access to a project, a project you have access to is automatically set as the current default, until switching to another one:
$ oc loginExample Output
Username: alice
Authentication required for https://openshift.example.com (openshift)
Password:
Login successful.

Using project "aliceproject".
Additional options are also available for the oc login command.
If you have access to administrator credentials but are no longer logged in as the default system user system:admin, you can log back in as this user at any time as long as the credentials are still present in your CLI configuration file. The following command logs in and switches to the default project:
$ oc login -u system:admin -n default2.5. CLI Configuration Files
A CLI configuration file permanently stores oc options and contains a series of authentication mechanisms and OpenShift Container Platform server connection information associated with nicknames.
As described in the previous section, the oc login command automatically creates and manages CLI configuration files. All information gathered by the command is stored in a configuration file located in ~/.kube/config. The current CLI configuration can be viewed using the following command:
Example 2.2. Viewing the CLI Configuration
$ oc config viewExample Output
apiVersion: v1
clusters:
- cluster:
    server: https://openshift.example.com
  name: openshift
contexts:
- context:
    cluster: openshift
    namespace: aliceproject
    user: alice
  name: alice
current-context: alice
kind: Config
preferences: {}
users:
- name: alice
  user:
    token: NDM2N2MwODgtNjI1Yy10N3VhLTg1YmItYzI4NDEzZDUyYzVi
CLI configuration files can be used to setup multiple CLI profiles using various OpenShift Container Platform servers, namespaces, and users so that you can switch easily between them. The CLI can support multiple configuration files; they are loaded at runtime and merged together along with any override options specified from the command line.
2.6. Projects
A project in OpenShift Container Platform contains multiple objects to make up a logical application.
Most oc commands run in the context of a project. The oc login selects a default project during initial setup to be used with subsequent commands. Use the following command to display the project currently in use:
$ oc projectIf you have access to multiple projects, use the following syntax to switch to a particular project by specifying the project name:
$ oc project <project_name>For example:
Switch to Project project02
$ oc project project02Example Output
Now using project 'project02'.Switch to Project project03
$ oc project project03Example Output
Now using project 'project03'.List the Current Project
$ oc projectExample Output
Using project 'project03'.
The oc status command shows a high level overview of the project currently in use, with its components and their relationships, as shown in the following example:
$ oc statusExample Output
In project OpenShift 3 Sample (test)

service database-test (172.30.17.113:6434 -> 3306)
  database-test deploys docker.io/library/mysql:latest
    #1 deployed 47 hours ago

service frontend-test (172.30.17.236:5432 -> 8080)
  frontend-test deploys origin-ruby-sample:test <-
    builds https://github.com/openshift/ruby-hello-world with docker.io/openshift/ruby-20-centos7:latest
    not built yet
    #1 deployment waiting on image

To see more information about a service or deployment config, use 'oc describe service <name>' or 'oc describe dc <name>'.
You can use 'oc get pods,svc,dc,bc,builds' to see lists of each of the types described above.
2.7. What’s Next?
After you have logged in, you can create a new application and explore some common CLI operations.