1.3. Set Up the Development Environment
1.3.1. Download and Install Red Hat JBoss Developer Studio
Copy linkLink copied to clipboard!
1.3.1.1. Setup Red Hat JBoss Developer Studio
Copy linkLink copied to clipboard!
1.3.1.2. Download Red Hat JBoss Developer Studio
Copy linkLink copied to clipboard!
- Go to https://access.redhat.com/.
- Select from the menu at the top of the page.
- Find
Red Hat JBoss Developer Studioin the list and click on it. - Select the appropriate version and click .
1.3.1.3. Install Red Hat JBoss Developer Studio
Copy linkLink copied to clipboard!
- Prerequisites:
Procedure 1.1. Install Red Hat JBoss Developer Studio
- Open a terminal.
- Move into the directory containing the downloaded
.jarfile. - Run the following command to launch the GUI installer:
java -jar jbdevstudio-build_version.jar - Click to start the installation process.
- Select I accept the terms of this license agreement and click .
- Adjust the installation path and click .
Note
If the installation path folder does not exist, a prompt will appear. Click to create the folder. - Choose a JVM, or leave the default JVM selected, and click .
- Add any application platforms available, and click .
- Review the installation details, and click .
- Click when the installation process is complete.
- Configure the desktop shortcuts for Red Hat JBoss Developer Studio, and click .
- Click .
1.3.1.4. Start Red Hat JBoss Developer Studio
Copy linkLink copied to clipboard!
- Prerequisites:
Procedure 1.2. Command to start Red Hat JBoss Developer Studio
- Open a terminal.
- Change into the installation directory.
- Run the following command to start Red Hat JBoss Developer Studio:
[localhost]$ ./jbdevstudio
1.3.1.5. Add the JBoss EAP Server Using Define New Server
Copy linkLink copied to clipboard!
These instructions assume this is your first introduction to Red Hat JBoss Developer Studio and you have not yet added any Red Hat JBoss Enterprise Application Platform servers. The procedure below adds the JBoss EAP server using the Define New Server wizard.
Procedure 1.3. Add the server
- Open the Servers tab. If there is no Servers tab, add it to the panel as follows:
- Click
. - Select Servers from the Server folder and click .
- Click on No servers are available. Click this link to create a new server... or, if you prefer, right-click within the blank Server panel and select
. 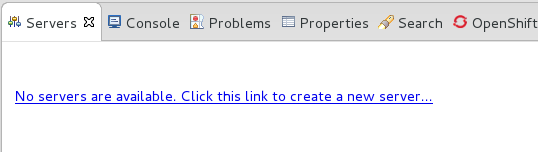
Figure 1.1. Add a new server - No servers available
- Expand JBoss Enterprise Middleware and choose . Enter a server name, for example, "JBoss Enterprise Application Platform 6.4", then click to create the JBoss runtime and define the server. The next time you define a new server, this dialog displays a Server runtime environment selection with the new runtime definition.
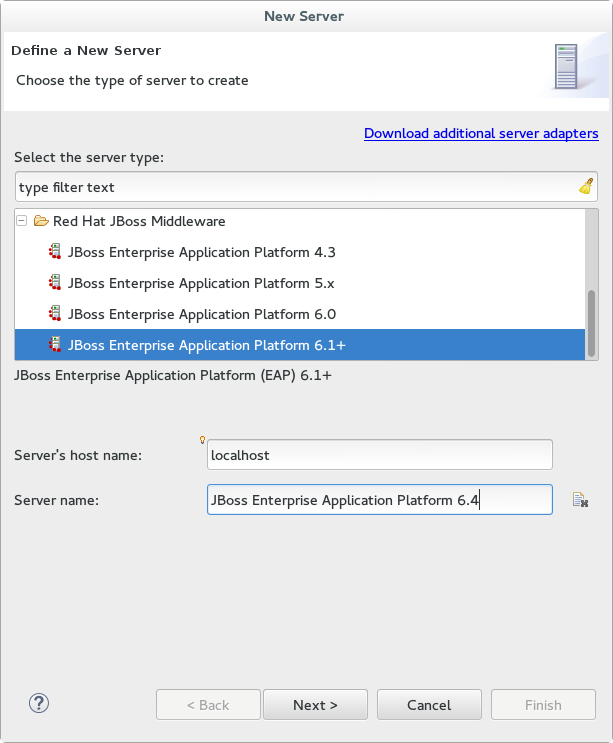
Figure 1.2. Define a New Server
- Create a Server Adapter to manage starting and stopping the server. Keep the defaults and click .
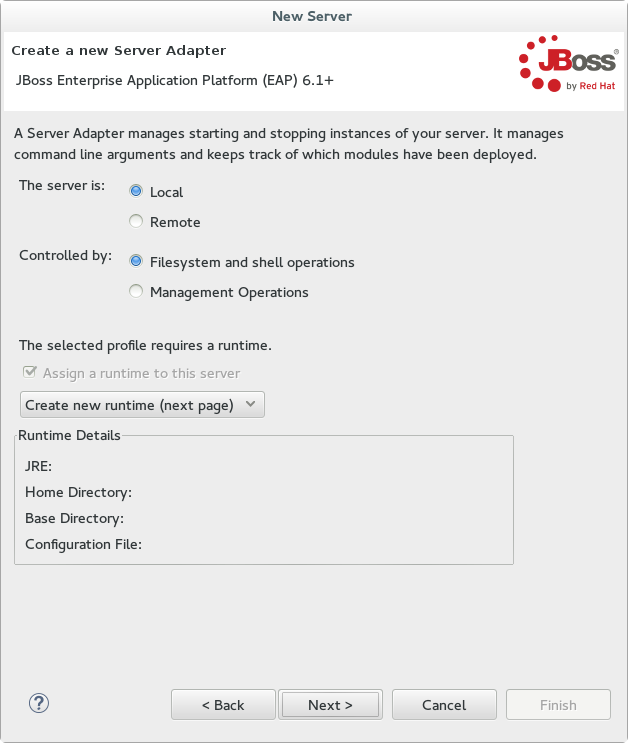
Figure 1.3. Create a New Server Adapter
- Enter a name, for example "JBoss EAP 6.4 Runtime". Under Home Directory, click and navigate to your JBoss EAP install location. Then click .
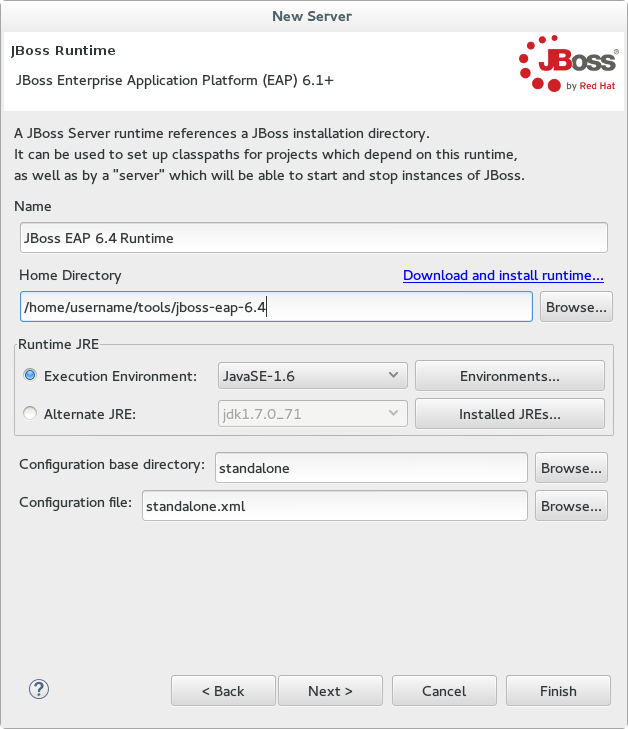
Figure 1.4. Add New Server Runtime Environment
Note
Some quickstarts require that you run the server with a different profile or additional arguments. To deploy a quickstart that requires thefullprofile, you must define a new server and add a Server Runtime Environment that specifiesstandalone-full.xmlfor the Configuration file. Be sure to give the new server a descriptive name. - Configure existing projects for the new server. Because you do not have any projects at this point, click .
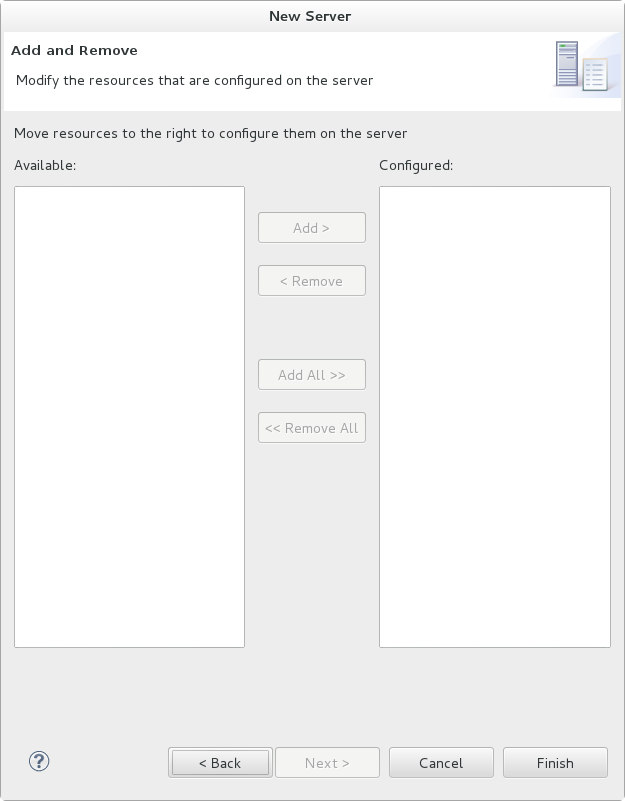
Figure 1.5. Modify resources for the new JBoss server
Result
The JBoss EAP Runtime Server is listed in the Servers tab.

Figure 1.6. Server appears in the server list