Ce contenu n'est pas disponible dans la langue sélectionnée.
Chapter 11. Integrating Red Hat Quay into OpenShift Container Platform with the Quay Bridge Operator
The Quay Bridge Operator duplicates the features of the integrated OpenShift Container Platform registry into the new Red Hat Quay registry. Using the Quay Bridge Operator, you can replace the integrated container registry in OpenShift Container Platform with a Red Hat Quay registry.
The features enabled with the Quay Bridge Operator include:
- Synchronizing OpenShift Container Platform namespaces as Red Hat Quay organizations.
- Creating robot accounts for each default namespace service account.
-
Creating secrets for each created robot account, and associating each robot secret to a service account as
MountableandImage Pull Secret. - Synchronizing OpenShift Container Platform image streams as Red Hat Quay repositories.
- Automatically rewriting new builds making use of image streams to output to Red Hat Quay.
- Automatically importing an image stream tag after a build completes.
By using the following procedures, you can enable bi-directional communication between your Red Hat Quay and OpenShift Container Platform clusters.
11.1. Setting up Red Hat Quay for the Quay Bridge Operator
In this procedure, you will create a dedicated Red Hat Quay organization, and from a new application created within that organization you will generate an OAuth token to be used with the Quay Bridge Operator in OpenShift Container Platform.
Procedure
- Log in to Red Hat Quay through the web UI.
- Select the organization for which the external application will be configured.
- On the navigation pane, select Applications.
-
Select Create New Application and enter a name for the new application, for example,
openshift. -
On the OAuth Applications page, select your application, for example,
openshift. - On the navigation pane, select Generate Token.
Select the following fields:
- Administer Organization
- Administer Repositories
- Create Repositories
- View all visible repositories
- Read/Write to any accessible repositories
- Administer User
- Read User Information
- Review the assigned permissions.
- Select Authorize Application and then confirm confirm the authorization by selecting Authorize Application.
Save the generated access token.
ImportantRed Hat Quay does not offer token management. You cannot list tokens, delete tokens, or modify tokens. The generated access token is only shown once and cannot be re-obtained after closing the page.
11.2. Installing the Quay Bridge Operator on OpenShift Container Platform
In this procedure, you will install the Quay Bridge Operator on OpenShift Container Platform.
Prerequiites
- You have set up Red Hat Quay and obtained an Access Token.
- An OpenShift Container Platform 4.6 or greater environment for which you have cluster administrator permissions.
Procedure
-
Open the Administrator perspective of the web console and navigate to Operators
OperatorHub on the navigation pane. -
Search for
Quay Bridge Operator, click the Quay Bridge Operator title, and then click Install. - Select the version to install, for example, stable-3.7, and then click Install.
-
Click View Operator when the installation finishes to go to the Quay Bridge Operator’s Details page. Alternatively, you can click Installed Operators
Red Hat Quay Bridge Operator to go to the Details page.
11.3. Creating an OpenShift Container Platform secret for the OAuth token
In this procedure, you will add the previously obtained access token to communicate with your Red Hat Quay deployment. The access token will be stored within OpenShift Container Platform as a secret.
Prerequisites
- You have set up Red Hat Quay and obtained an access token.
- You have deployed the Quay Bridge Operator on OpenShift Container Platform.
- An OpenShift Container Platform 4.6 or greater environment for which you have cluster administrator permissions.
- You have installed the OpenShift CLI (oc).
Procedure
Create a secret that contains the access token in the
openshift-operatorsnamespace:$ oc create secret -n openshift-operators generic <secret-name> --from-literal=token=<access_token>
11.4. Creating the QuayIntegration custom resource
In this procedure, you will create a QuayIntegration custom resource, which can be completed from either the web console or from the command line.
Prerequisites
- You have set up Red Hat Quay and obtained an access token.
- You have deployed the Quay Bridge Operator on OpenShift Container Platform.
- An OpenShift Container Platform 4.6 or greater environment for which you have cluster administrator permissions.
- Optional: You have installed the OpenShift CLI (oc).
11.4.1. Optional: Creating the QuayIntegration custom resource using the CLI
Follow this procedure to create the QuayIntegration custom resource using the command line.
Procedure
Create a
quay-integration.yaml:$ touch quay-integration.yaml
Use the following configuration for a minimal deployment of the
QuayIntegrationcustom resource:apiVersion: quay.redhat.com/v1 kind: QuayIntegration metadata: name: example-quayintegration spec: clusterID: openshift 1 credentialsSecret: namespace: openshift-operators name: quay-integration2 quayHostname: https://<QUAY_URL> 3 insecureRegistry: false 4- 1
- The clusterID value should be unique across the entire ecosystem. This value is required and defaults to
openshift. - 2
- The
credentialsSecretproperty refers to the namespace and name of the secret containing the token that was previously created. - 3
- Replace the
QUAY_URLwith the hostname of your Red Hat Quay instance. - 4
- If Red Hat Quay is using self signed certificates, set the property to
insecureRegistry: true.
For a list of all configuration fields, see "QuayIntegration configuration fields".
Create the
QuayIntegrationcustom resource:$ oc create -f quay-integration.yaml
11.4.2. Optional: Creating the QuayIntegration custom resource using the web console
Follow this procedure to create the QuayIntegration custom resource using the web console.
Procedure
-
Open the Administrator perspective of the web console and navigate to Operators
Installed Operators. - Click Red Hat Quay Bridge Operator.
- On the Details page of the Quay Bridge Operator, click Create Instance on the Quay Integration API card.
On the Create QuayIntegration page, enter the following required information in either Form view or YAML view:
-
Name: The name that will refer to the
QuayIntegrationcustom resource object. -
Cluster ID: The ID associated with this cluster. This value should be unique across the entire ecosystem. Defaults to
openshiftif left unspecified. - Credentials secret: Refers to the namespace and name of the secret containing the token that was previously created.
- Quay hostname: The hostname of the Quay registry.
-
Name: The name that will refer to the
For a list of all configuration fields, see "QuayIntegration configuration fields".
After the QuayIntegration custom resource is created, your OpenShift Container Platform cluster will be linked to your Red Hat Quay instance. Organizations within your Red Hat Quay registry should be created for the related namespace for the OpenShift Container Platform environment.
11.5. Using Quay Bridge Operator
Use the following procedure to use the Quay Bridge Operator.
Prerequisites
- You have installed the Red Hat Quay Operator.
- You have logged into OpenShift Container Platform as a cluster administrator.
- You have logged into your Red Hat Quay registry.
- You have installed the Quay Bridge Operator.
-
You have configured the
QuayIntegrationcustom resource.
Procedure
Enter the following command to create a new OpenShift Container Platform project called
e2e-demo:$ oc new-project e2e-demo
After you have created a new project, a new Organization is created in Red Hat Quay. Navigate to the Red Hat Quay registry and confirm that you have created a new Organization named
openshift_e2e-demo.NoteThe
openshiftvalue of the Organization might different if the clusterID in yourQuayIntegrationresource used a different value.- On the Red Hat Quay UI, click the name of the new Organization, for example, openshift_e2e-demo.
Click Robot Accounts in the navigation pane. As part of new project, the following Robot Accounts should have been created:
- openshift_e2e-demo+deployer
- openshift_e2e-demo+default
- openshift_e2e-demo+builder
Enter the following command to confirm three secrets containing Docker configuration associated with the applicable Robot Accounts were created:
$ oc get secrets builder-quay-openshift deployer-quay-openshift default-quay-openshift
Example output
stevsmit@stevsmit ocp-quay $ oc get secrets builder-quay-openshift deployer-quay-openshift default-quay-openshift
NAME                      TYPE                             DATA   AGE
builder-quay-openshift    kubernetes.io/dockerconfigjson   1      77m
deployer-quay-openshift   kubernetes.io/dockerconfigjson   1      77m
default-quay-openshift    kubernetes.io/dockerconfigjson   1      77m
Enter the following command to display detailed information about
builderServiceAccount (SA), including its secrets, token expiration, and associated roles and role bindings. This ensures that the project is integrated via the Quay Bridge Operator.$ oc describe sa builder default deployer
Example output
...
Name:                builder
Namespace:           e2e-demo
Labels:              <none>
Annotations:         <none>
Image pull secrets:  builder-dockercfg-12345
                     builder-quay-openshift
Mountable secrets:   builder-dockercfg-12345
                     builder-quay-openshift
Tokens:              builder-token-12345
Events:              <none>
...
Enter the following command to create and deploy a new application called
httpd-template:$ oc new-app --template=httpd-example
Example output
--> Deploying template "e2e-demo/httpd-example" to project e2e-demo
...
--> Creating resources ...
    service "httpd-example" created
    route.route.openshift.io "httpd-example" created
    imagestream.image.openshift.io "httpd-example" created
    buildconfig.build.openshift.io "httpd-example" created
    deploymentconfig.apps.openshift.io "httpd-example" created
--> Success
    Access your application via route 'httpd-example-e2e-demo.apps.quay-ocp.gcp.quaydev.org'
    Build scheduled, use 'oc logs -f buildconfig/httpd-example' to track its progress.
    Run 'oc status' to view your app.
After running this command,
BuildConfig,ImageStream,Service,Route, andDeploymentConfigresources are created. When theImageStreamresource is created, an associated repository is created in Red Hat Quay. For example: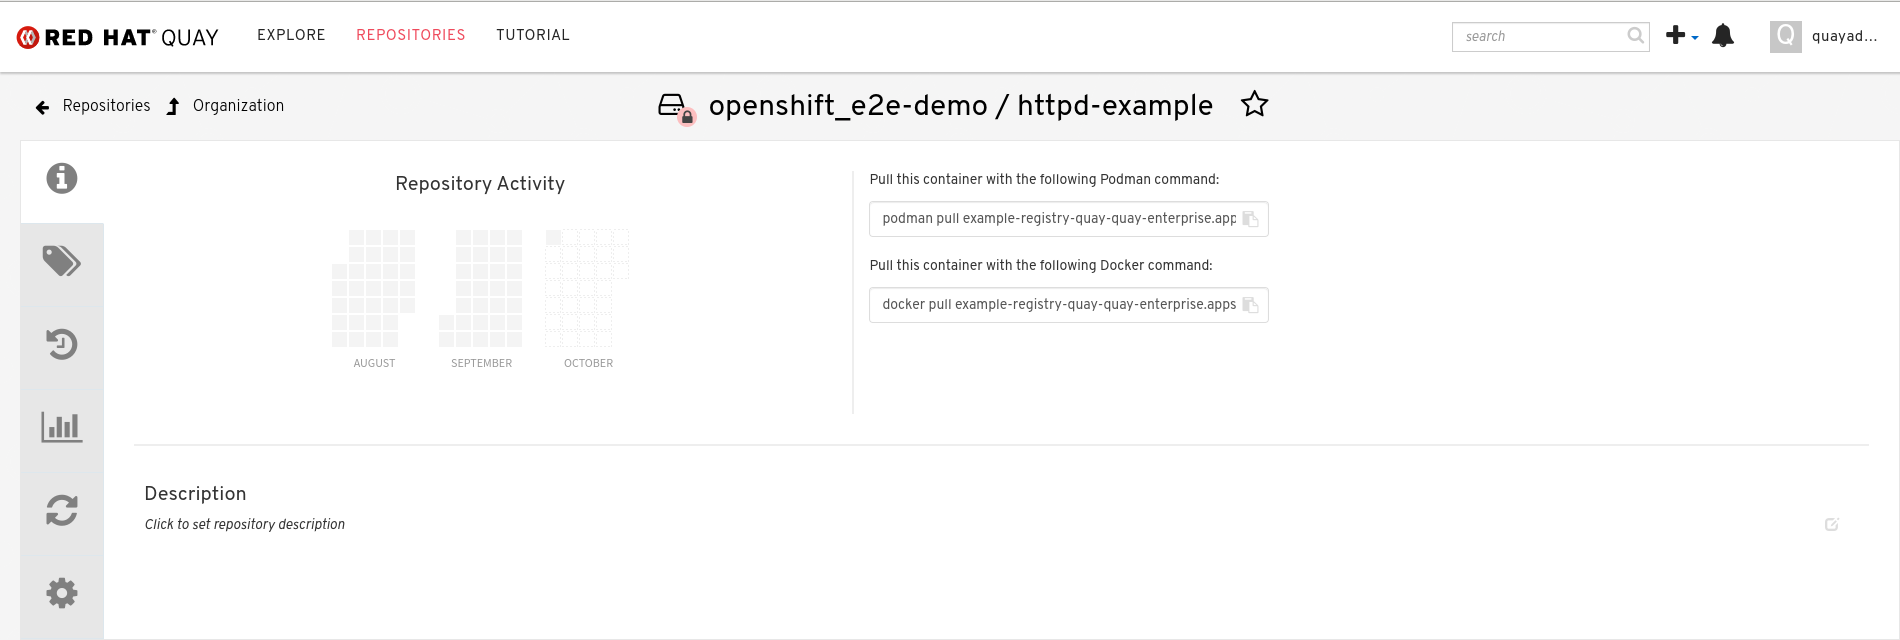
The
ImageChangeTriggerfor theBuildConfigtriggers a new Build when the Apache HTTPD image, located in theopenshiftnamespace, is resolved. As the new Build is created, theMutatingWebhookConfigurationautomatically rewriters the output to point at Red Hat Quay. You can confirm that the build is complete by querying the output field of the build by running the following command:$ oc get build httpd-example-1 --template='{{ .spec.output.to.name }}'Example output
example-registry-quay-quay-enterprise.apps.quay-ocp.gcp.quaydev.org/openshift_e2e-demo/httpd-example:latest
-
On the Red Hat Quay UI, navigate to the
openshift_e2e-demoOrganization and select the httpd-example repository. -
Click Tags in the navigation pane and confirm that the
latesttag has been successfully pushed. Enter the following command to ensure that the latest tag has been resolved:
$ oc describe is httpd-example
Example output
Name:			httpd-example
Namespace:		e2e-demo
Created:		55 minutes ago
Labels:			app=httpd-example
			template=httpd-example
Description:		Keeps track of changes in the application image
Annotations:		openshift.io/generated-by=OpenShiftNewApp
			openshift.io/image.dockerRepositoryCheck=2023-10-02T17:56:45Z
Image Repository:	image-registry.openshift-image-registry.svc:5000/e2e-demo/httpd-example
Image Lookup:		local=false
Unique Images:		0
Tags:			1

latest
  tagged from example-registry-quay-quay-enterprise.apps.quay-ocp.gcp.quaydev.org/openshift_e2e-demo/httpd-example:latest
After the
ImageStreamis resolwillved, a new deployment should have been triggered. Enter the following command to generate a URL output:$ oc get route httpd-example --template='{{ .spec.host }}'Example output
httpd-example-e2e-demo.apps.quay-ocp.gcp.quaydev.org
- Navigate to the URL. If a sample webpage appears, the deployment was successful.
Enter the following command to delete the resources and clean up your Red Hat Quay repository:
$ oc delete project e2e-demo
NoteThe command waits until the project resources have been removed. This can be bypassed by adding the
--wait=falseto the above command-
After the command completes, navigate to your Red Hat Quay repository and confirm that the
openshift_e2e-demoOrganization is no longer available.
Additional resources
- Best practices dictate that all communication between a client and an image registry be facilitated through secure means. Communication should leverage HTTPS/TLS with a certificate trust between the parties. While Red Hat Quay can be configured to serve an insecure configuration, proper certificates should be utilized on the server and configured on the client. Follow the OpenShift Container Platform documentation for adding and managing certificates at the container runtime level.