此内容没有您所选择的语言版本。
9.7. Import From Salesforce
You can create relational source models from your Salesforce connection using the steps below.
Note
Depending the detail provided in the database connection URL information and schema, Steps 5 through 7 may not be required.
- In Model Explorer, right-click and then click Import... or click the File > Import... action
 in the toolbar or select a project, folder or model in the tree and click Import...
- Select the import option Teiid Designer > Salesforce >> Source Model and click Next>
- Select existing or previous connection profile from the drop-down selector or click button to launch the New Connection Profile dialog or to modify or change an existing connection profile prior to selection. Note that the Connection Profile selection list will be populated with only Salesforce connection profiles.
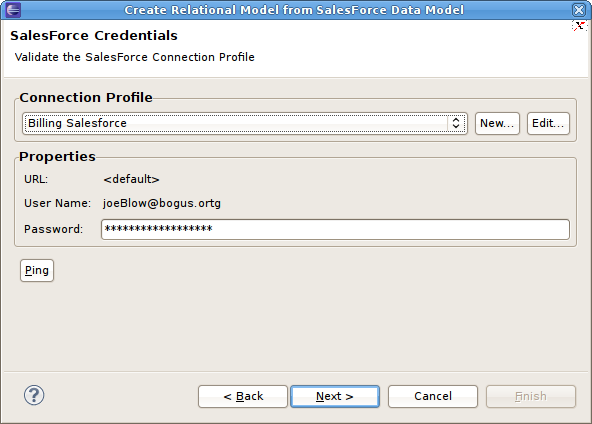
Figure 9.24. Select Salesforce Credentials Dialog
- After selecting a Connection Profile, enter the password (if not provided). Click Next> to display the Salesforce Objects selection page.

Figure 9.25. Select Salesforce Objects Dialog
- On the Target Model Selection page, specify the target folder location for your generated model, a unique model name and select desired import options. You have to enter the JNDI name. Click Next> (or Finish if enabled).

Figure 9.26. Target Model Selection Dialog
- If you are updating an existing relational model, the next page will be Review Model Updates page. Any differences. Click Finish to create your models and tables.
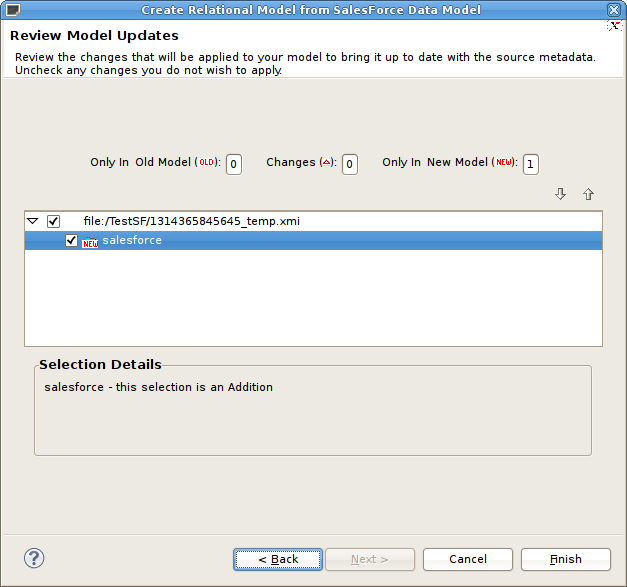
Figure 9.27. Review Model Updates Dialog
- When finished, the new or changed relational model's package diagram will be displayed showing your new tables.
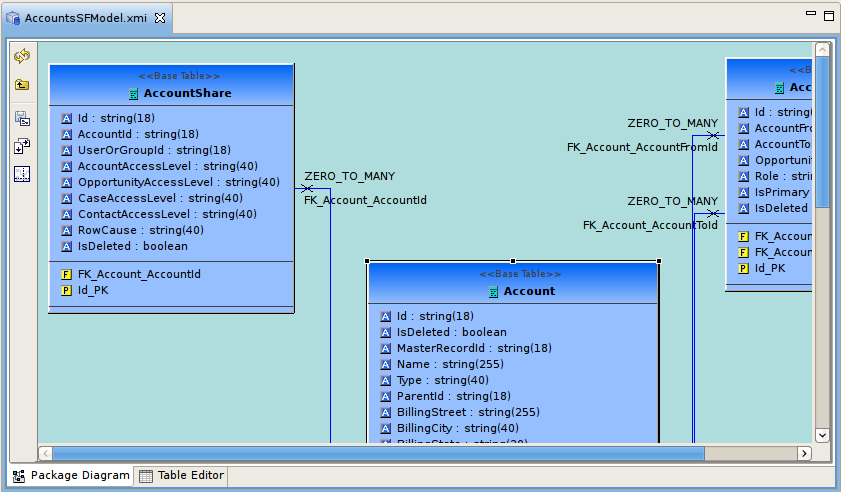
Figure 9.28. New Saleforce Tables Diagram