Chapter 19. Troubleshooting Installation on IBM Z
/tmp directory. These files are listed in the following table.
| Log file | Contents |
|---|---|
/tmp/anaconda.log | general Anaconda messages |
/tmp/program.log | all external programs run during the installation |
/tmp/storage.log | extensive storage module information |
/tmp/packaging.log | yum and rpm package installation messages |
/tmp/syslog | hardware-related system messages |
/tmp/anaconda-tb-identifier, where identifier is a random string.
/var/log/anaconda/. However, if installation is unsuccessful, or if the inst.nosave=all or inst.nosave=logs options are used when booting the installation system, these logs will only exist in the installation program's RAM disk. This means they are not saved permanently and will be lost once the system is powered down. To store them permanently, copy those files to another system on the network by using scp on the system running the installation program, or copy them to a mounted storage device (such as an USB flash drive). Details on how to transfer the log files over the network are below.
Note
ssh protocol.
Procedure 19.1. Transferring Log Files Over the Network
- Access the shell prompt on the installation system. This can be done in the following ways:
- In a running
tmuxsession on the installation system, press Ctrl+b p and Ctrl+b n to switch to the previous or next terminal, respectively, and find the terminal with a root shell. - Connect to the installation system over
ssh.
In both cases, you will be able to use the installation system's shell asroot. - Switch to the
/tmpdirectory where the log files are located:cd /tmp
# cd /tmpCopy to Clipboard Copied! Toggle word wrap Toggle overflow - Copy the log files onto another system on the network using the
scpcommand:scp *log user@address:path
# scp *log user@address:pathCopy to Clipboard Copied! Toggle word wrap Toggle overflow Replace user with a valid user name on the target system, address with the target system's address or host name, and path with the path to the directory you want to save the log files into. For example, if you want to log in asjohnto a system with an IP address of192.168.0.122and place the log files into the/home/john/logs/directory on that system, the command will have the following form:scp *log john@192.168.0.122:/home/john/logs/
# scp *log john@192.168.0.122:/home/john/logs/Copy to Clipboard Copied! Toggle word wrap Toggle overflow When connecting to the target system for the first time, the SSH client asks you to confirm that the fingerprint of the remote system is correct and that you want to continue:The authenticity of host '192.168.0.122 (192.168.0.122)' can't be established. ECDSA key fingerprint is a4:60:76:eb:b2:d0:aa:23:af:3d:59:5c:de:bb:c4:42. Are you sure you want to continue connecting (yes/no)?
The authenticity of host '192.168.0.122 (192.168.0.122)' can't be established. ECDSA key fingerprint is a4:60:76:eb:b2:d0:aa:23:af:3d:59:5c:de:bb:c4:42. Are you sure you want to continue connecting (yes/no)?Copy to Clipboard Copied! Toggle word wrap Toggle overflow Typeyesand press Enter to continue. Then, provide a valid password when prompted. The files will start transferring to the specified directory on the target system.
19.1. Trouble During the Installation
19.1.1. No Disks Detected
DASD=<disks> parameter to your parameter file or CMS configuration file (where disks is the DASD range reserved for installation) and start the installation again.
dasdfmt command within a Linux root shell, instead of formatting the DASDs using CMS. Anaconda automatically detects any DASD devices that are not yet formatted and asks you whether to format the devices.
19.1.2. Reporting Traceback Messages
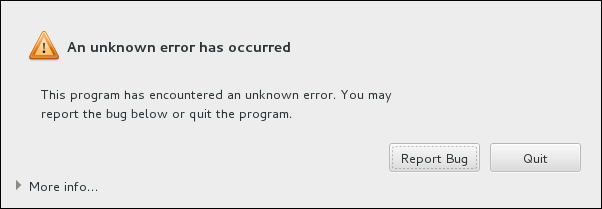
Figure 19.1. The Crash Reporting Dialog Box
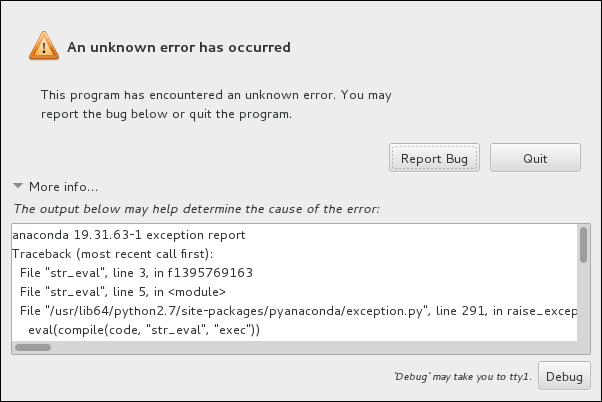
tty1, where you can request more precise information that will enhance the bug report. To return to the graphical interface from tty1, use the continue command.
Figure 19.2. The Expanded Crash Reporting Dialog Box
Procedure 19.2. Reporting Errors to Red Hat Customer Support
- In the menu that appears, select Report a bug to Red Hat Customer Portal.
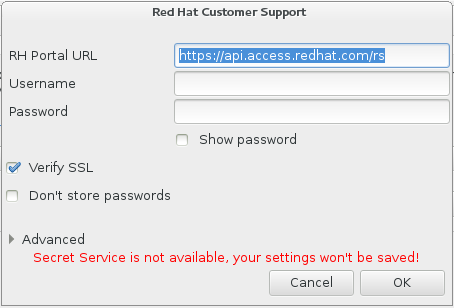
- To report the bug to Red Hat, you first need to provide your Customer Portal credentials. Click .
Figure 19.3. Customer Portal Credentials
- A new window is now open, prompting you to enter your Customer Portal user name and password. Enter your Red Hat Customer Portal credentials.
Figure 19.4. Configure Red Hat Customer Support
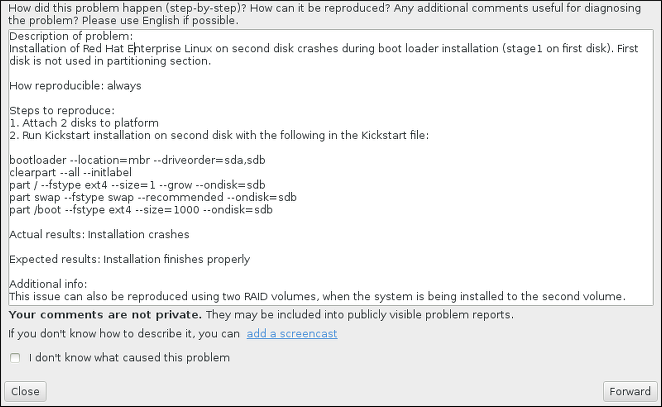
If your network settings require you to use aHTTPorHTTPSproxy, you can configure it by expanding the Advanced menu and entering the address of the proxy server.When you put in all required credentials, click OK to proceed. - A new window appears, containing a text field. Write down any useful information and comments here. Describe how the error can be reproduced by explaining each step you took before the crash reporting dialog appeared. Provide as much relevant detail as possible, including any information you acquired when debugging. Be aware that the information you provide here can become publicly visible on the Customer Portal.If you do not know what caused the error, check the box labeled I don't know what caused this problem at the bottom of the dialog.Then, click .
Figure 19.5. Describe the Problem
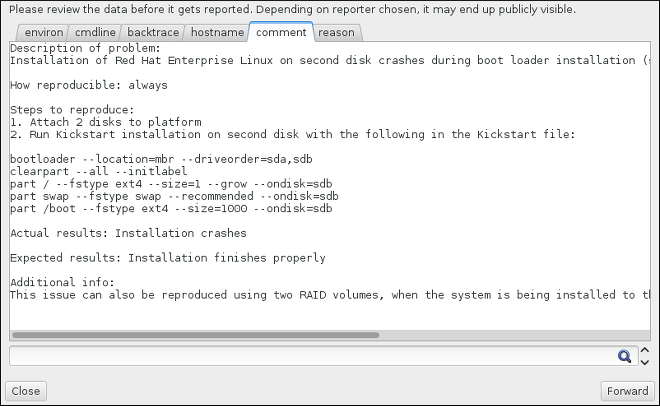
- Next, review the information that will be sent to the Customer Portal. The explanation you provided is in the comment tab. Other tabs include such information as your system's host name and other details about the installation environment. You can remove any items you do not want sent to Red Hat, but be aware that providing less detail can affect the investigation of the issue.Click when you finish reviewing the information to be sent.
Figure 19.6. Review the Data to Be Sent
- Review the list of files that will be sent and included in the bug report as individual attachments. These files provide system information that will assist the investigation. If you do not want to send certain files, uncheck the box next to each one. To provide additional files that can help find the problem, click .Once you have reviewed the files to be sent, check the box labeled I have reviewed the data and agree with submitting it. Then, click to send the report and attachments to the Customer Portal.
Figure 19.7. Review the Files to Be Sent
- When the dialog reports that processing has finished, you can click Show log to view details of the reporting process or Close to return to the initial crash reporting dialog box. There, click Quit to exit the installation.
19.1.3. Creating Pre-installation Log Files
inst.debug option to create log files from the environment before the installation starts. These log files contain, for example, the current storage configuration.
- Select the entry.
- Press the Tab key to edit the boot options.
- Append
inst.debugto the options. For example:> vmlinuz ... inst.debug
> vmlinuz ... inst.debugCopy to Clipboard Copied! Toggle word wrap Toggle overflow For further details, see Chapter 23, Boot Options. - Press Enter to start the setup.
/tmp/pre-anaconda-logs/ directory before Anaconda starts. To access the log files:
- Switch to the console. See Section 8.2.1, “Accessing Consoles”.
- Change into the
/tmp/pre-anaconda-logs/directory:cd /tmp/pre-anaconda-logs/
# cd /tmp/pre-anaconda-logs/Copy to Clipboard Copied! Toggle word wrap Toggle overflow
