Ce contenu n'est pas disponible dans la langue sélectionnée.
Chapter 10. Managing Ceph OSDs on the dashboard
As a storage administrator, you can monitor and manage OSDs on the Red Hat Ceph Storage Dashboard.
Some of the capabilities of the Red Hat Ceph Storage Dashboard are:
- List OSDs, their status, statistics, information such as attributes, metadata, device health, performance counters and performance details.
- Mark OSDs down, in, out, lost, purge, reweight, scrub, deep-scrub, destroy, delete, and select profiles to adjust backfilling activity.
- List all drives associated with an OSD.
- Set and change the device class of an OSD.
- Deploy OSDs on new drives and hosts.
Prerequisites
- A running Red Hat Ceph Storage cluster
-
cluster-managerlevel of access on the Red Hat Ceph Storage dashboard
10.1. Managing the OSDs on the Ceph dashboard
You can carry out the following actions on a Ceph OSD on the Red Hat Ceph Storage Dashboard:
- Create a new OSD.
- Edit the device class of the OSD.
- Mark the Flags as No Up, No Down, No In, or No Out.
- Scrub and deep-scrub the OSDs.
- Reweight the OSDs.
- Mark the OSDs Out, In, Down, or Lost.
- Purge the OSDs.
- Destroy the OSDs.
- Delete the OSDs.
Prerequisites
- A running Red Hat Ceph Storage cluster.
- Dashboard is installed.
- Hosts, Monitors, and Manager Daemons are added to the storage cluster.
Procedure
From the dashboard navigation, go to Cluster→OSDs.
Creating an OSD
To create the OSD, from the OSDs List table, click Create.
Figure 10.1. Add device for OSDs
 Note
NoteEnsure you have an available host and a few available devices. Check for available devices in Cluster→Physical Disks and filter for Available.
In the Create OSDs form, in the Deployment Options section, select one of the following options:
- Cost/Capacity-optimized: The cluster gets deployed with all available HDDs.
- Throughput-optimized: Slower devices are used to store data and faster devices are used to store journals/WALs.
- IOPS-optmized: All the available NVMe devices are used to deploy OSDs.
In the Advanced Mode section, add primary, WAL, and DB devices by clicking Add.
- Primary devices: Primary storage devices contain all OSD data.
- WAL devices: Write-Ahead-Log devices are used for BlueStore’s internal journal and are used only if the WAL device is faster than the primary device. For example, NVMe or SSD devices.
- DB devices: DB devices are used to store BlueStore’s internal metadata and are used only if the DB device is faster than the primary device. For example, NVMe or SSD devices.
- To encrypt your data, for security purposes, from the Features section of the form, select Encryption.
- Click Preview.
In the OSD Creation Preview dialog review the OSD and click Create.
A notification displays that the OSD was created successfully and the OSD status changes from in and down to in and up.
Editing an OSD
To edit an OSD, select the row and click Edit.
- From the Edit OSD form, edit the device class.
Click Edit OSD.
Figure 10.2. Edit an OSD

A notification displays that the OSD was updated successfully.
Marking the OSD flags
- To mark the flag of the OSD, select the row and click Flags from the action drop-down.
- In the Individual OSD Flags form, select the OSD flags needed.
Click Update.
Figure 10.3. Marking OSD flags
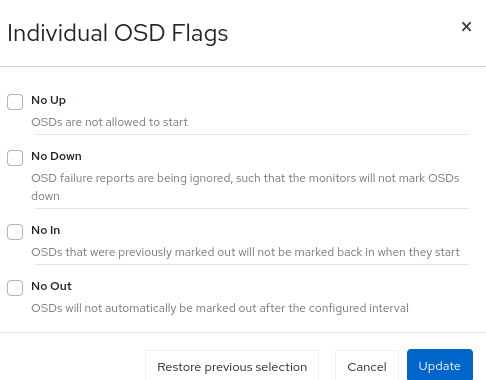
A notification displays that the OSD flags updated successfully.
Scrubbing an OSD
- To scrub an OSD, select the row and click Scrub from the action drop-down.
In the OSDs Scrub notification, click Update.
Figure 10.4. Scrubbing an OSD
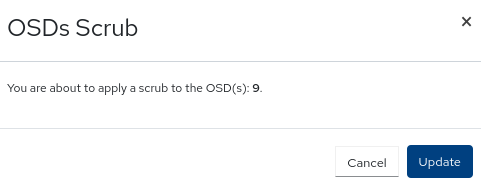
A notification displays that the scrubbing of the OSD was initiated successfully.
Deep-scrubbing the OSDs
- To deep-scrub the OSD, select the row and click Deep Scrub from the action drop-down.
In the OSDs Deep Scrub notification, click Update.
Figure 10.5. Deep-scrubbing an OSD
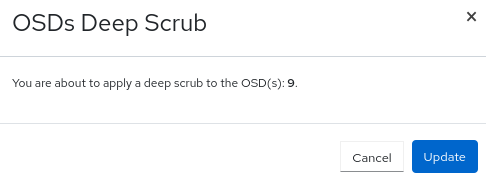
A notification displays that the deep scrubbing of the OSD was initiated successfully.
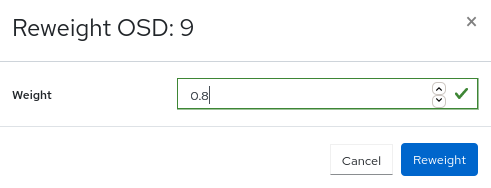
Reweighting the OSDs
- To reweight the OSD, select the row and click Reweight from the action drop-down.
- In the Reweight OSD form enter a value between 0 and 1.
Click Reweight.
Figure 10.6. Reweighting an OSD
Marking OSDs out
- To mark an OSD as out, select the row and click Mark Out from the action drop-down.
In the Mark OSD out notification, click Mark Out.
Figure 10.7. Marking OSDs out
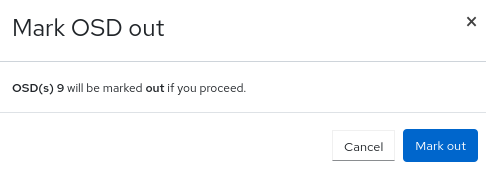
The OSD status changes to out.
Marking OSDs in
- To mark an OSD as in, select the OSD row that is in out status and click Mark In from the action drop-down.
In the Mark OSD in notification, click Mark In.
Figure 10.8. Marking OSDs in
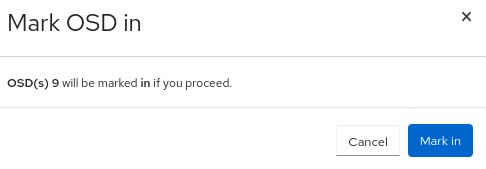
The OSD status changes to in.
Marking OSDs down
- To mark an OSD down, select the row and click Mark Down from the action drop-down.
In the Mark OSD down notification, click Mark Down.
Figure 10.9. Marking OSDs down
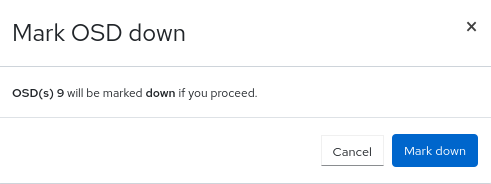
The OSD status changes to down.
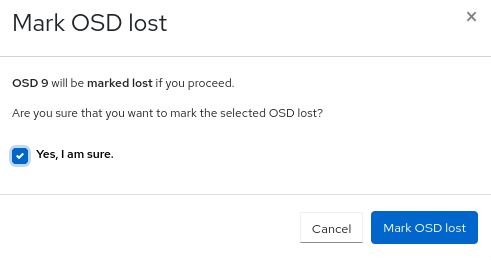
Marking OSDs lost
- To mark an OSD lost, select the OSD in out and down status and click Mark Lost from the action drop-down.
In the Mark OSD Lost notification, select Yes, I am sure and click Mark Lost.
Figure 10.10. Marking OSDs lost
Purging OSDs
- To purge an OSD, select the OSD in down status and click Purge from the action drop-down.
In the Purge OSDs notification, select Yes, I am sure and click Purge OSD.
Figure 10.11. Purging OSDs

All the flags are reset and the OSD is back in in and up status.
Destroying OSDs
- To destroy an OSD, select the OSD in down status and click Destroy from the action drop-down.
In the Destroy OSDs notification, select Yes, I am sure and click Destroy OSD.
Figure 10.12. Destroying OSDs
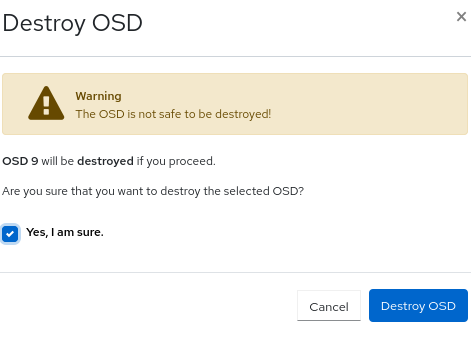
The OSD status changes to destroyed.
Deleting OSDs
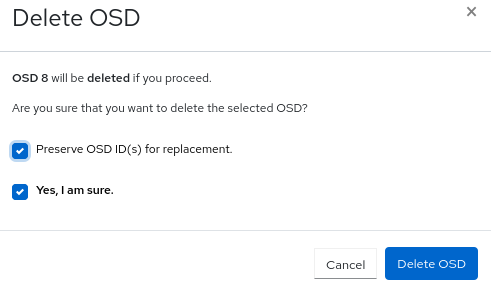
- To delete an OSD, select the OSD and click Delete from the action drop-down.
In the Delete OSDs notification, select Yes, I am sure and click Delete OSD.
NoteYou can preserve the OSD_ID when you have to to replace the failed OSD.
Figure 10.13. Deleting OSDs
10.2. Replacing the failed OSDs on the Ceph dashboard
You can replace the failed OSDs in a Red Hat Ceph Storage cluster with the cluster-manager level of access on the dashboard. One of the highlights of this feature on the dashboard is that the OSD IDs can be preserved while replacing the failed OSDs.
Prerequisites
- A running Red Hat Ceph Storage cluster.
-
At least
cluster-managerlevel of access to the Ceph Dashboard. -
At least one of the OSDs is
down
Procedure
On the dashboard, you can identify the failed OSDs in the following ways:
- Dashboard AlertManager pop-up notifications.
- Dashboard landing page showing HEALTH_WARN status.
- Dashboard landing page showing failed OSDs.
Dashboard OSD page showing failed OSDs.

In this example, you can see that one of the OSDs is down on the landing page of the dashboard.
You can also view the LED blinking lights on the physical drive if one of the OSDs is down.
From Cluster→OSDs, on the OSDs List table, select the
outanddownOSD.- Click Flags from the action drop-down, select No Up in the Individual OSD Flags form, and click Update.
- Click Delete from the action drop-down. In the Delete OSD notification, select Preserve OSD ID(s) for replacement and Yes, I am sure and click Delete OSD.
- Wait until the status of the OSD changes to out and destroyed.
Optional: To change the No Up Flag for the entire cluster, from the Cluster-wide configuration menu, select Flags.
- In Cluster-wide OSDs Flags form, select No Up and click Update.
Optional: If the OSDs are down due to a hard disk failure, replace the physical drive:
- If the drive is hot-swappable, replace the failed drive with a new one.
- If the drive is not hot-swappable and the host contains multiple OSDs, you might have to shut down the whole host and replace the physical drive. Consider preventing the cluster from backfilling. See the Stopping and Starting Rebalancing chapter in the Red Hat Ceph Storage Troubleshooting Guide for details.
-
When the drive appears under the
/dev/directory, make a note of the drive path. - If you want to add the OSD manually, find the OSD drive and format the disk.
If the new disk has data, zap the disk:
Syntax
ceph orch device zap HOST_NAME PATH --forceExample
ceph orch device zap ceph-adm2 /dev/sdc --force
- From the Ceph Dashboard OSDs List, click Create.
In the Create OSDs form Advanced Mode section, add a primary device.
- In the Primary devices dialog, select a Hostname filter.
Select a device type from the list.
NoteYou have to select the Hostname first and then at least one filter to add the devices.
For example, from Hostname list, select
Typeand thenhdd.Select Vendor and from device list, select
ATA.
- Click Add.
- In the Create OSDs form, click Preview.
In the OSD Creation Preview dialog, click Create.
A notification displays that the OSD is created successfully and the OSD changes to be in the
outanddownstatus.
Select the newly created OSD that has out and down status.
- Click Mark In from the action drop-down.
In the Mark OSD in notification, click Mark In.
The OSD status changes to in.
- Click Flags from the action drop-down.
- Clear the No Up selection and click Update.
Optional: If you have changed the No Up flag before for cluster-wide configuration, in the Cluster-wide configuration menu, select Flags.
- In Cluster-wide OSDs Flags form, clear the No Up selection and click Update.
Verification
Verify that the OSD that was destroyed is created on the device and the OSD ID is preserved.
