Ce contenu n'est pas disponible dans la langue sélectionnée.
10.2. Installing the Drivers on an Installed Windows Guest Virtual Machine
virt-manager and then install the drivers.
Procedure 10.1. Installing from the driver CD-ROM image with virt-manager
Open virt-manager and the guest virtual machine
Openvirt-manager, then open the guest virtual machine from the list by double-clicking the guest name.Open the hardware window
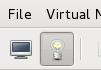
Click the lightbulb icon on the toolbar at the top of the window to view virtual hardware details.Figure 10.1. The virtual hardware details button
Then click the button at the bottom of the new view that appears. This opens a wizard for adding the new device.Select the device type — for Red Hat Enterprise Linux 6 versions prior to 6.2
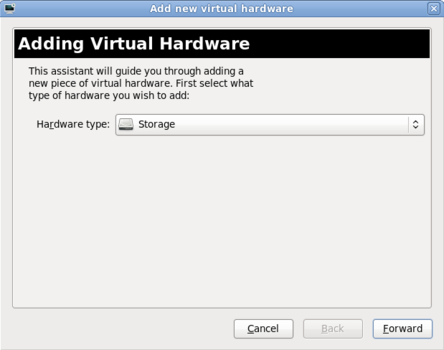
Skip this step if you are using Red Hat Enterprise Linux 6.2 or later.On Red Hat Enterprise Linux 6 versions prior to version 6.2, you must select the type of device you wish to add. In this case, select Storage from the drop-down menu.Figure 10.2. The Add new virtual hardware wizard in Red Hat Enterprise Linux 6.1
Click the button to proceed.Select the ISO file
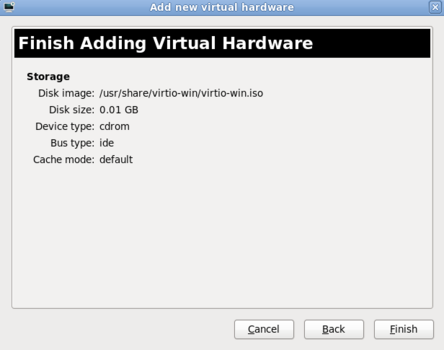
Ensure that the Select managed or other existing storage radio button is selected, and browse to the virtio driver's.isoimage file. The default location for the latest version of the drivers is/usr/share/virtio-win/virtio-win.iso.Change the Device type to IDE cdrom and click the button to proceed.Figure 10.3. The Add new virtual hardware wizard
Finish adding virtual hardware — for Red Hat Enterprise Linux 6 versions prior to 6.2
If you are using Red Hat Enterprise Linux 6.2 or later, skip this step.On Red Hat Enterprise Linux 6 versions prior to version 6.2, click on the button to finish adding the virtual hardware and close the wizard.Figure 10.4. The Add new virtual hardware wizard in Red Hat Enterprise Linux 6.1
Reboot
Reboot or start the virtual machine to begin using the driver disc. Virtualized IDE devices require a restart to for the virtual machine to recognize the new device.

Procedure 10.2. Windows installation on a Windows 7 virtual machine
Open the Computer Management window
On the desktop of the Windows virtual machine, click the icon at the bottom corner of the screen to open the Start menu.Right-click on Computer and select Manage from the pop-up menu.Figure 10.5. The Computer Management window
Open the Device Manager
Select the Device Manager from the left-most pane. This can be found under Computer Management > System Tools.Figure 10.6. The Computer Management window
Start the driver update wizard
View available system devices
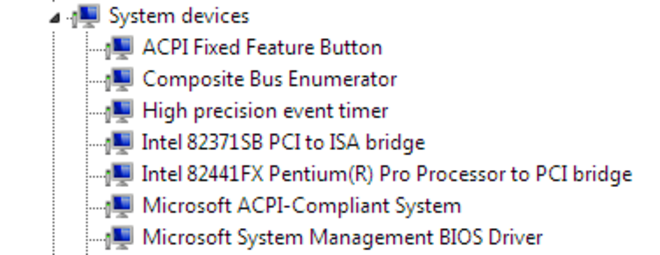
Expand System devices by clicking on the arrow to its left.Figure 10.7. Viewing available system devices in the Computer Management window
Locate the appropriate device
There are up to four drivers available: the balloon driver, the serial driver, the network driver, and the block driver.Balloon, the balloon driver, affects the PCI standard RAM Controller in the System devices group.vioserial, the serial driver, affects the PCI Simple Communication Controller in the System devices group.NetKVM, the network driver, affects the Network adapters group. This driver is only available if a virtio NIC is configured. Configurable parameters for this driver are documented in Appendix A, NetKVM Driver Parameters.viostor, the block driver, affects the Disk drives group. This driver is only available if a virtio disk is configured.
Right-click on the device whose driver you wish to update, and select Update Driver... from the pop-up menu.This example installs the balloon driver, so right-click on PCI standard RAM Controller.Figure 10.8. The Computer Management window
Open the driver update wizard
From the drop-down menu, select Update Driver Software... to access the driver update wizard.Figure 10.9. Opening the driver update wizard
Specify how to find the driver
The first page of the driver update wizard asks how you want to search for driver software. Click on the second option, Browse my computer for driver software.Figure 10.10. The driver update wizard
Select the driver to install
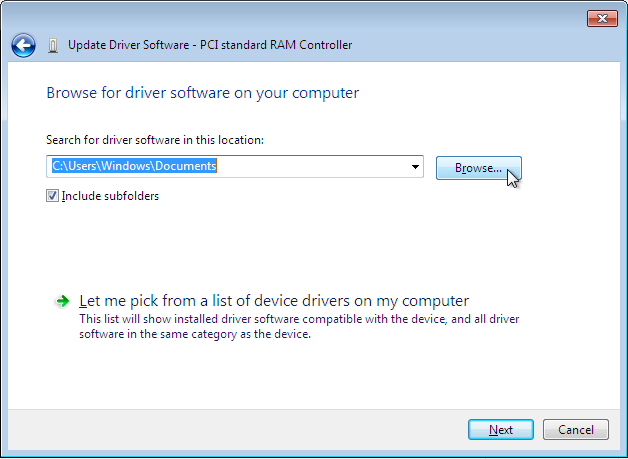
Open a file browser
Click on Browse...Figure 10.11. The driver update wizard
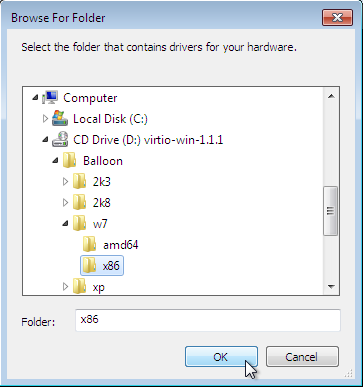
Browse to the location of the driver
A separate driver is provided for each of the various combinations of operating system and architecture. The drivers are arranged hierarchically according to their driver type, the operating system, and the architecture on which they will be installed:driver_type/os/arch/. For example, the Balloon driver for a Windows 7 operating system with an x86 (32-bit) architecture, resides in theBalloon/w7/x86directory.Figure 10.12. The Browse for driver software pop-up window
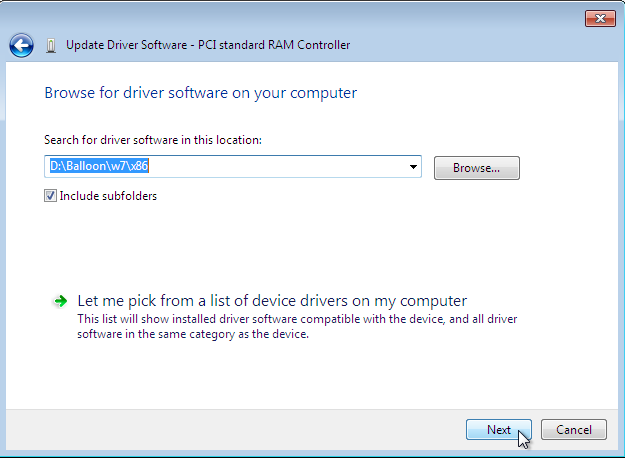
Once you have navigated to the correct location, click OK.Click Next to continue
Figure 10.13. The Update Driver Software wizard
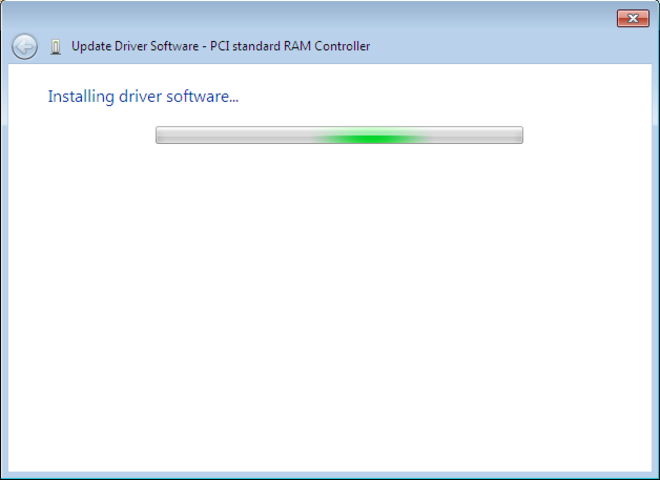
The following screen is displayed while the driver installs:Figure 10.14. The Update Driver Software wizard
Close the installer
The following screen is displayed when installation is complete:Figure 10.15. The Update Driver Software wizard
Click Close to close the installer.Reboot
Reboot the virtual machine to complete the driver installation.