Este conteúdo não está disponível no idioma selecionado.
12.2. Partition-based Storage Pools
This section covers using a pre-formatted block device, a partition, as a storage pool.
For the following examples, a host physical machine has a 500GB hard drive (
/dev/sdc) partitioned into one 500GB, ext4 formatted partition (/dev/sdc1). We set up a storage pool for it using the procedure below.
12.2.1. Creating a Partition-based Storage Pool Using virt-manager
Copiar o linkLink copiado para a área de transferência!
This procedure creates a new storage pool using a partition of a storage device.
Procedure 12.1. Creating a partition-based storage pool with virt-manager
Open the storage pool settings
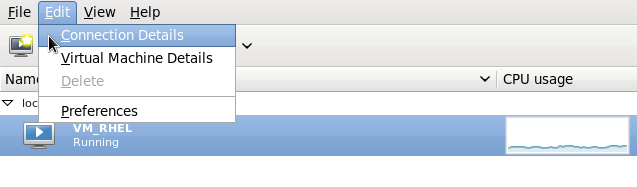
- In the
virt-managergraphical interface, select the host physical machine from the main window.Open the Edit menu and select Connection DetailsFigure 12.1. Connection Details
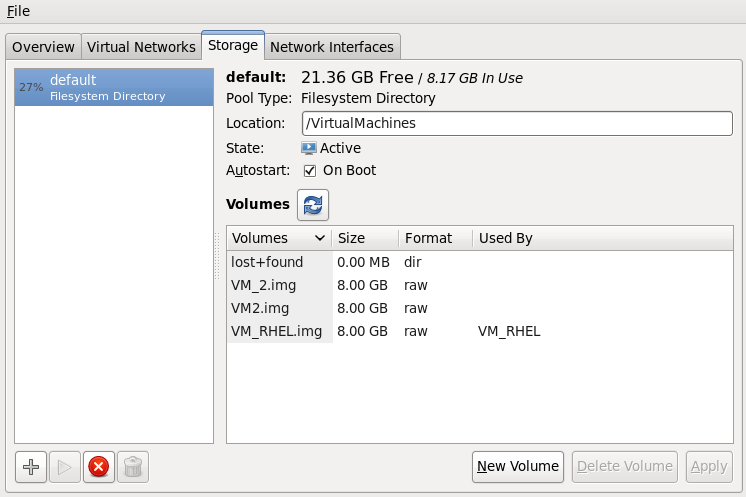
- Click on the Storage tab of the Connection Details window.
Figure 12.2. Storage tab
Create the new storage pool
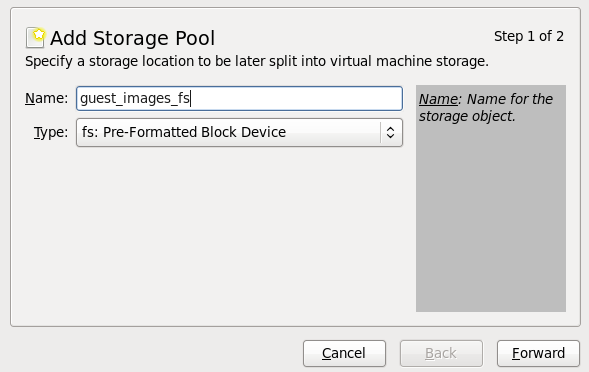
Add a new pool (part 1)
Press the + button (the add pool button). The Add a New Storage Pool wizard appears.Choose a for the storage pool. This example uses the name guest_images_fs. Change the tofs: Pre-Formatted Block Device.Figure 12.3. Storage pool name and type
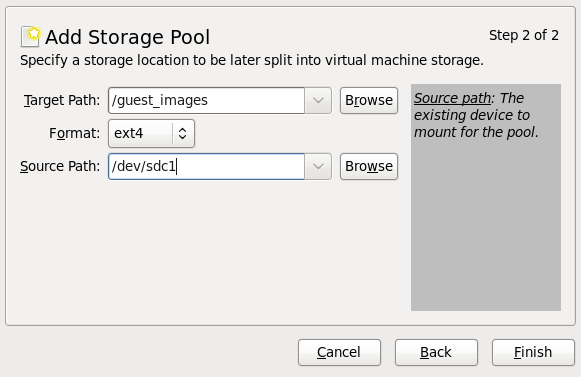
Press the button to continue.Add a new pool (part 2)
Change the , , and fields.Figure 12.4. Storage pool path and format
- Target Path
- Enter the location to mount the source device for the storage pool in the field. If the location does not already exist,
virt-managerwill create the directory. - Format
- Select a format from the list. The device is formatted with the selected format.This example uses the ext4 file system, the default Red Hat Enterprise Linux file system.
- Source Path
- Enter the device in the
Source Pathfield.This example uses the /dev/sdc1 device.
Verify the details and press the button to create the storage pool.
Verify the new storage pool
The new storage pool appears in the storage list on the left after a few seconds. Verify the size is reported as expected, 458.20 GB Free in this example. Verify the field reports the new storage pool as Active.Select the storage pool. In the field, click the check box. This will make sure the storage device starts whenever thelibvirtdservice starts.Figure 12.5. Storage list confirmation
The storage pool is now created, close the Connection Details window.