Chapter 19. Automation controller configuration
You can configure automation controller settings within the Settings screen in the following tabs:
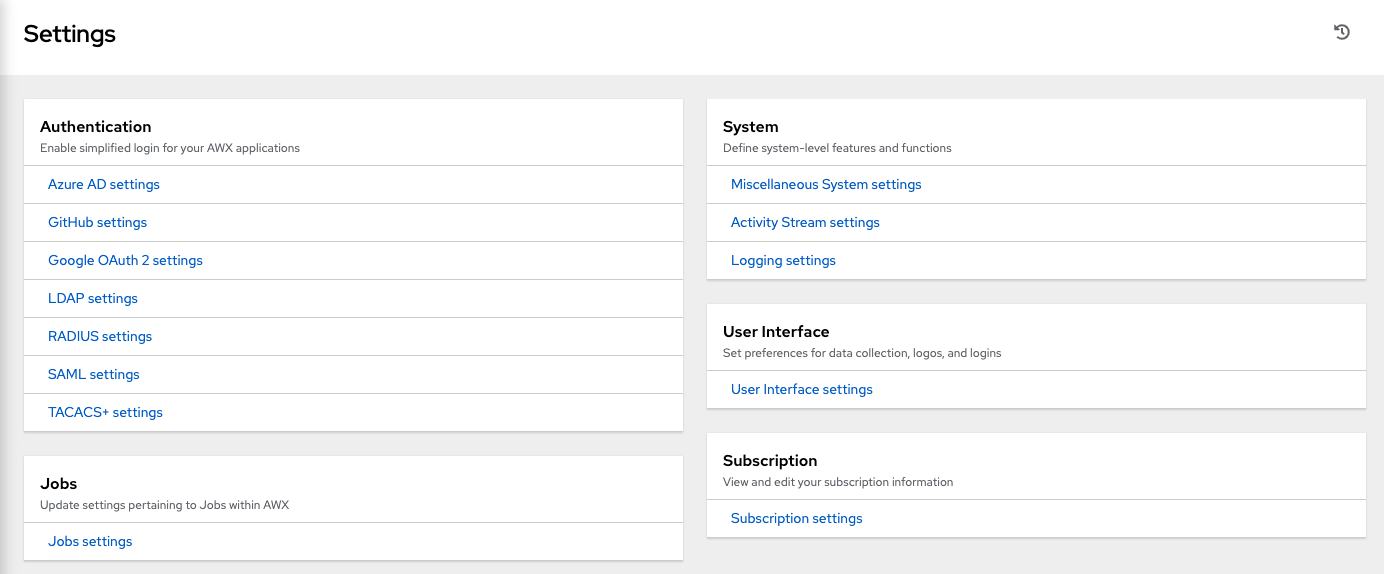
Each tab contains fields with a Reset option, enabling you to revert any value entered back to the default value. Reset All enables you to revert all the values to their factory default values.
Save applies the changes you make, but it does not exit the edit dialog. To return to the Settings page, from the navigation panel select or use the breadcrumbs at the top of the current view.
19.1. Authenticating automation controller
Through the automation controller UI, you can set up a simplified login through various authentication types, such as GitHub, Google, LDAP, RADIUS, and SAML. Once you create and register your developer application with the appropriate service, you can set up authorizations for them.
Procedure
- From the navigation panel, select .
Select from the following Authentication options:
- Azure AD settings
- Github settings
- Google OAuth2 settings
- LDAP Authentication
- RADIUS settings
- TACACS+ settings
Ensure that you include all the required information.
- Click to apply the settings or to abandon the changes.
19.2. Configuring jobs
The Jobs tab enables you to configure the types of modules that can be used by the automation controller’s Ad Hoc Commands feature, set limits on the number of jobs that can be scheduled, define their output size, and other details pertaining to working with jobs in automation controller.
Procedure
- From the navigation panel, select .
Select Jobs settings in the Jobs option. Set the configurable options from the fields provided. Click the tooltip
 icon next to the field that you need additional information about.
For more information about configuring Galaxy settings, see the Ansible Galaxy Support section of the Automation controller User Guide.
NoteThe values for all timeouts are in seconds.
- Click to apply the settings and to abandon the changes.
19.3. Configuring system settings
The System tab enables you to complete the following actions:
- Define the base URL for the automation controller host
- Configure alerts
- Enable activity capturing
- Control visibility of users
- Enable certain automation controller features and functionality through a license file
- Configure logging aggregation options
Procedure
- From the navigation panel, select .
Choose from the following System options:
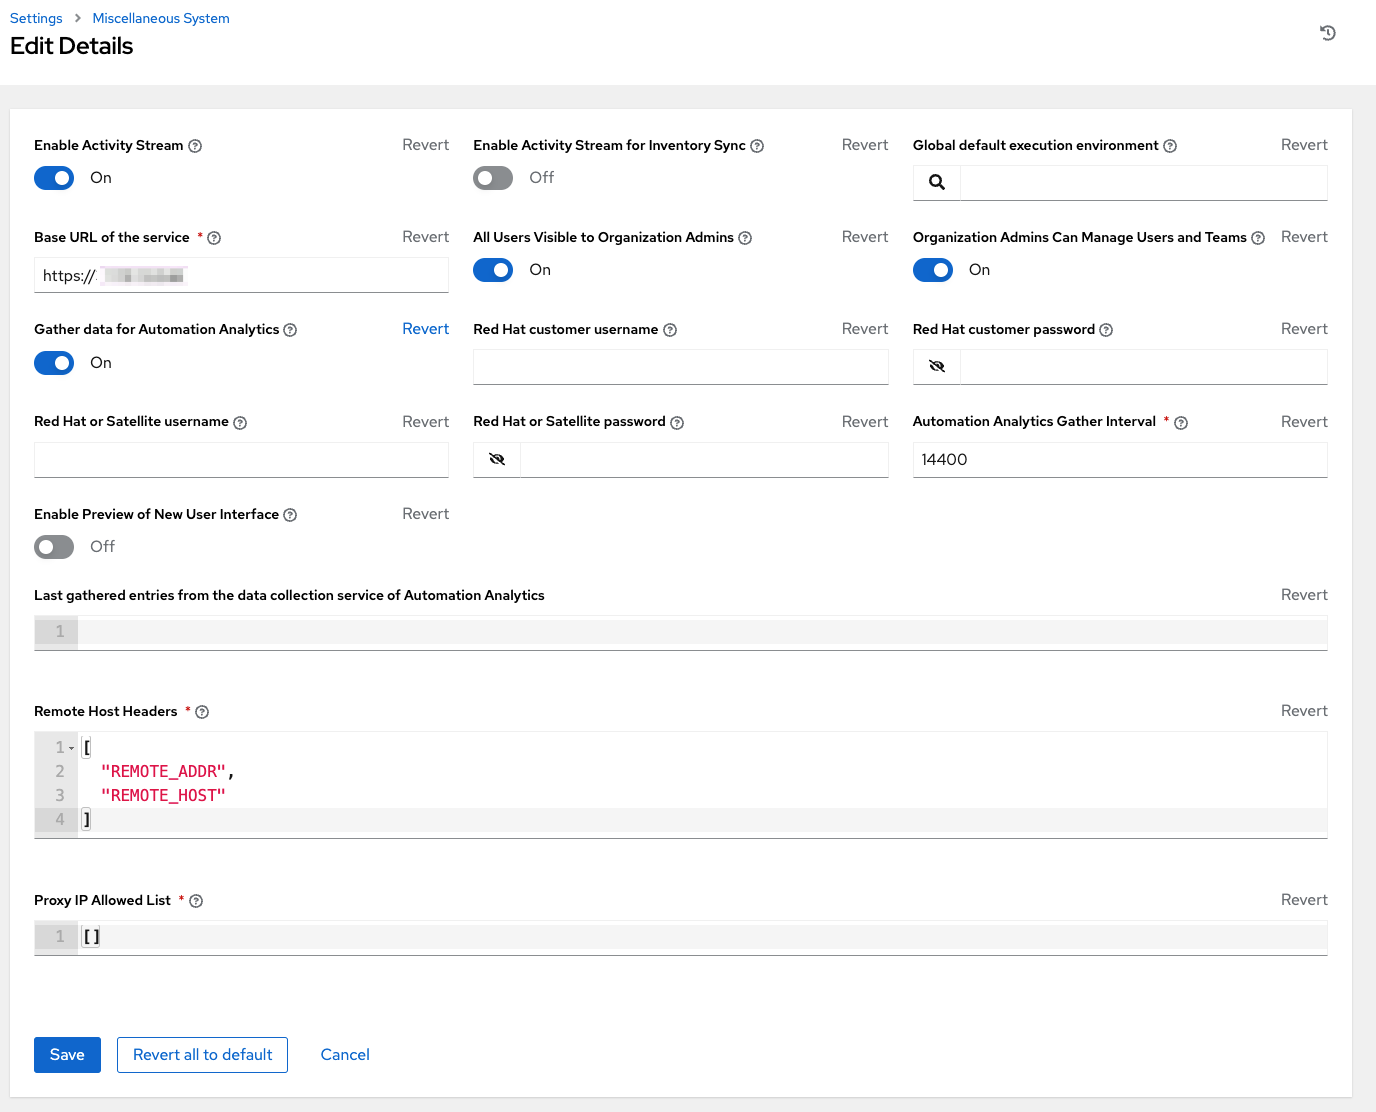
- Miscellaneous System settings: Enable activity streams, specify the default execution environment, define the base URL for the automation controller host, enable automation controller administration alerts, set user visibility, define analytics, specify usernames and passwords, and configure proxies.
- Miscellaneous Authentication settings: Configure options associated with authentication methods (built-in or SSO), sessions (timeout, number of sessions logged in, tokens), and social authentication mapping.
Logging settings: Configure logging options based on the type you choose:
For more information about each of the logging aggregation types, see the Logging and Aggregation section.
Set the configurable options from the fields provided. Click the tooltip
icon next to the field that you need additional information about.
The following is an example of the Miscellaneous System settings:
NoteThe Allow External Users to Create Oauth2 Tokens setting is disabled by default. This ensures external users cannot create their own tokens. If you enable then disable it, any tokens created by external users in the meantime still exist, and are not automatically revoked.
- Click to apply the settings and to abandon the changes.

19.4. Configuring the user interface
The User Interface tab enables you to set automation controller analytics settings, and configure custom logos and login messages.
Procedure
- From the navigation panel, select .
- Select User Interface settings from the User Interface option.
- Click to configure your preferences.
19.4.1. Configuring usability analytics and data collection
Usability data collection is included with automation controller to collect data to understand how users interact with it, to enhance future releases, and to streamline your user experience.
Only users installing a trial of Red Hat Ansible Automation Platform or a fresh installation of automation controller are opted-in for this data collection.
Automation controller collects user data automatically to help improve the product. You can opt out or control the way automation controller collects data by setting your participation level in the User Interface settings.
Procedure
- From the navigation panel, select .
- Select User Interface settings from the User Interface options.
- Click .
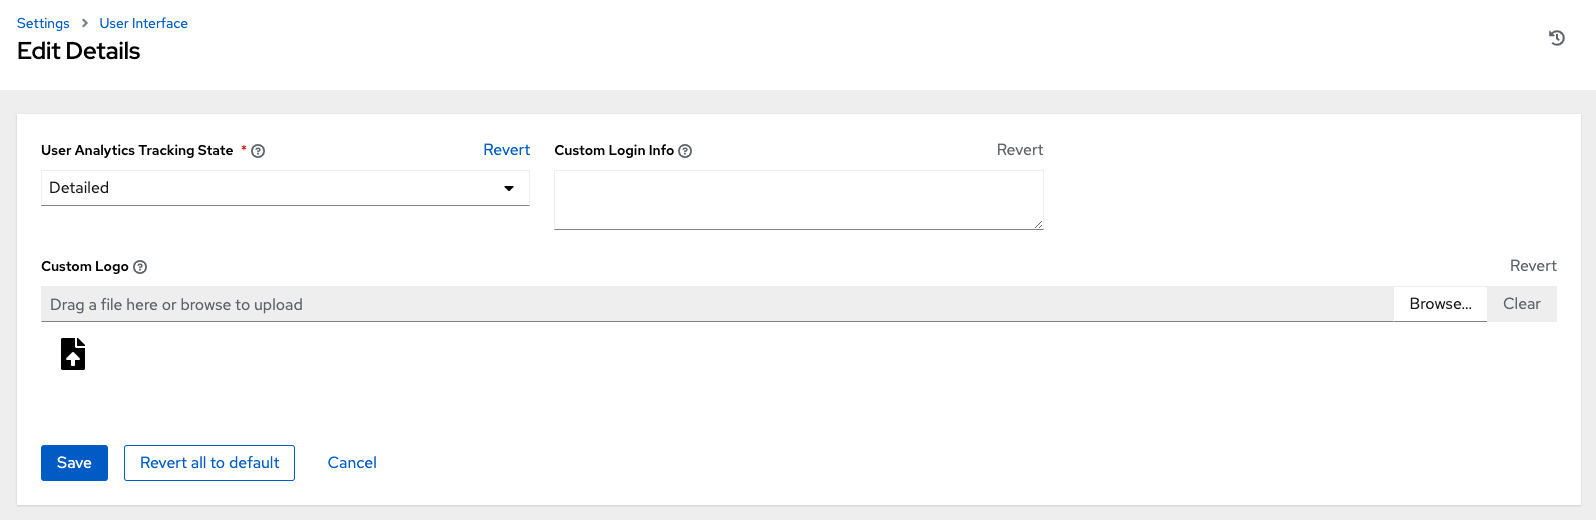
Select the desired level of data collection from the User Analytics Tracking State list:
- Off: Prevents any data collection.
- Anonymous: Enables data collection without your specific user data.
- Detailed: Enables data collection including your specific user data.
- Click to apply the settings or to abandon the changes.
Additional resources
For more information, see the Red Hat Privacy Statement.
19.4.2. Custom logos and images
Automation controller supports the use of a custom logo. You can add a custom logo by uploading an image and supplying a custom login message from the User Interface settings. To access these settings, select from the navigation panel.
For the best results, use a .png file with a transparent background. GIF, PNG, and JPEG formats are supported.
You can add specific information (such as a legal notice or a disclaimer) to a text box in the login modal by adding it to the Custom Login Info text field.
Example
You upload a specific logo and add the following text:
The Ansible Automation Platform login dialog resembles the following:

Select to use the standard automation controller logo.
19.5. Additional settings for automation controller
There are additional advanced settings that can affect automation controller behavior that are not available in the automation controller UI.
For traditional virtual machine based deployments, these settings can be provided to automation controller by creating a file in /etc/tower/conf.d/custom.py. When settings are provided to automation controller through file-based settings, the settings file must be present on all control plane nodes. These include all of the hybrid or control type nodes in the automationcontroller group in the installer inventory.
For these settings to be effective, restart the service with automation-controller-service restart on each node with the settings file. If the settings provided in this file are also visible in the automation controller UI, then they are marked as "Read only" in the UI.
19.6. Obtaining an authorized Ansible automation controller subscription
If you already have a subscription to a Red Hat product, you can acquire an automation controller subscription through that subscription. If you do not have a subscription to Red Hat Ansible Automation Platform and Red Hat Satellite, you can request a trial subscription.
Procedure
- If you have a Red Hat Ansible Automation Platform subscription, use your Red Hat customer credentials when you launch the automation controller to access your subscription information. See Importing a subscription.
If you have a non-Ansible Red Hat or Satellite subscription, access automation controller with one of these methods:
- Enter your username and password on the license page.
- Obtain a subscriptions manifest from the Subscription Allocations page on the Red Hat Customer Portal. For more information, see Obtaining a subscriptions manifest in the Automation controller User Guide.
- If you do not have a Red Hat Ansible Automation Platform subscription, go to Try Red Hat Ansible Automation Platform and request a trial subscription.
Additional resources
To understand what is supported with your subscription, see Automation controller licensing, updates and support. * If you have issues with your subscription, contact your Sales Account Manager or Red Hat Customer Service at: https://access.redhat.com/support/contact/customerService/.
19.6.1. Troubleshooting: Keep your subscription in compliance
Your subscription has two possible statuses:
- Compliant: Indicates that your subscription is appropriate for the number of hosts that you have automated within your subscription count.
- Out of compliance: Indicates that you have exceeded the number of hosts in your subscription.
Compliance is computed as follows:
managed > manifest_limit    =>  non-compliant
managed =< manifest_limit   =>  compliant
managed > manifest_limit    =>  non-compliant
managed =< manifest_limit   =>  compliant
Where: managed is the number of unique managed hosts without deletions, and manifest_limit is the number of managed hosts in the subscription manifest.
Other important information displayed are:
- Hosts automated: Host count automated by the job, which consumes the license count.
- Hosts imported: Host count considering unique host names across all inventory sources. This number does not impact hosts remaining.
- Hosts remaining: Total host count minus hosts automated.
- Hosts deleted: Hosts that were deleted, freeing the license capacity.
- Active hosts previously deleted: Number of hosts now active that were previously deleted.
For example, if you have a subscription capacity of 10 hosts:
- Starting with 9 hosts, 2 hosts were added and 3 hosts were deleted, you now have 8 hosts (compliant).
- 3 hosts were automated again, now you have 11 hosts, which puts you over the subscription limit of 10 (non-compliant).
- If you delete hosts, refresh the subscription details to see the change in count and status.
19.6.2. Viewing the host activity
Procedure
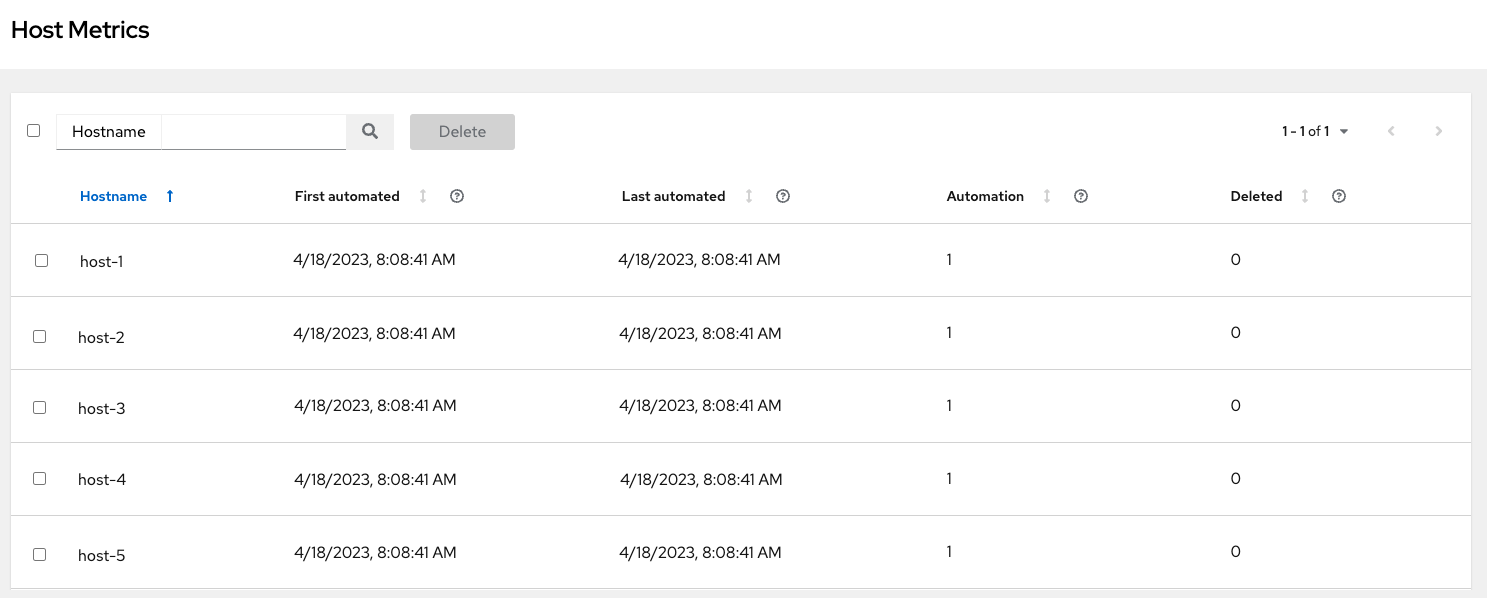
In the navigation panel, select to view the activity associated with hosts, such as those that have been automated and deleted.
Each unique hostname is listed and sorted by the user’s preference.
NoteA scheduled task automatically updates these values on a weekly basis and deletes jobs with hosts that were last automated more than a year ago.
Delete unnecessary hosts directly from the Host Metrics view by selecting the desired hosts and clicking .
These are soft-deleted, meaning their records are not removed, but are not being used and thereby not counted towards your subscription.
For more information, see Troubleshooting: Keeping your subscription in compliance in the Automation controller User Guide.
19.6.3. Host metric utilities
Automation controller provides a way to generate a CSV output of the host metric data and host metric summary through the Command Line Interface (CLI). You can also soft delete hosts in bulk through the API.
For more information, see the Host metrics utilities section of the Automation controller User Guide.