Chapter 4. Quick Installation Guide
4.1. Interactive Installation
Copy linkLink copied to clipboard!
This section describes the simple procedure to install and register Red Hat Enterprise Linux after you have created and booted from an installation USB drive.
Prerequisites: Create an installation USB drive and boot it. For details, see:
After booting the installation USB drive:
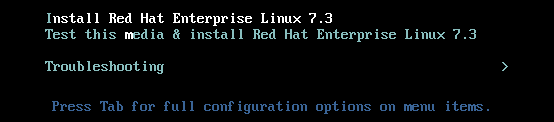
- Select Install Red Hat Enterprise Linux in the boot menu and press Enter.
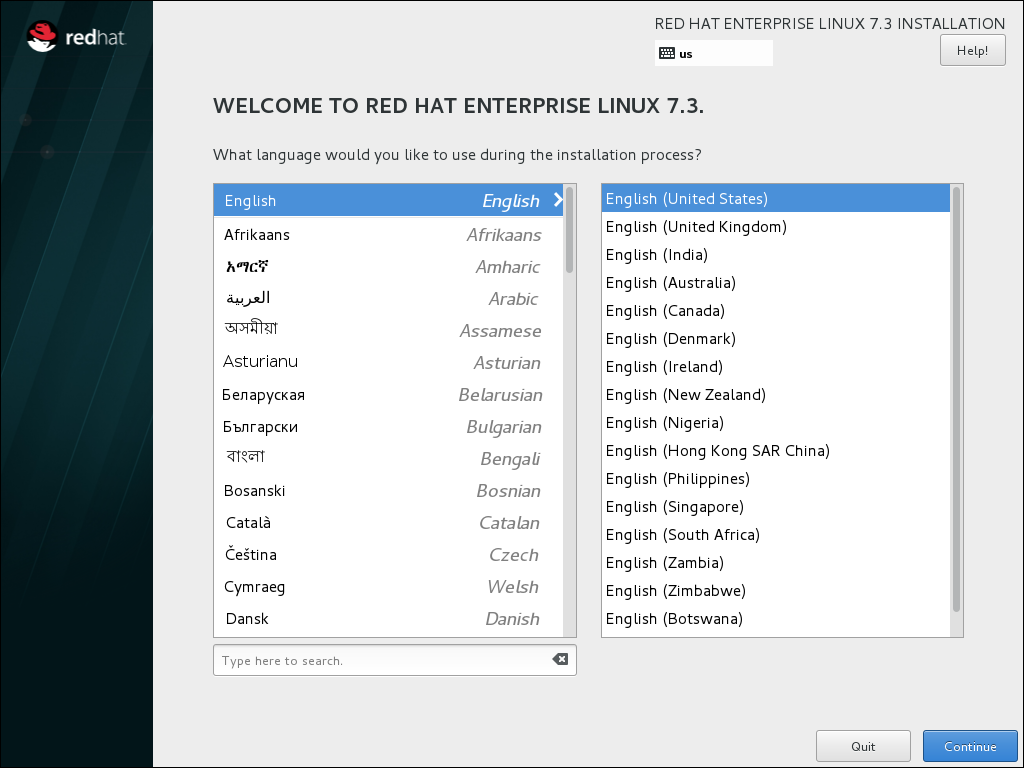
- After Anaconda, the Red Hat Enterprise Linux installer, started, select your language and region, and click Continue.
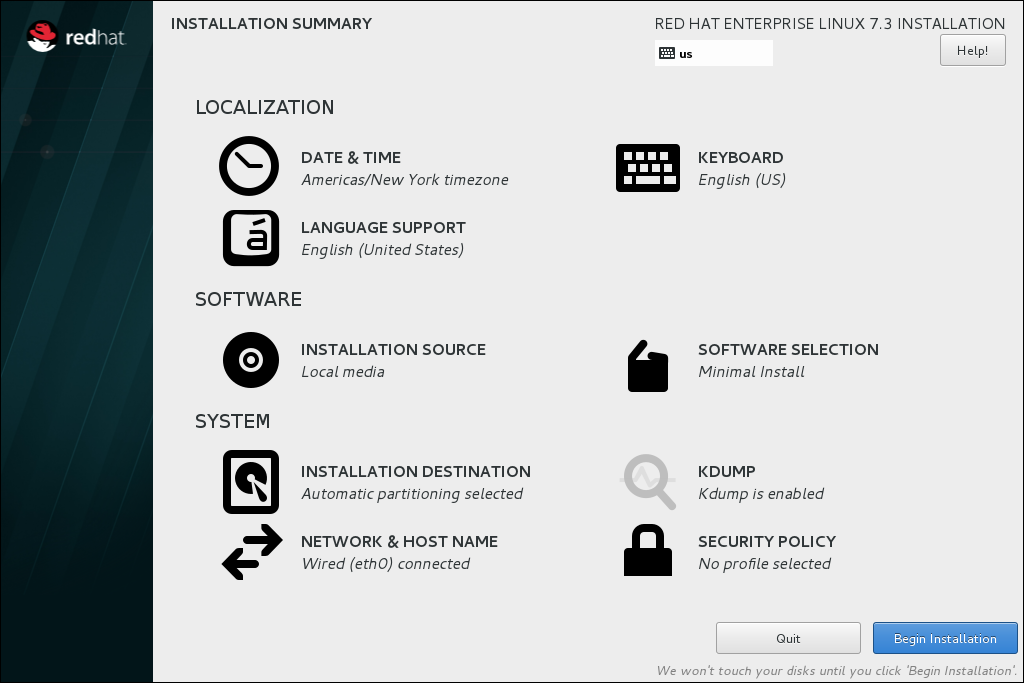
- The Installation Summary is the central screen to set configuration options:
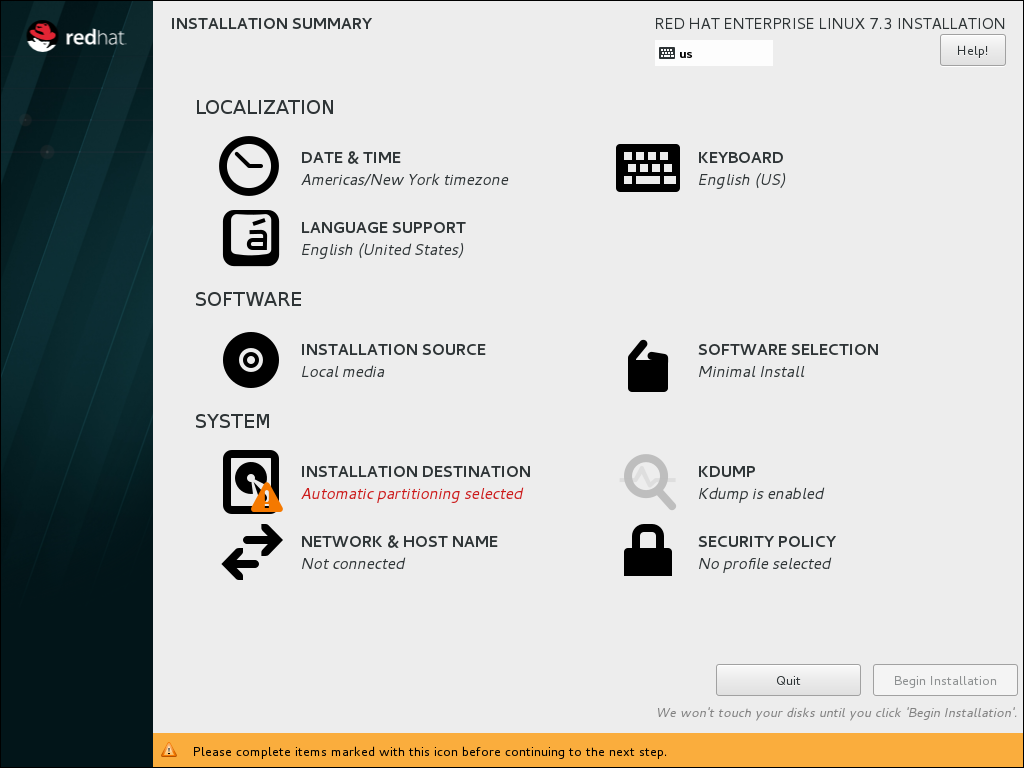 You can display and modify the individual options in any order. If a configuration option was automatically configured correctly, no further action is required. However, if items are marked with an exclamation point icon, you must complete the configuration for these items before you can begin the installation.
Note
Nothing will be written to the disk until you click the button. - Select Date & Time:
- Set your region and the nearest city in your time zone.
- Click to return to the Installation Summary.
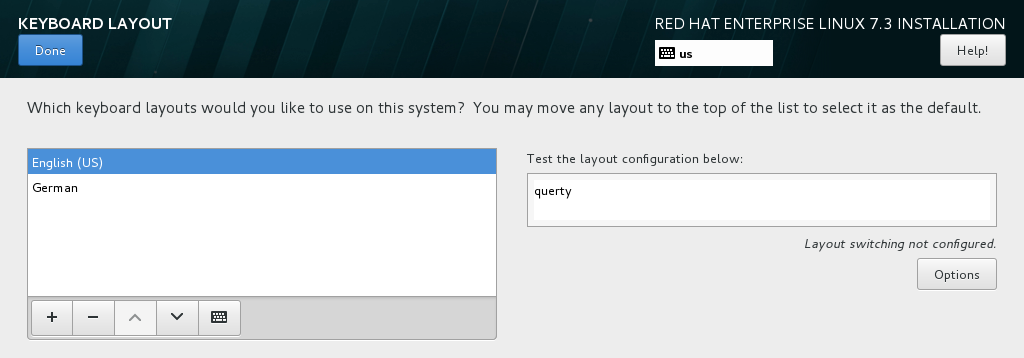
- Select :
- Use the and buttons to add and remove keyboard layouts.
- If you enable multiple keyboard layouts, move your preferred layout to the top of the list using the button to set it as default.
- Click to return to the Installation Summary.
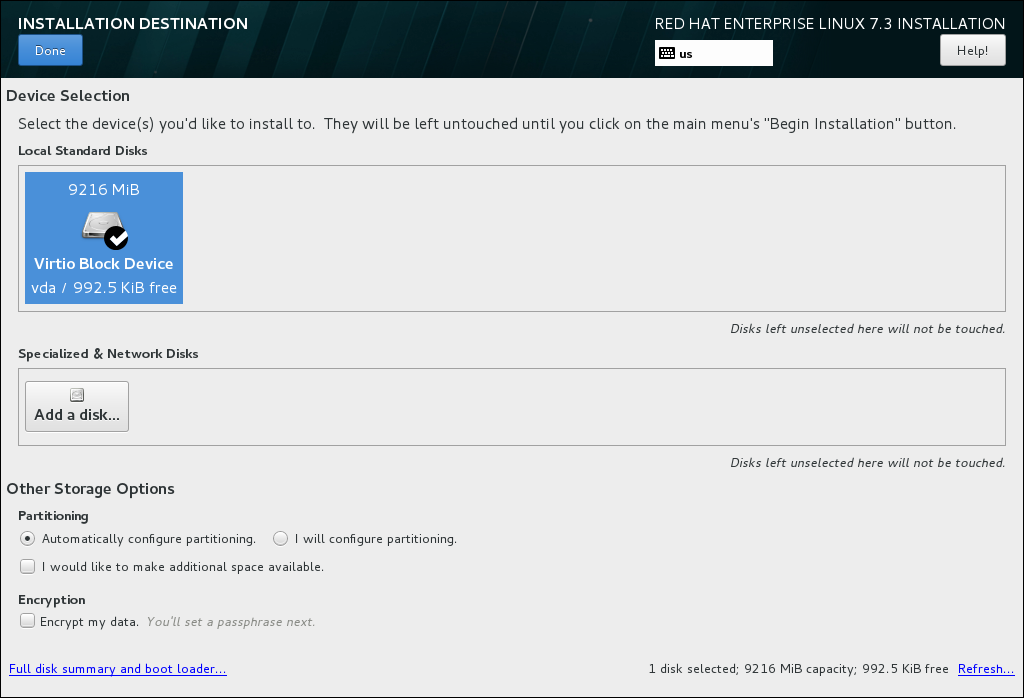
- Select Installation Destination:
- Select the target disk. A check mark is displayed next to the selected target.The selected disk is partitioned automatically.
- Click to return to the Installation Summary.
- Select Network and Hostname:
- Click the Ethernet sliding switch in the top right corner to enable the network configuration.
- Optional, select the device and click to update the network interface configuration.
- Click to return to the Installation Summary.
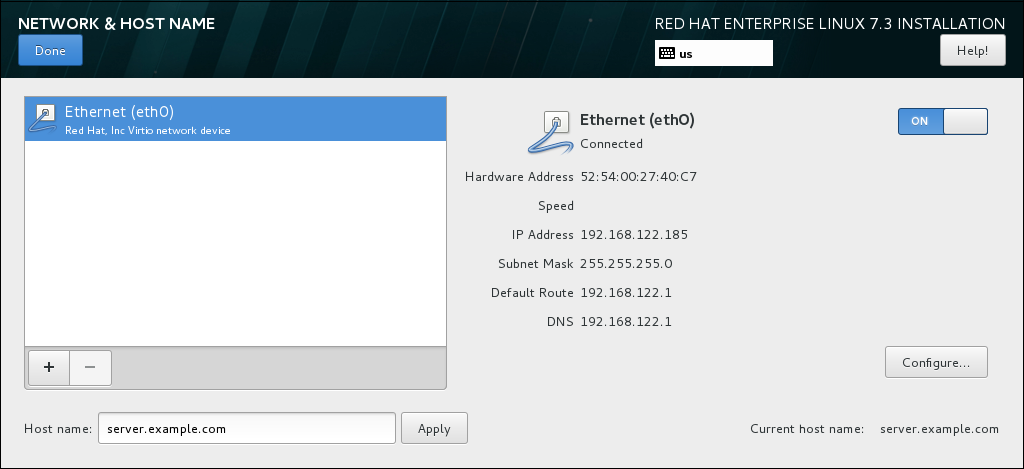
Note
Anaconda applies the network settings immediately. They are used during the setup and after the installation. - On the Installation Summary screen, click .
- The installation starts and the Configuration screen is displayed:
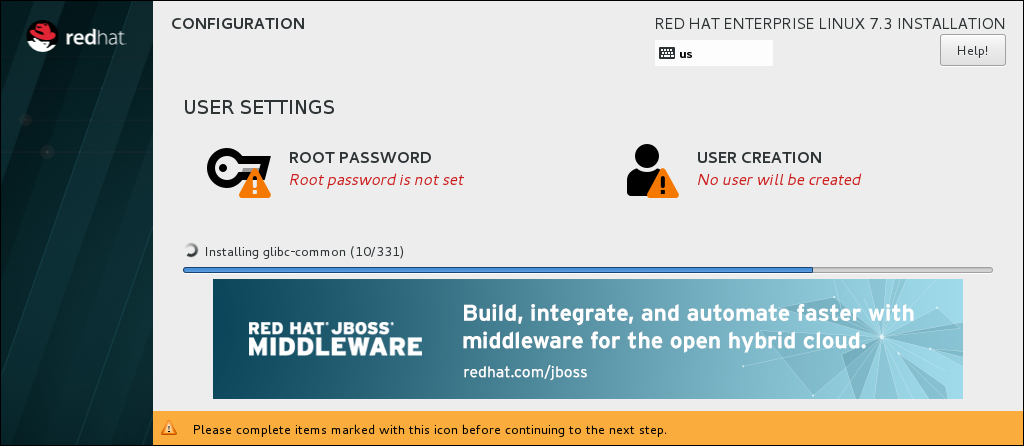 During the installation:
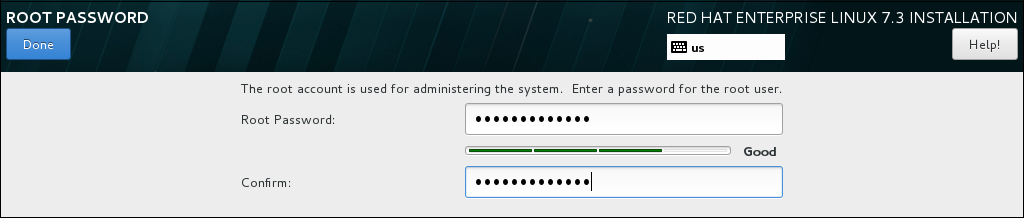
- Select Root Password:
- Enter the password for the
rootuser and confirm it. - Click to return to the Configuration screen.
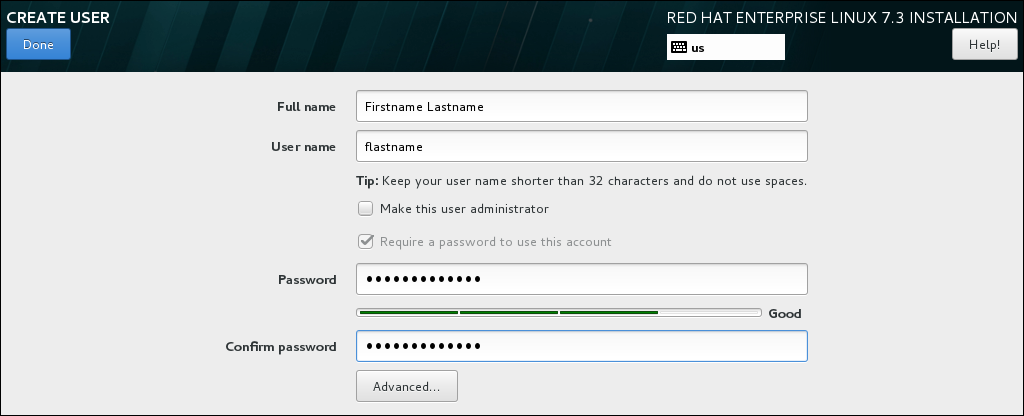
- Select User Creation:
- Enter the user's full name.
- Optionally, update the automatically generated user name.
- Set the password and confirm it.
- Optionally, check the Make this user administrator check box. This will add the user to the
wheelgroup and allow this account to usesudowithout any further configuration. - Click to return to the Configuration screen.
- Wait until the installation completes and click .
- After the installed system has been started:
- If you installed the server using the Server with GUI base environment, the Initial Setup application is started automatically:
- Accept the license agreement.
- Register the system.
For details, see Chapter 30, Initial Setup. - If you selected any other base environment during the installation:
- Log into the system as the
rootuser. - Register the system and automatically attach a subscription:
# subscription-manager register --auto-attach \
--username=user_name --password=password