此内容没有您所选择的语言版本。
21.3.10. Modifying Existing Printers
To delete an existing printer, in the Printer Configuration window, select the printer and go to
To set the default printer, right-click the printer in the printer list and click the button in the context menu.
21.3.10.1. The Settings Page
复制链接链接已复制到粘贴板!
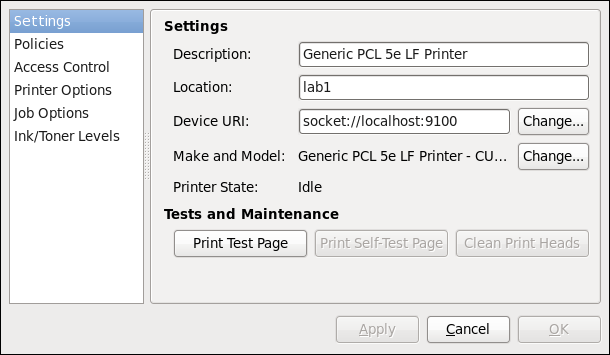
To change printer driver configuration, double-click the corresponding name in the Printer list and click the Settings label on the left to display the Settings page.
You can modify printer settings such as make and model, print a test page, change the device location (URI), and more.
Figure 21.12. Settings page
21.3.10.2. The Policies Page
复制链接链接已复制到粘贴板!
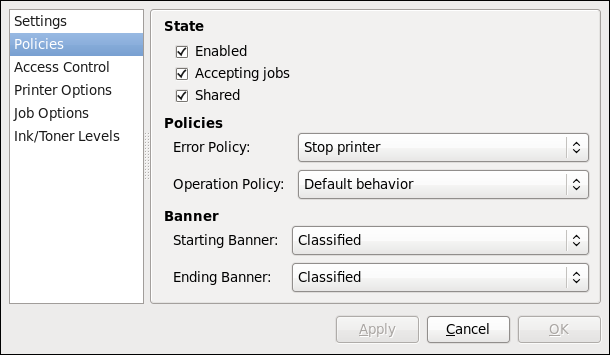
Click the Policies button on the left to change settings in printer state and print output.
You can select the printer states, configure the Error Policy of the printer (you can decide to abort the print job, retry, or stop it if an error occurs).
You can also create a banner page (a page that describes aspects of the print job such as the originating printer, the user name from the which the job originated, and the security status of the document being printed): click the Starting Banner or Ending Banner drop-down menu and choose the option that best describes the nature of the print jobs (for example, confidential).
21.3.10.2.1. Sharing Printers
复制链接链接已复制到粘贴板!
On the Policies page, you can mark a printer as shared: if a printer is shared, users published on the network can use it. To allow the sharing function for printers, go to
Finally, make sure that the firewall allows incoming TCP connections to port 631 (that is Network Printing Server (IPP) in system-config-firewall).
Figure 21.13. Policies page
21.3.10.2.2. The Access Control Page
复制链接链接已复制到粘贴板!
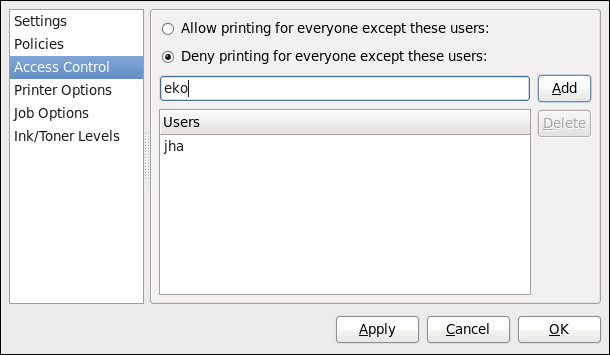
You can change user-level access to the configured printer on the Access Control page. Click the Access Control label on the left to display the page. Select either Allow printing for everyone except these users or Deny printing for everyone except these users and define the user set below: enter the user name in the text box and click the button to add the user to the user set.
Figure 21.14. Access Control page
21.3.10.2.3. The Printer Options Page
复制链接链接已复制到粘贴板!
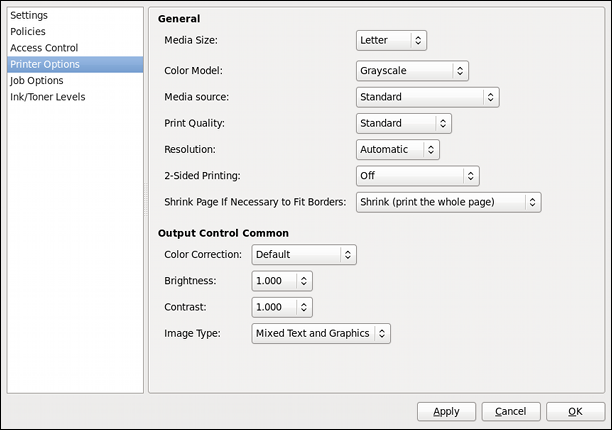
The Printer Options page contains various configuration options for the printer media and output, and its content may vary from printer to printer. It contains general printing, paper, quality, and printing size settings.
Figure 21.15. Printer Options page
21.3.10.2.4. Job Options Page
复制链接链接已复制到粘贴板!
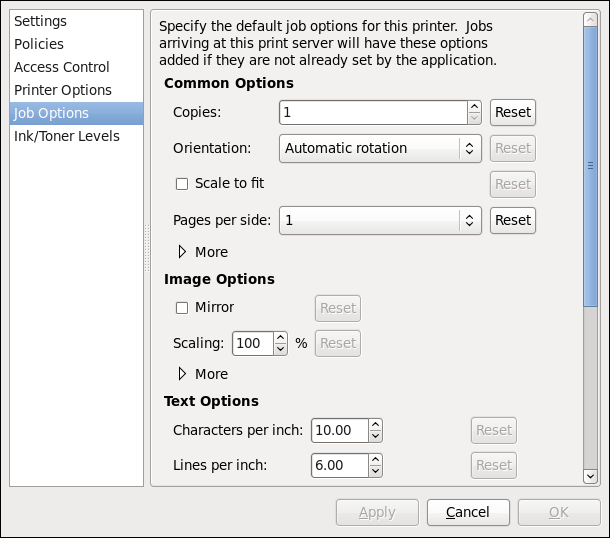
On the Job Options page, you can detail the printer job options. Click the Job Options label on the left to display the page. Edit the default settings to apply custom job options, such as number of copies, orientation, pages per side, scaling (increase or decrease the size of the printable area, which can be used to fit an oversize print area onto a smaller physical sheet of print medium), detailed text options, and custom job options.
Figure 21.16. Job Options page
21.3.10.2.5. Ink/Toner Levels Page
复制链接链接已复制到粘贴板!
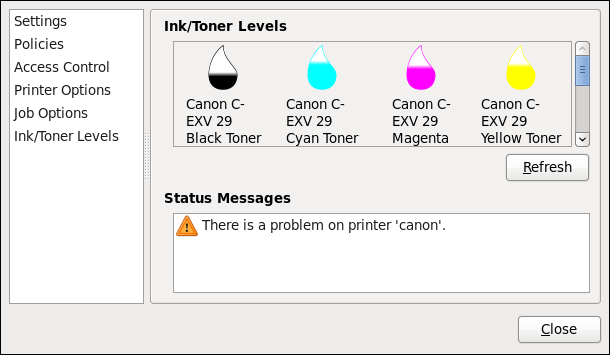
The Ink/Toner Levels page contains details on toner status if available and printer status messages. Click the Ink/Toner Levels label on the left to display the page.
Figure 21.17. Ink/Toner Levels page
21.3.10.3. Managing Print Jobs
复制链接链接已复制到粘贴板!
When you send a print job to the printer daemon, such as printing a text file from Emacs or printing an image from GIMP, the print job is added to the print spool queue. The print spool queue is a list of print jobs that have been sent to the printer and information about each print request, such as the status of the request, the job number, and more.
During the printing process, the Printer Status icon appears in the Notification Area on the panel. To check the status of a print job, click the Printer Status, which displays a window similar to Figure 21.18, “GNOME Print Status”.
Figure 21.18. GNOME Print Status
To cancel, hold, release, reprint or authenticate a print job, select the job in the GNOME Print Status and on the menu, click the respective command.
To view the list of print jobs in the print spool from a shell prompt, type the command
lpstat -o. The last few lines look similar to the following:
Example 21.11. Example of lpstat -o output
lpstat -o
Charlie-60              twaugh            1024   Tue 08 Feb 2011 16:42:11 GMT
Aaron-61                twaugh            1024   Tue 08 Feb 2011 16:42:44 GMT
Ben-62                  root              1024   Tue 08 Feb 2011 16:45:42 GMT
$ lpstat -o
Charlie-60              twaugh            1024   Tue 08 Feb 2011 16:42:11 GMT
Aaron-61                twaugh            1024   Tue 08 Feb 2011 16:42:44 GMT
Ben-62                  root              1024   Tue 08 Feb 2011 16:45:42 GMT
If you want to cancel a print job, find the job number of the request with the command
lpstat -o and then use the command cancel job number. For example, cancel 60 would cancel the print job in Example 21.11, “Example of lpstat -o output”. You can not cancel print jobs that were started by other users with the cancel command. However, you can enforce deletion of such job by issuing the cancel -U root job_number command. To prevent such canceling change the printer operation policy to Authenticated to force root authentication.
You can also print a file directly from a shell prompt. For example, the command
lp sample.txt prints the text file sample.txt. The print filter determines what type of file it is and converts it into a format the printer can understand.
