Chapter 8. Managing Users in automation controller
Users associated with an organization are shown in the Access tab of the organization.
Other users can be added to an organization, including a Normal User, System Auditor, or System Administrator, but they must be created first.
You can sort or search the User list by Username, First Name, or Last Name. Click the headers to toggle your sorting preference.
You can view user permissions and user type beside the user name on the Users page.
8.1. Creating a user
To create new users in automation controller and assign them a role.
Procedure
On the Users page, click .
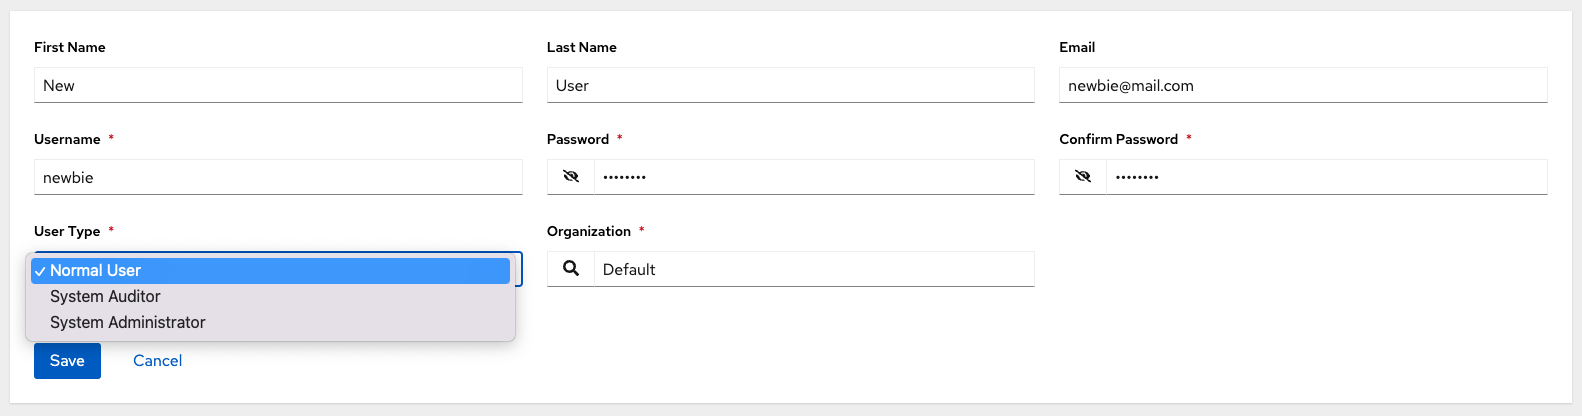
The Create User dialog opens.
Enter the appropriate details about your new user. Fields marked with an asterisk (*) are required.
NoteIf you are modifying your own password, log out and log back in again for it to take effect.
You can assign three types of users:
- Normal User: Normal Users have read and write access limited to the resources (such as inventory, projects, and job templates) for which that user has been granted the appropriate roles and privileges.
- System Auditor: Auditors inherit the read-only capability for all objects within the environment.
System Administrator: A System Administrator (also known as a Superuser) has full system administration privileges — with full read and write privileges over the entire installation. A System Administrator is typically responsible for managing all aspects of and delegating responsibilities for day-to-day work to various users.
 Note
NoteA default administrator with the role of System Administrator is automatically created during the installation process and is available to all users of automation controller. One System Administrator must always exist. To delete the System Administrator account, you must first create another System Administrator account.
Click .
When the user is successfully created, the User dialog opens.

Click to delete the user, or you can delete users from a list of current users. For more information, see Deleting a user.
The same window opens whether you click the user’s name, or the Edit
 icon beside the user. You can use this window to review and modify the User’s Organizations, Teams, Roles, and other user membership details.
If the user is not newly-created, the details screen displays the last login activity of that user.
If you log in as yourself, and view the details of your user profile, you can manage tokens from your user profile.
For more information, see Adding a user token.
8.2. Deleting a user
Before you can delete a user, you must have user permissions. When you delete a user account, the name and email of the user are permanently removed from automation controller.
Procedure
-
From the navigation panel, select
. - Click to display a list of the current users.
- Select the checkbox for the user that you want to remove.
- Click .
- Click in the confirmation warning message to permanently delete the user.
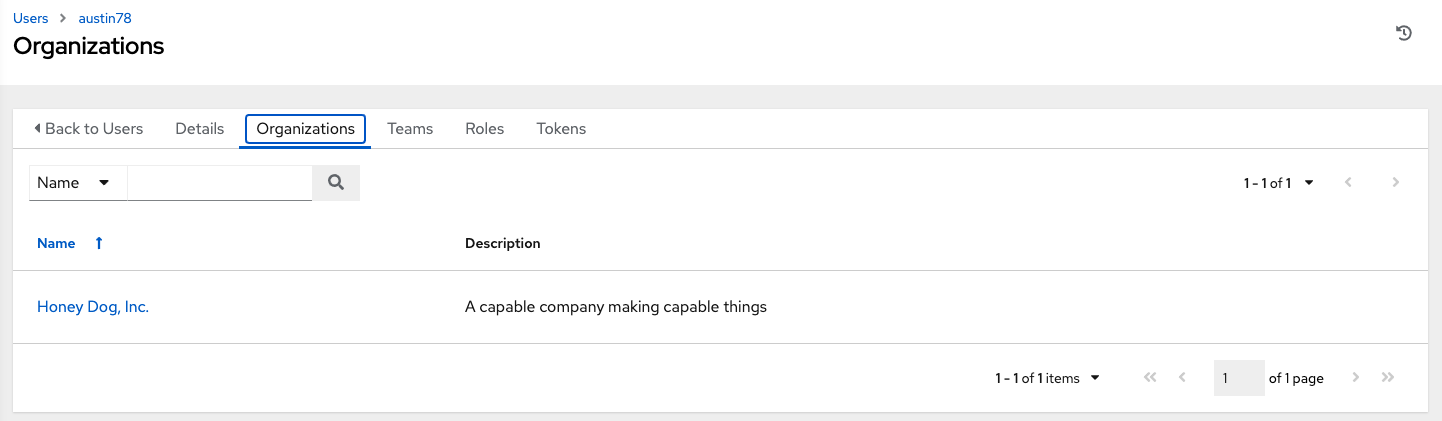
8.3. Displaying user organizations
Select a specific user to display the Details page, select the Organizations tab to display the list of organizations of which that user is a member.
Organization membership cannot be modified from this display panel.
8.4. Displaying a user’s teams
From the Users > Details page, select the Teams tab to display the list of teams of which that user is a member.
You cannot modify team membership from this display panel. For more information, see Teams.
Until you create a team and assign a user to that team, the assigned teams details for that user is displayed as empty.
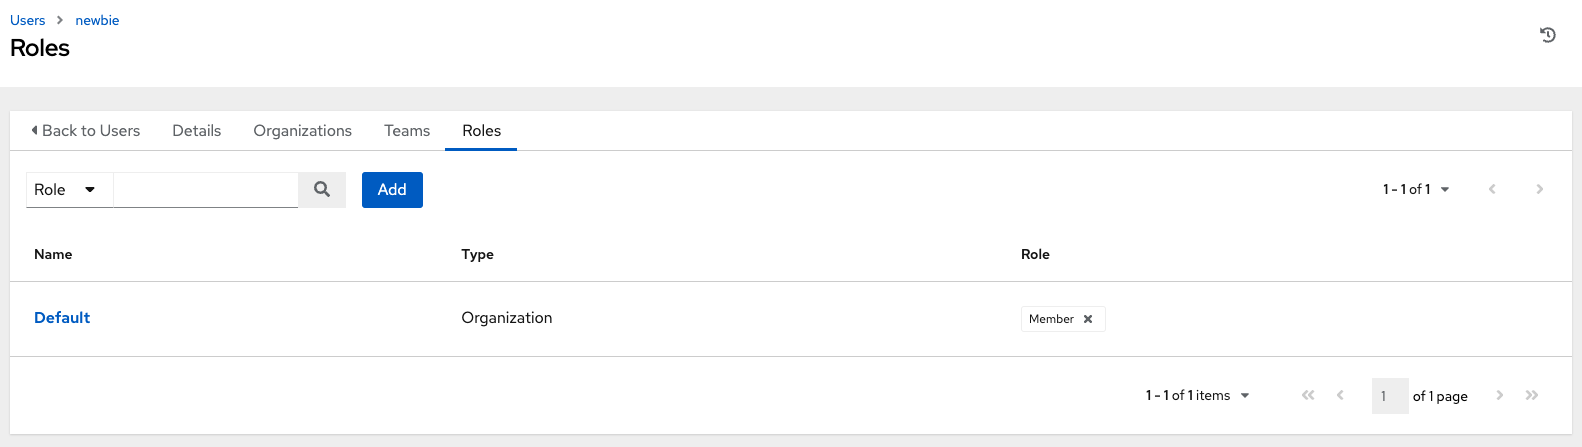
8.5. Displaying a user’s roles
From the Users > Details page, select the Roles tab to display the set of roles assigned to this user. These offer the ability to read, change, and administer projects, inventories, job templates, and other elements.
8.5.1. Adding and removing user permissions
To add permissions to a particular user:
Procedure
- From the Users list view, click on the name of a user.
On the Details page, click . This opens the Add user permissions wizard.

- Select the object to a assign permissions, for which the user will have access.
- Click .
Select the resource to assign team roles and click .
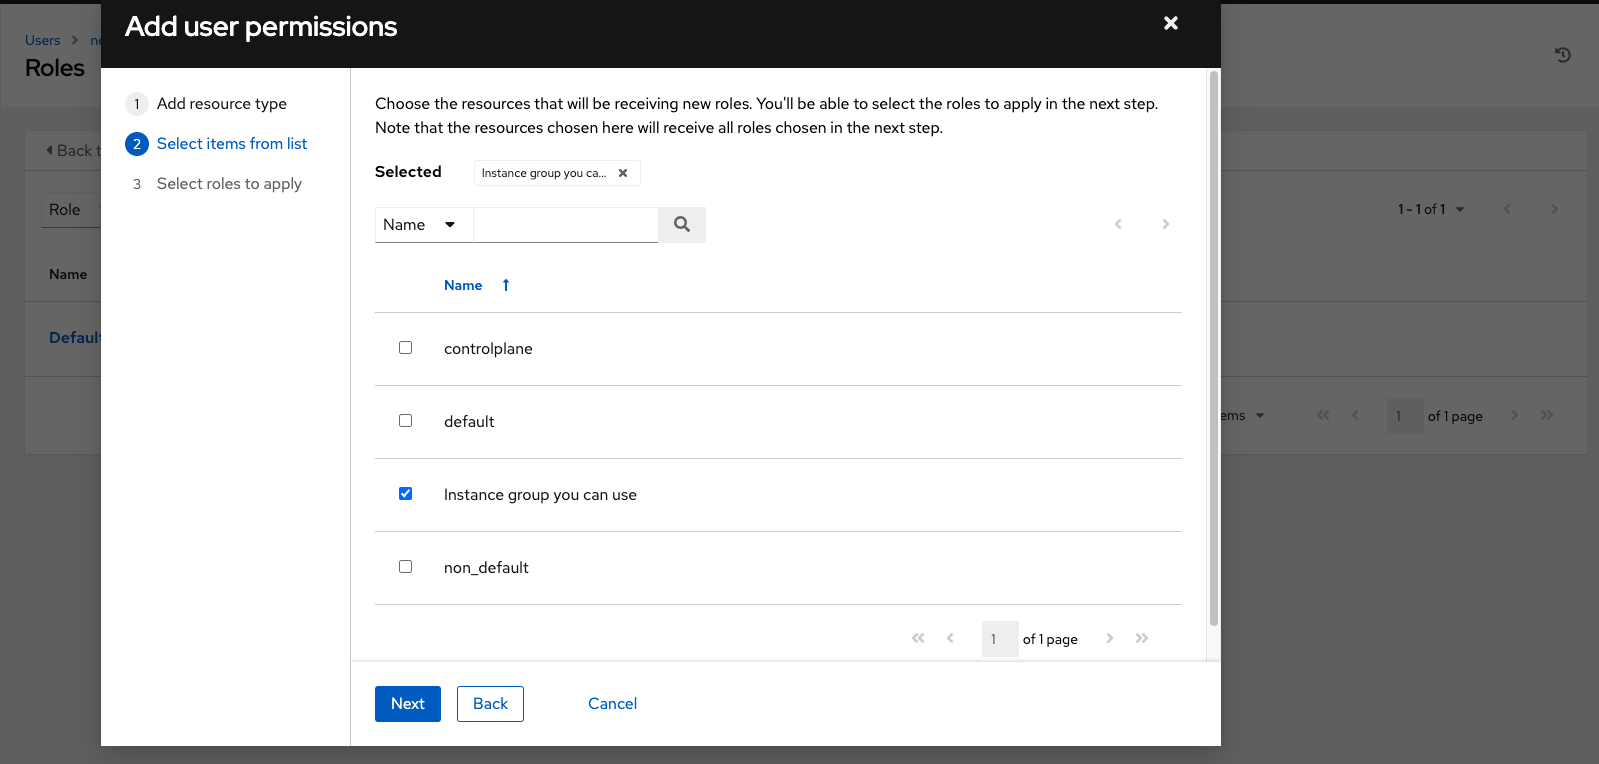
Select the resource you want to assign permissions to. Different resources have different options available.
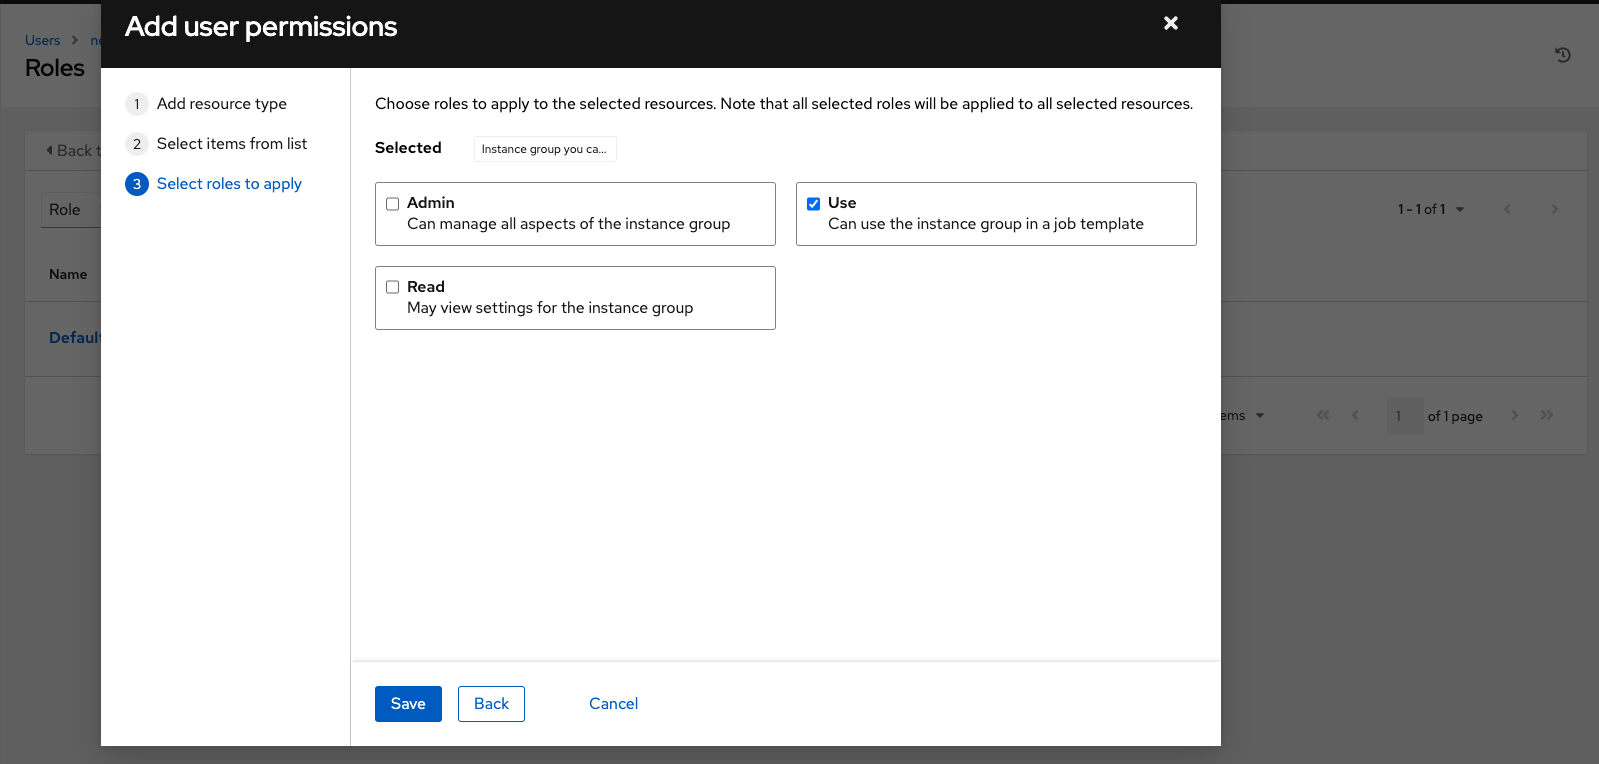
- Click .
- The Roles page displays the updated profile for the user with the permissions assigned for each selected resource.
You can also add teams, individual, or multiple users and assign them permissions at the object level. This includes templates, credentials, inventories, projects, organizations, or instance groups. This feature reduces the time for an organization to onboard many users at one time.
To remove permissions:
-
Click the
 icon next to the resource. This launches a confirmation dialog asking you to confirm the disassociation.
8.6. Creating tokens for a user
The Tokens tab is only present for the user you created for yourself.
Before you add a token for your user, you might want to Create an application if you want to associate your token with it.
You can also create a Personal Access Token (PAT) without associating it with any application.
Procedure
- Select your user from the Users list view to configure your OAuth 2 tokens.
- Select the Tokens tab from your user’s profile.
- Click to open the Create Token window.
Enter the following information:
Application: Enter the name of the application with which you want to associate your token.
Alternatively, you can search for the application name clicking the
 icon. This opens a separate window that enables you to choose from the available options. Use the Search bar to filter by name if the list is extensive.
Leave this field blank if you want to create a PAT that is not linked to any application.
- Optional: Description: Provide a short description for your token.
- Scope: Specify the level of access you want this token to have.
- Click or to abandon your changes.
After the token is saved, the newly created token for the user is displayed.
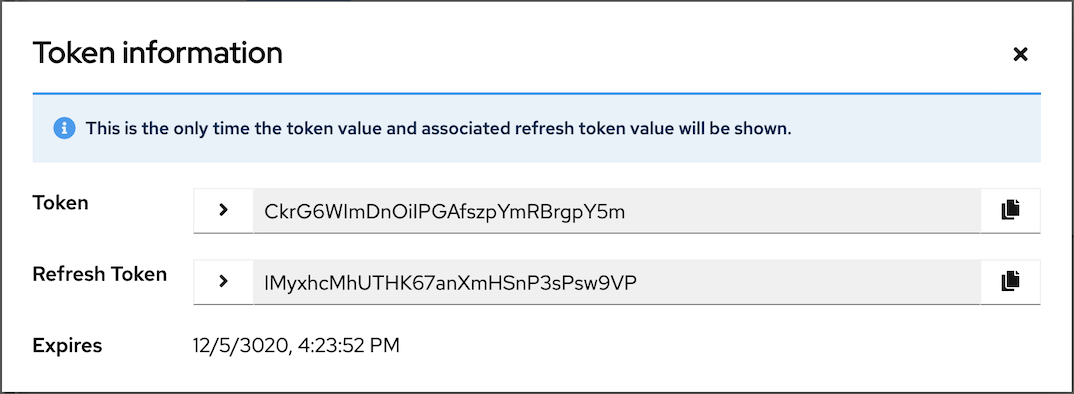 Important
This is the only time the token value and associated refresh token value are ever shown.