Questo contenuto non è disponibile nella lingua selezionata.
Chapter 3. Creating and building an application using the web console
3.1. Before you begin
- Review Accessing the web console.
- You must be able to access a running instance of OpenShift Container Platform. If you do not have access, contact your cluster administrator.
3.2. Logging in to the web console
You can log in to the OpenShift Container Platform web console to access and manage your cluster.
Prerequisites
- You must have access to an OpenShift Container Platform cluster.
Procedure
- Log in to the OpenShift Container Platform web console using your login credentials.
You are redirected to the Projects page. For non-administrative users, the default view is the Developer perspective. For cluster administrators, the default view is the Administrator perspective. If you do not have cluster-admin privileges, you will not see the Administrator perspective in your web console.
The web console provides two perspectives: the Administrator perspective and Developer perspective. The Developer perspective provides workflows specific to the developer use cases.
Figure 3.1. Perspective switcher
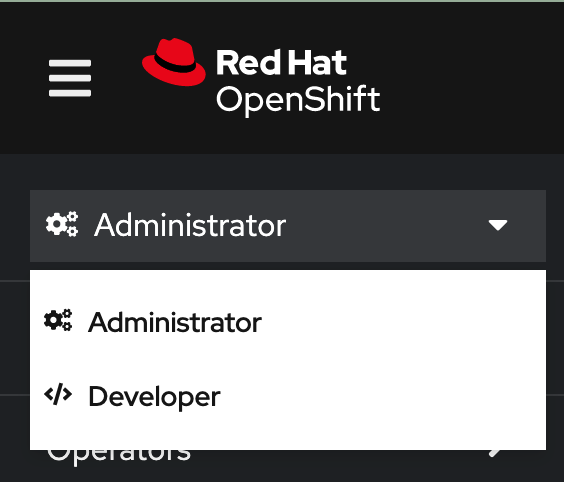
Use the perspective switcher to switch to the Developer perspective. The Topology view with options to create an application is displayed.
3.3. Creating a new project
A project enables a community of users to organize and manage their content in isolation. Projects are OpenShift Container Platform extensions to Kubernetes namespaces. Projects have additional features that enable user self-provisioning.
Users must receive access to projects from administrators. Cluster administrators can allow developers to create their own projects. In most cases, users automatically have access to their own projects.
Each project has its own set of objects, policies, constraints, and service accounts.
Prerequisites
- You are logged in to the OpenShift Container Platform web console.
- You are in the Developer perspective.
- You have the appropriate roles and permissions in a project to create applications and other workloads in OpenShift Container Platform.
Procedure
-
In the +Add view, select Project
Create Project. -
In the Name field, enter
user-getting-started. Optional: In the Display name field, enter
Getting Started with OpenShift.NoteDisplay name and Description fields are optional.
- Click Create.
You have created your first project on OpenShift Container Platform.
3.4. Granting view permissions
OpenShift Container Platform automatically creates a few special service accounts in every project. The default service account takes responsibility for running the pods. OpenShift Container Platform uses and injects this service account into every pod that launches.
The following procedure creates a RoleBinding object for the default ServiceAccount object. The service account communicates with the OpenShift Container Platform API to learn about pods, services, and resources within the project.
Prerequisites
- You are logged in to the OpenShift Container Platform web console.
- You have a deployed image.
- You are in the Administrator perspective.
Procedure
- Navigate to User Management and then click RoleBindings.
- Click Create binding.
-
Select
Namespace role binding (RoleBinding). -
In the Name field, enter
sa-user-account. -
In the Namespace field, search for and select
user-getting-started. -
In the Role name field, search for
viewand selectview. -
In the Subject field, select
ServiceAccount. -
In the Subject namespace field, search for and select
user-getting-started. -
In the Subject name field, enter
default. - Click Create.
3.5. Deploying your first image
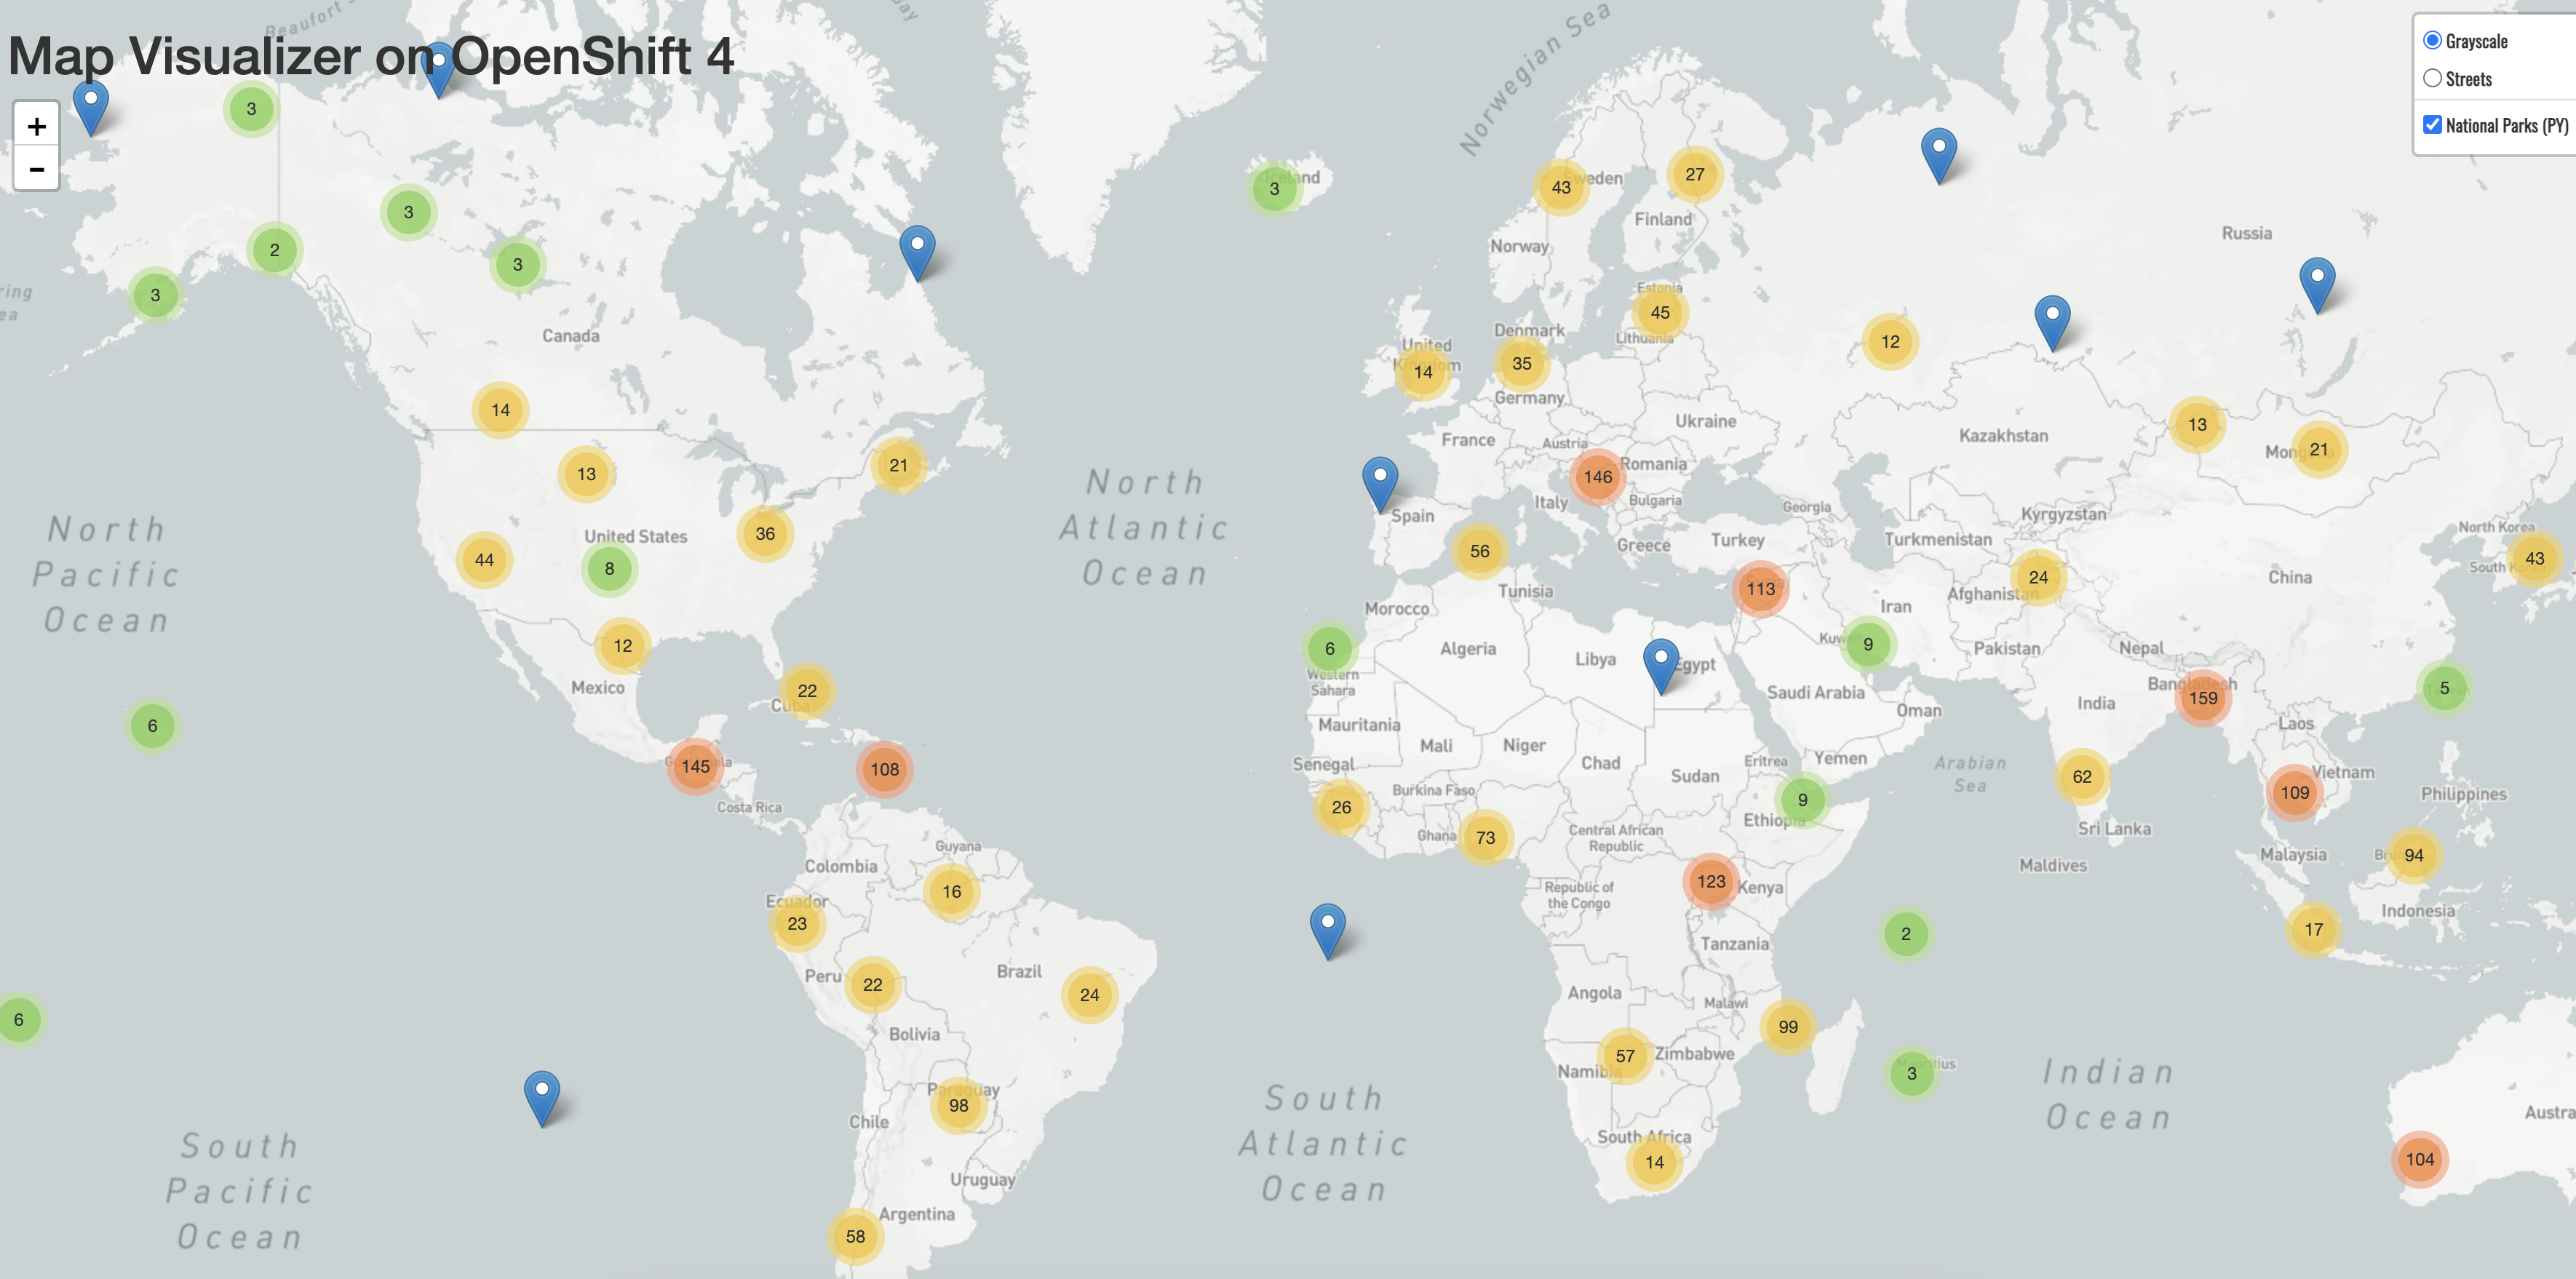
The simplest way to deploy an application in OpenShift Container Platform is to run an existing container image. The following procedure deploys a front end component of an application called national-parks-app. The web application displays an interactive map. The map displays the location of major national parks across the world.
Prerequisites
- You are logged in to the OpenShift Container Platform web console.
- You are in the Developer perspective.
- You have the appropriate roles and permissions in a project to create applications and other workloads in OpenShift Container Platform.
Procedure
- From the +Add view in the Developer perspective, click Container images to open a dialog.
-
In the Image Name field, enter the following:
quay.io/openshiftroadshow/parksmap:latest Ensure that you have the current values for the following:
-
Application:
national-parks-app -
Name:
parksmap
-
Application:
- Select Deployment as the Resource.
- Select Create route to the application.
In the Advanced Options section, click Labels and add labels to better identify this deployment later. Labels help identify and filter components in the web console and in the command line. Add the following labels:
-
app=national-parks-app -
component=parksmap -
role=frontend
-
- Click Create.
You are redirected to the Topology page where you can see the parksmap deployment in the national-parks-app application.
3.5.1. Examining the pod
OpenShift Container Platform leverages the Kubernetes concept of a pod, which is one or more containers deployed together on one host, and the smallest compute unit that can be defined, deployed, and managed. Pods are the rough equivalent of a machine instance, physical or virtual, to a container.
The Overview panel enables you to access many features of the parksmap deployment. The Details and Resources tabs enable you to scale application pods, check build status, services, and routes.
Prerequisites
- You are logged in to the OpenShift Container Platform web console.
- You are in the Developer perspective.
- You have a deployed image.
Procedure
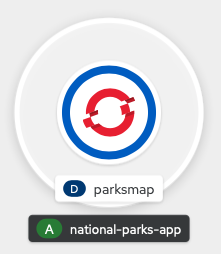
Click
D parksmapin the Topology view to open the Overview panel.Figure 3.2. Parksmap deployment
The Overview panel includes tabs for Details, Resources, and Observe. The Details tab might be displayed by default.
Expand Table 3.1. Overview panel tab definitions Tab Defintion Details
Enables you to scale your application and view pod configuration such as labels, annotations, and the status of the application.
Resources
Displays the resources that are associated with the deployment.
Pods are the basic units of OpenShift Container Platform applications. You can see how many pods are being used, what their status is, and you can view the logs.
Services that are created for your pod and assigned ports are listed under the Services heading.
Routes enable external access to the pods and a URL is used to access them.
Observe
View various Events and Metrics information as it relates to your pod.
3.5.2. Scaling the application
In Kubernetes, a Deployment object defines how an application deploys. In most cases, users use Pod, Service, ReplicaSets, and Deployment resources together. In most cases, OpenShift Container Platform creates the resources for you.
When you deploy the national-parks-app image, a deployment resource is created. In this example, only one Pod is deployed.
The following procedure scales the national-parks-image to use two instances.
Prerequisites
- You are logged in to the OpenShift Container Platform web console.
- You are in the Developer perspective.
- You have a deployed image.
Procedure
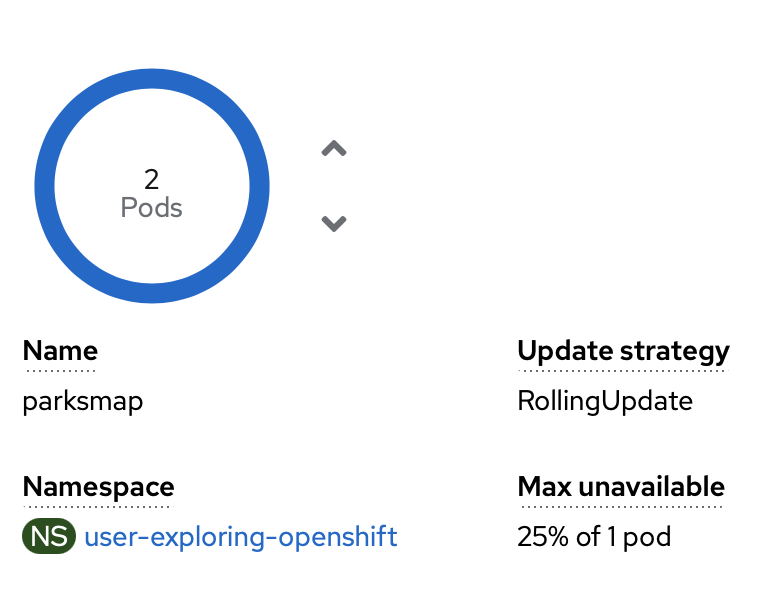
-
In the Topology view, click the
national-parks-appapplication. - Click the Details tab.
Use the up arrow to scale the pod to two instances.
Figure 3.3. Scaling application
 Note
NoteApplication scaling can happen quickly because OpenShift Container Platform is launching a new instance of an existing image.
- Use the down arrow to scale the pod down to one instance.
3.6. Deploying a Python application
The following procedure deploys a back-end service for the parksmap application. The Python application performs 2D geo-spatial queries against a MongoDB database to locate and return map coordinates of all national parks in the world.
The deployed back-end service that is nationalparks.
Prerequisites
- You are logged in to the OpenShift Container Platform web console.
- You are in the Developer perspective.
- You have a deployed image.
Procedure
- From the +Add view in the Developer perspective, click Import from Git to open a dialog.
Enter the following URL in the Git Repo URL field:
https://github.com/openshift-roadshow/nationalparks-py.gitA builder image is automatically detected.
NoteIf the detected builder image is Dockerfile, select Edit Import Strategy. Select Builder Image and then click Python.
- Scroll to the General section.
Ensure that you have the current values for the following:
-
Application:
national-parks-app -
Name:
nationalparks
-
Application:
- Select Deployment as the Resource.
- Select Create route to the application.
In the Advanced Options section, click Labels and add labels to better identify this deployment later. Labels help identify and filter components in the web console and in the command line. Add the following labels:
-
app=national-parks-app -
component=nationalparks -
role=backend -
type=parksmap-backend
-
- Click Create.
From the Topology view, select the
nationalparksapplication.NoteClick the Resources tab. In the Builds section, you can see your build running.
3.7. Connecting to a database
Deploy and connect a MongoDB database where the national-parks-app application stores location information. Once you mark the national-parks-app application as a backend for the map visualization tool, parksmap deployment uses the OpenShift Container Platform discover mechanism to display the map automatically.
Prerequisites
- You are logged in to the OpenShift Container Platform web console.
- You are in the Developer perspective.
- You have a deployed image.
Procedure
- From the +Add view in the Developer perspective, click Container images to open a dialog.
-
In the Image Name field, enter
quay.io/centos7/mongodb-36-centos7. -
In the Runtime icon field, search for
mongodb. - Scroll down to the General section.
Ensure that you have the current values for the following:
-
Application:
national-parks-app -
Name:
mongodb-nationalparks
-
Application:
- Select Deployment as the Resource.
- Unselect the checkbox next to Create route to the application.
In the Advanced Options section, click Deployment to add environment variables to add the following environment variables:
Expand Table 3.2. Environment variable names and values Name Value MONGODB_USERmongodbMONGODB_PASSWORDmongodbMONGODB_DATABASEmongodbMONGODB_ADMIN_PASSWORDmongodb- Click Create.
3.7.1. Creating a secret
The Secret object provides a mechanism to hold sensitive information such as passwords, OpenShift Container Platform client configuration files, private source repository credentials, and so on. Secrets decouple sensitive content from the pods. You can mount secrets into containers using a volume plugin or the system can use secrets to perform actions on behalf of a pod. The following procedure adds the secret nationalparks-mongodb-parameters and mounts it to the nationalparks workload.
Prerequisites
- You are logged in to the OpenShift Container Platform web console.
- You are in the Developer perspective.
- You have a deployed image.
Procedure
- From the Developer perspective, navigate to Secrets on the left hand navigation and click Secrets.
Click Create
Key/value secret. -
In the Secret name field, enter
nationalparks-mongodb-parameters. Enter the following values for Key and Value:
Expand Table 3.3. Secret keys and values Key Value MONGODB_USERmongodbDATABASE_SERVICE_NAMEmongodb-nationalparksMONGODB_PASSWORDmongodbMONGODB_DATABASEmongodbMONGODB_ADMIN_PASSWORDmongodb- Click Create.
-
In the Secret name field, enter
Click Add Secret to workload.
-
From the drop down menu, select
nationalparksas the workload to add. - Click Save.
-
From the drop down menu, select
This change in configuration triggers a new rollout of the nationalparks deployment with the environment variables properly injected.
3.7.2. Loading data and displaying the national parks map
You deployed the parksmap and nationalparks applications and then deployed the mongodb-nationalparks database. However, no data has been loaded into the database. Before loading the data, add the proper labels to the mongodb-nationalparks and nationalparks deployment.
Prerequisites
- You are logged in to the OpenShift Container Platform web console.
- You are in the Developer perspective.
- You have a deployed image.
Procedure
-
From the Topology view, navigate to
nationalparksdeployment and click Resources and retrieve your route information. Copy and paste the URL into your web browser and add the following at the end of the URL:
/ws/data/loadExample output
Items inserted in database: 2893-
From the Topology view, navigate to
parksmapdeployment and click Resources and retrieve your route information. - Copy and paste the URL into your web browser to view your national parks across the world map.
Figure 3.4. National parks across the world