Search

17.3.2. Saving Traceback Messages

download PDF
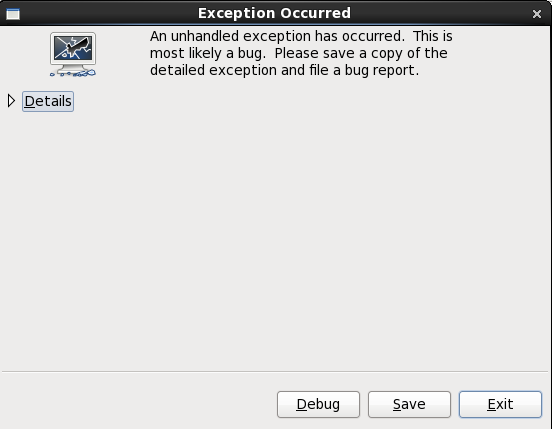
If anaconda encounters an error during the graphical installation process, it presents you with a crash reporting dialog box:
The Crash Reporting Dialog Box

Figure 17.1. The Crash Reporting Dialog Box

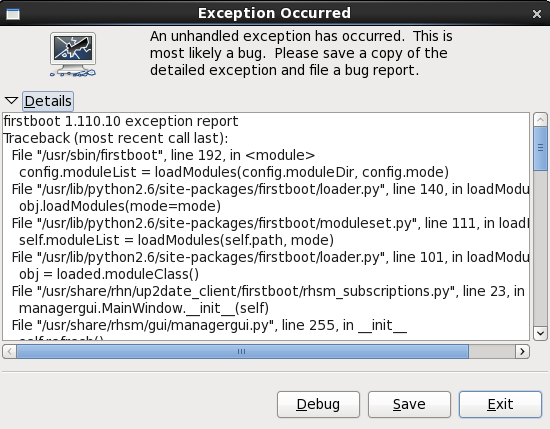
Details
shows you the details of the error:
Details of the Crash

Figure 17.2. Details of the Crash

Save
saves details of the error locally or remotely:
Exit
exits the installation process.
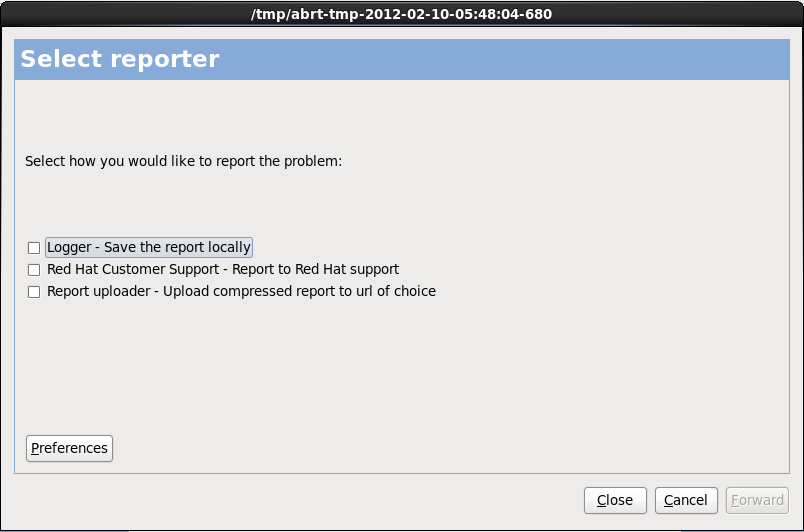
If you select Save from the main dialog, you can choose from the following options:
Select reporter

Figure 17.3. Select reporter

Logger
saves details of the error as a log file to the local hard drive at a specified location.
Red Hat Customer Support
submits the crash report to Customer Support for assistance.
Report uploader
uploads a compressed version of the crash report to Bugzilla or a URL of your choice.
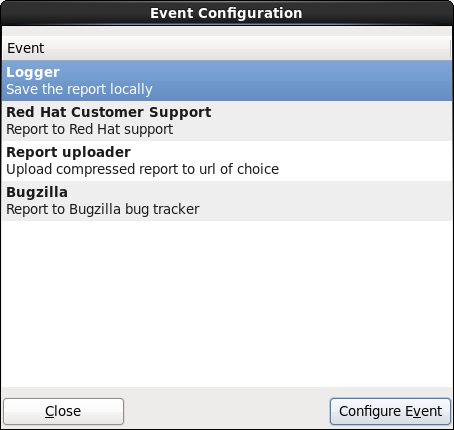
Before submitting the report, click Preferences to specify a destination or provide authentication details. Select the reporting method you need to configure and click Configure Event.
Configure reporter preferences

Figure 17.4. Configure reporter preferences

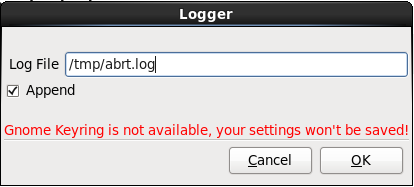
Logger
Specify a path and a filename for the log file. Check Append if you are adding to an existing log file.
Specify local path for log file

Figure 17.5. Specify local path for log file

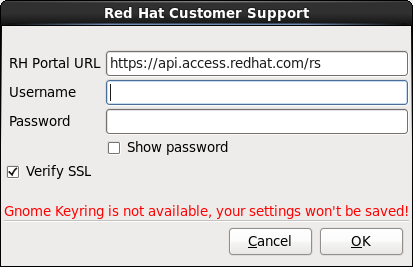
Red Hat Customer Support
Enter your Red Hat Network username and password so your report reaches Customer Support and is linked with your account. The URL is prefilled and Verify SSL is checked by default.
Enter Red Hat Network authentication details

Figure 17.6. Enter Red Hat Network authentication details

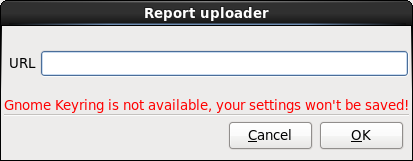
Report uploader
Specify a URL for uploading a compressed version of the crash report.
Enter URL for uploading crash report

Figure 17.7. Enter URL for uploading crash report

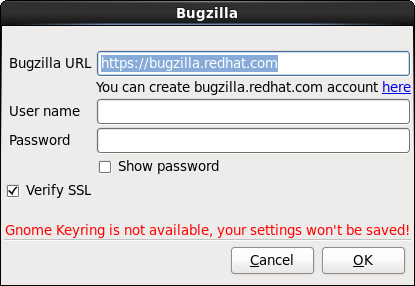
Bugzilla
Enter your Bugzilla username and password to lodge a bug with Red Hat's bug-tracking system using the crash report. The URL is prefilled and Verify SSL is checked by default.
Enter Bugzilla authentication details

Figure 17.8. Enter Bugzilla authentication details

Once you have entered your preferences, click OK to return to the report selection dialog. Select how you would like to report the problem and then click Forward.
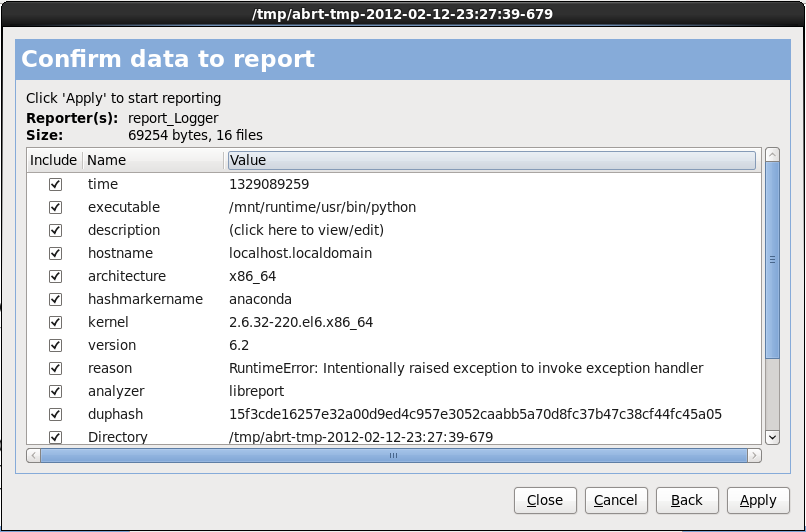
Confirm report data

Figure 17.9. Confirm report data

You can now customize the report by checking and unchecking the issues that will be included. When finished, click Apply.
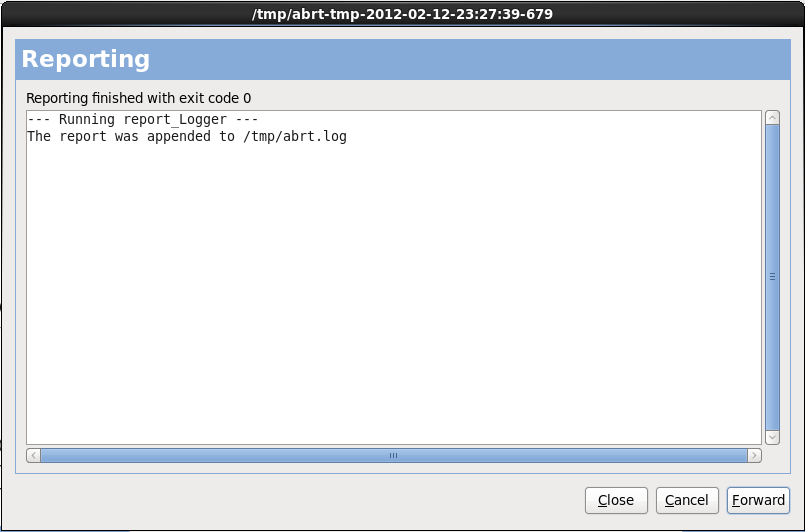
Report in progress

Figure 17.10. Report in progress

This screen displays the outcome of the report, including any errors in sending or saving the log. Click Forward to proceed.
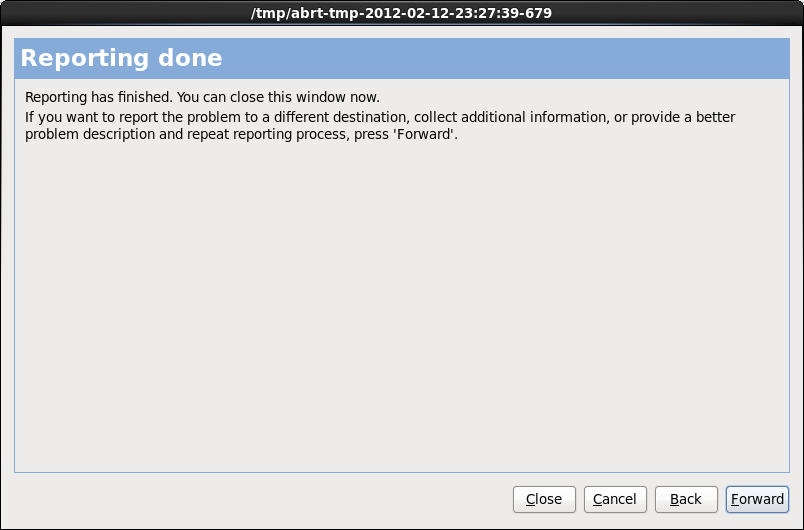
Reporting done

Figure 17.11. Reporting done

Reporting is now complete. Click Forward to return to the report selection dialog. You can now make another report, or click Close to exit the reporting utility and then Exit to close the installation process.

Important

This information does not apply to users of headless IBM System p systems.
Red Hat logoGithubRedditYoutubeTwitter

Learn

Try, buy, & sell

Communities

About Red Hat Documentation

We help Red Hat users innovate and achieve their goals with our products and services with content they can trust.

Making open source more inclusive

Red Hat is committed to replacing problematic language in our code, documentation, and web properties. For more details, see the Red Hat Blog.

About Red Hat

We deliver hardened solutions that make it easier for enterprises to work across platforms and environments, from the core datacenter to the network edge.

© 2024 Red Hat, Inc.