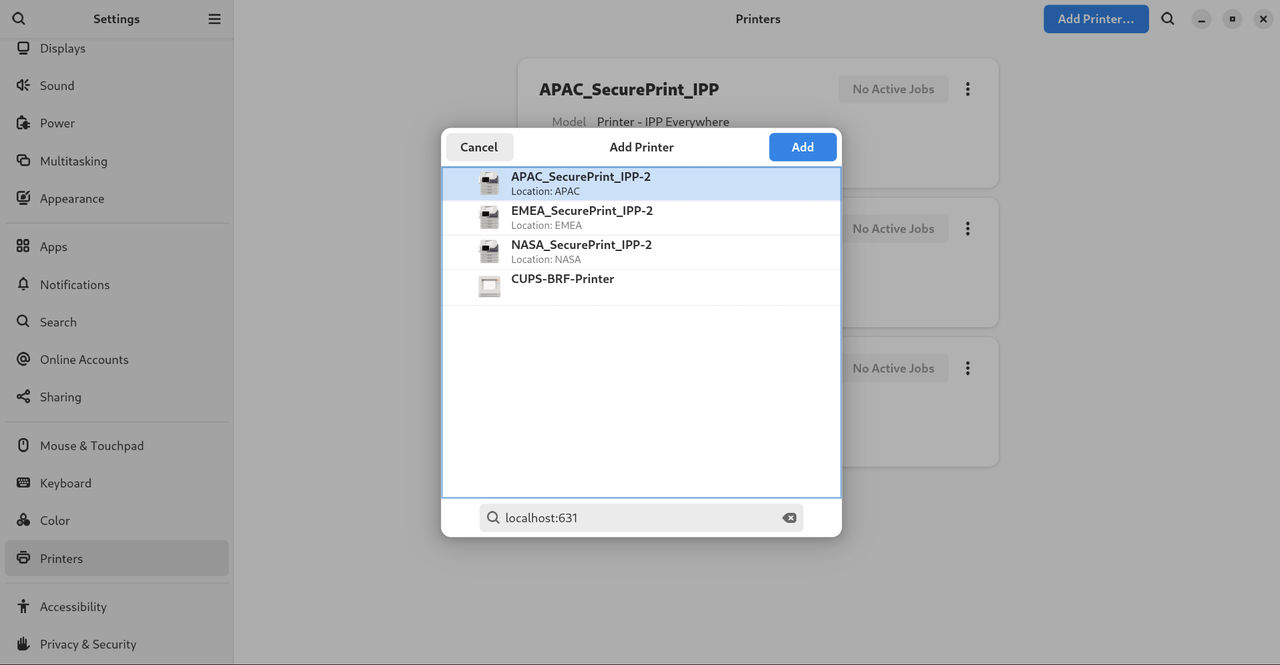
Add a new printer in Settings
You can add a new printer by using the Settings application.
Before you begin
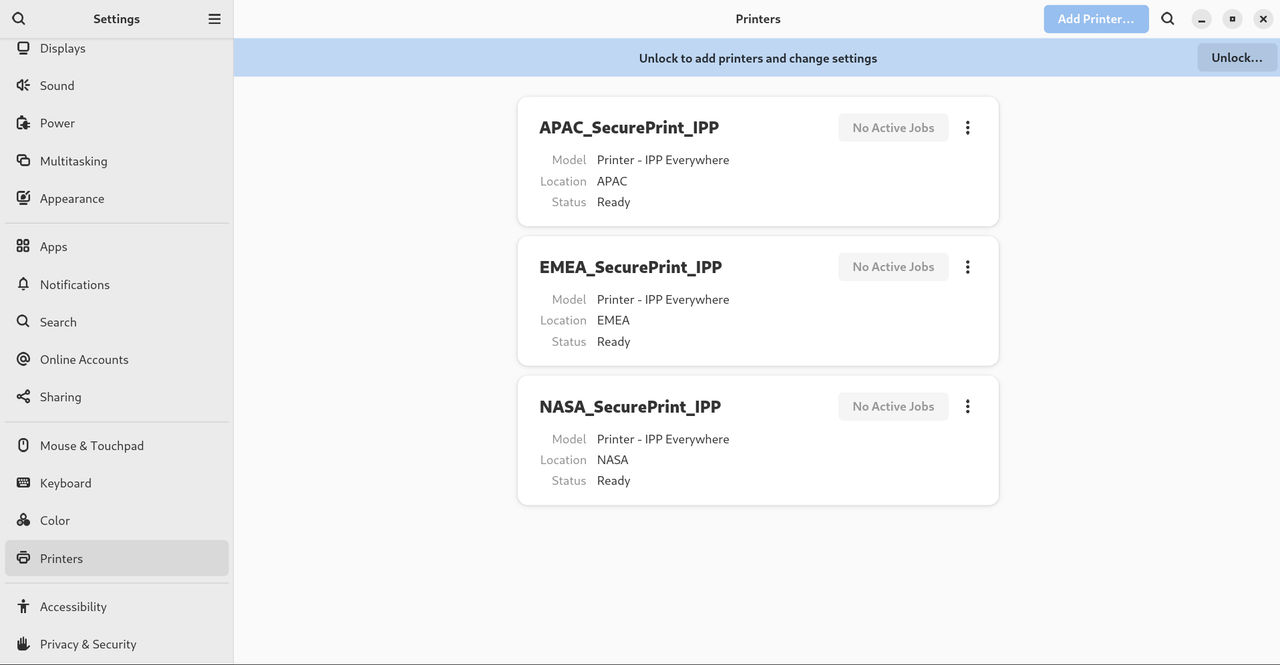
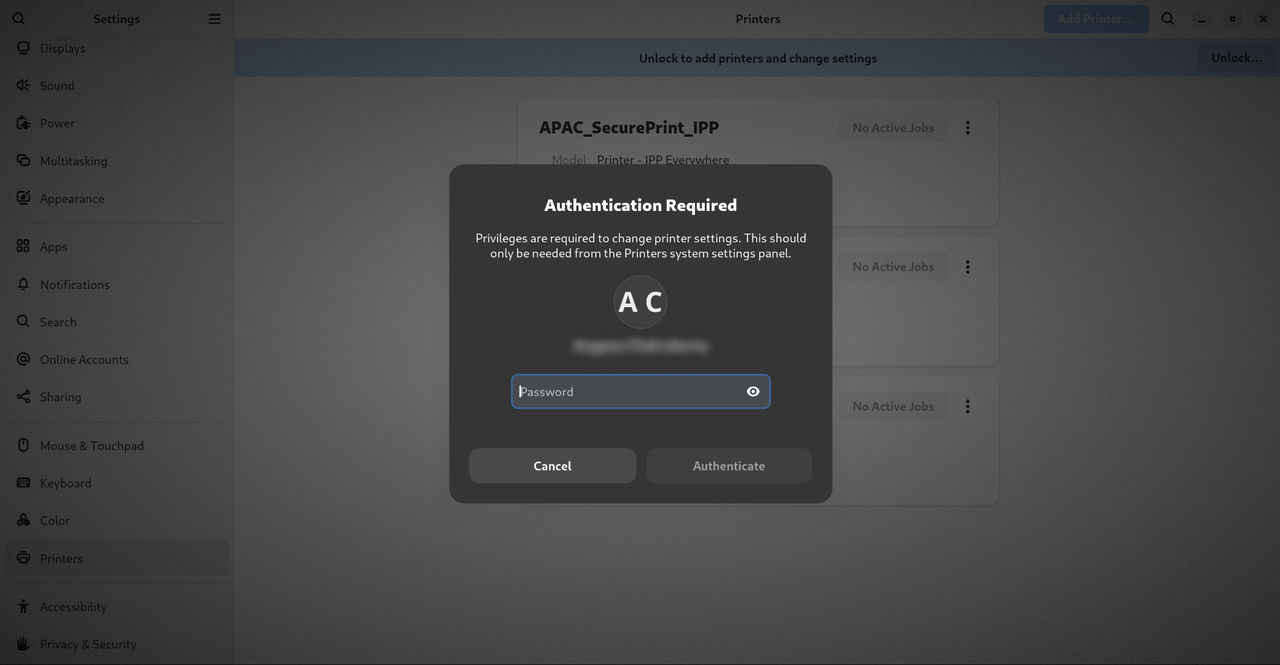
- Click the button, which is displayed near the upper-right corner of the Printers screen, and authenticate as one of the following users:
- Superuser
- Any user with the administrative access provided by
sudo(users listed within/etc/sudoers) - Any user belonging to the
printadmingroup in/etc/group
Procedure
-
Open the Printers dialog.
-
Click Unlock and authenticate.
-
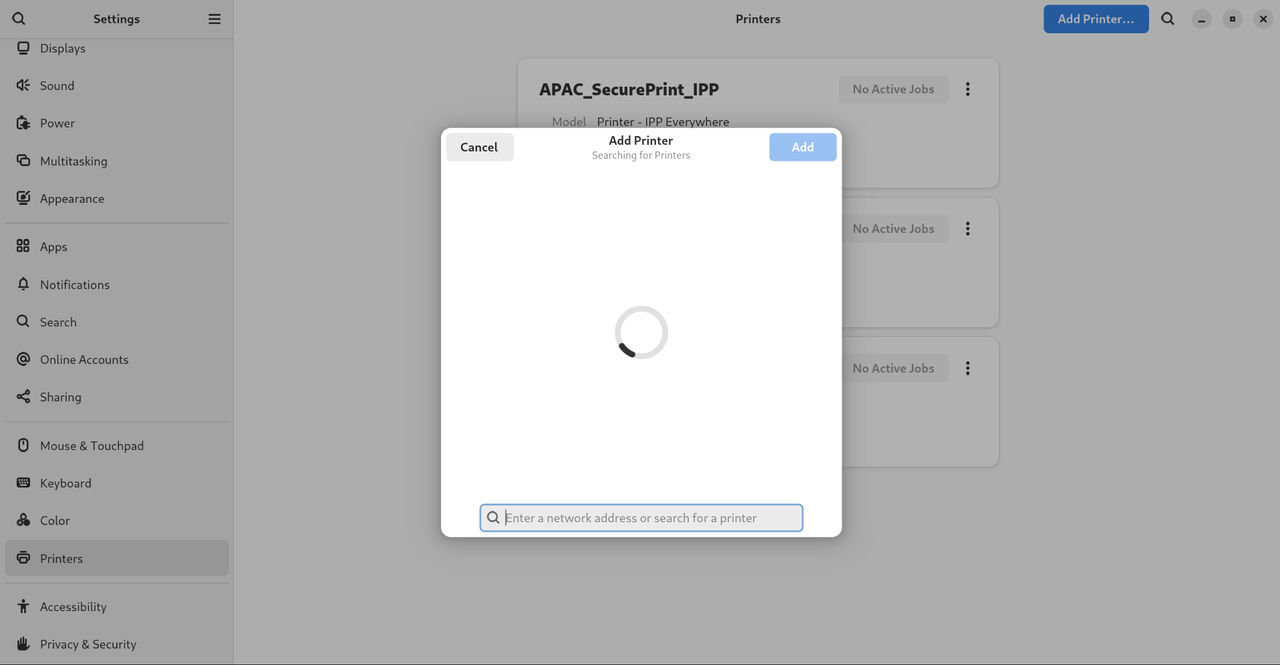
Select one of the available printers (including also network printers), or enter printer IP address or the hostname of a printer server.
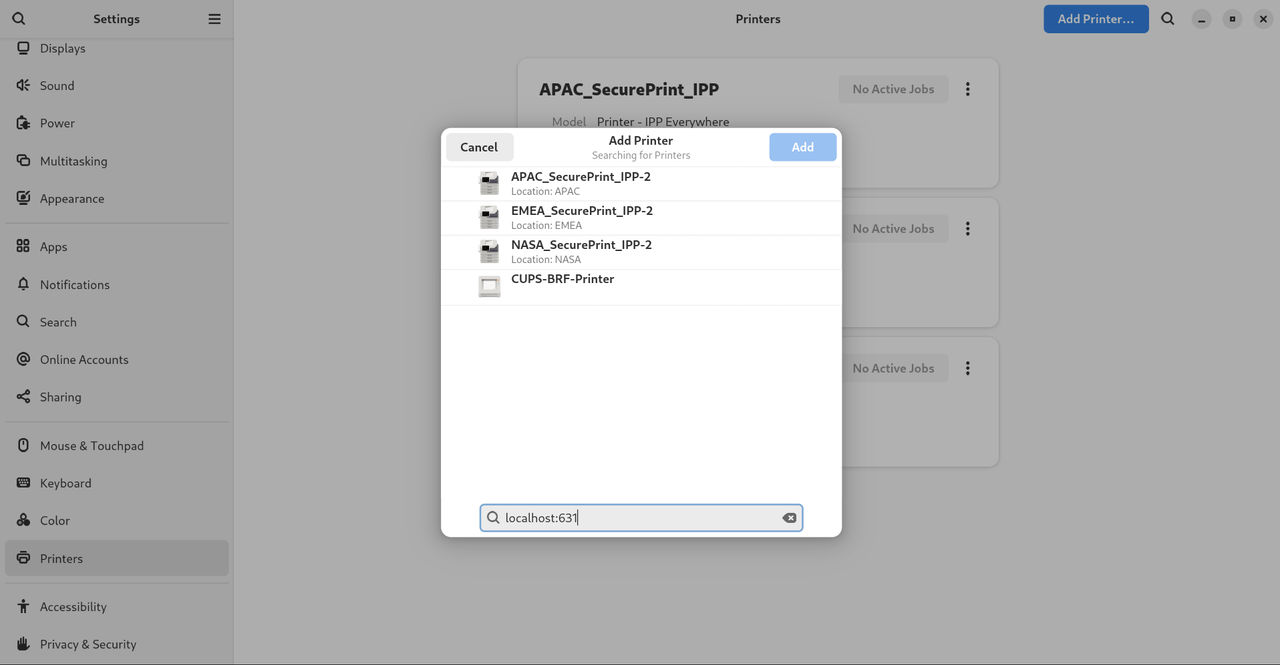
-
Confirm your selection by clicking in the top right corner.