9.2. Creating a New Role
Note
Be sure to create resource groups to assign to any custom roles you create. If no resource groups are assigned to a role, then none of the members of the role can see any resources. Creating groups is described in Section 6.2, “Creating Groups”.
- Create any resources groups which will be associated with the role. Creating groups is described in Section 6.2, “Creating Groups”.By default, JBoss ON uses only resource groups to associate with a role, and these are required. However, optional user groups from an LDAP directory can also be assigned to a role, so that the group members are automatically treated as role members. LDAP groups must be configured in the server settings, as described in Section 10.3.2, “Associating LDAP User Groups to Roles”.
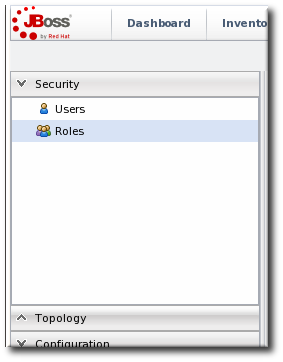
- In the top menu, click the Administration tab.
- In the menu table on the left, select the item.
- The list of current roles comes up in the main task window. Click the button at the bottom of the list.
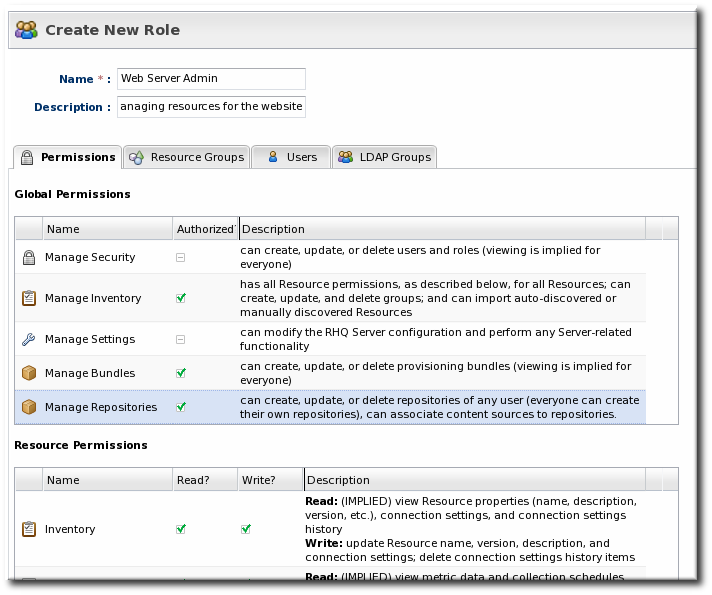
- Give the role a descriptive name. This makes it easier to manage permissions across roles.
- Global permissions grant permissions to areas of the JBoss ON server and configuration.
- Resource permissions grant permissions for managing resources.
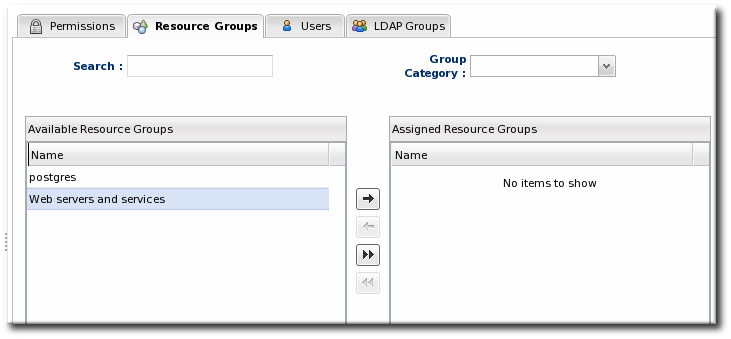
The specific access permissions are described in Table 9.1, “JBoss ON Access Control Definitions”.- Move the required groups from the Available Resource Groups area on the left to the Assigned Resource Groups on the right as required.
- At the bottom, click the button.
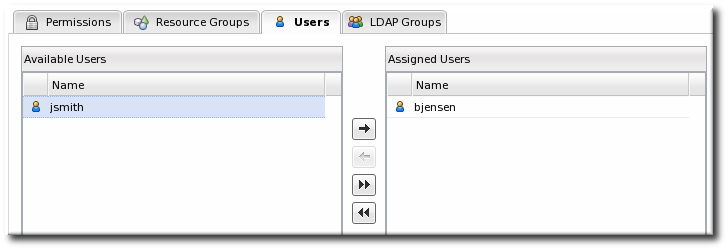
- Select the Users tab to assign users to the role.Move the required user from the Available Users area on the left, to the Assigned Users on the right as required.
- Click the arrow in the upper right to close the create window.


