2장. OpenShift CLI(oc)
2.1. OpenShift CLI 시작하기
2.1.1. OpenShift CLI 정보
OpenShift CLI (oc)를 사용하면 터미널에서 애플리케이션을 생성하고 OpenShift Container Platform 프로젝트를 관리할 수 있습니다. OpenShift CLI를 사용하기에 적합한 경우는 다음과 같습니다.
- 직접 프로젝트 소스 코드로 작업하는 경우
- OpenShift Container Platform 작업 스크립트를 작성하는 경우
- 대역폭 리소스가 제한되고 웹 콘솔을 사용할 수 없는 상태에서 프로젝트를 관리하는 경우
2.1.2. OpenShift CLI 설치
OpenShift CLI(oc)는 바이너리를 다운로드하거나 RPM을 사용하여 설치할 수 있습니다.
2.1.2.1. 바이너리를 다운로드하여 OpenShift CLI 설치
명령줄 인터페이스를 사용하여 OpenShift Container Platform과 상호 작용하기 위해 OpenShift CLI(oc)를 설치할 수 있습니다. Linux, Windows 또는 macOS에 oc를 설치할 수 있습니다.
이전 버전의 oc 를 설치한 경우 OpenShift Container Platform 4.15의 모든 명령을 완료하는 데 해당 버전을 사용할 수 없습니다. 새 버전의 oc를 다운로드하여 설치합니다.
2.1.2.1.1. Linux에서 OpenShift CLI 설치
다음 절차를 사용하여 Linux에서 OpenShift CLI(oc) 바이너리를 설치할 수 있습니다.
프로세스
- Red Hat 고객 포털에서 OpenShift Container Platform 다운로드 페이지로 이동합니다.
- 제품 변형 드롭다운 목록에서 아키텍처를 선택합니다.
- 버전 드롭다운 목록에서 적절한 버전을 선택합니다.
- OpenShift v4.15 Linux Clients 항목 옆에 있는 지금 다운로드를 클릭하고 파일을 저장합니다.
아카이브의 압축을 풉니다.
$ tar xvf <file>oc바이너리를PATH에 있는 디렉터리에 배치합니다.PATH를 확인하려면 다음 명령을 실행합니다.$ echo $PATH
검증
OpenShift CLI를 설치한 후
oc명령을 사용할 수 있습니다.$ oc <command>
2.1.2.1.2. Windows에서 OpenSfhit CLI 설치
다음 절차에 따라 Windows에 OpenShift CLI(oc) 바이너리를 설치할 수 있습니다.
프로세스
- Red Hat 고객 포털에서 OpenShift Container Platform 다운로드 페이지로 이동합니다.
- 버전 드롭다운 목록에서 적절한 버전을 선택합니다.
- OpenShift v4.15 Windows Client 항목 옆에 있는 지금 다운로드를 클릭하고 파일을 저장합니다.
- ZIP 프로그램으로 아카이브의 압축을 풉니다.
oc바이너리를PATH에 있는 디렉터리로 이동합니다.PATH를 확인하려면 명령 프롬프트를 열고 다음 명령을 실행합니다.C:\> path
검증
OpenShift CLI를 설치한 후
oc명령을 사용할 수 있습니다.C:\> oc <command>
2.1.2.1.3. macOS에 OpenShift CLI 설치
다음 절차에 따라 macOS에서 OpenShift CLI(oc) 바이너리를 설치할 수 있습니다.
프로세스
- Red Hat 고객 포털에서 OpenShift Container Platform 다운로드 페이지로 이동합니다.
- 버전 드롭다운 목록에서 적절한 버전을 선택합니다.
OpenShift v4.15 macOS Clients 항목 옆에 있는 지금 다운로드를 클릭하고 파일을 저장합니다.
참고macOS arm64의 경우 OpenShift v4.15 macOS arm64 Client 항목을 선택합니다.
- 아카이브의 압축을 해제하고 압축을 풉니다.
oc바이너리 PATH의 디렉터리로 이동합니다.PATH를 확인하려면 터미널을 열고 다음 명령을 실행합니다.$ echo $PATH
검증
oc명령을 사용하여 설치를 확인합니다.$ oc <command>
2.1.2.2. 웹 콘솔을 사용하여 OpenShift CLI 설치
웹 콘솔에서 OpenShift Container Platform과 상호 작용하기 위해 OpenShift CLI(oc)를 설치할 수 있습니다. Linux, Windows 또는 macOS에 oc를 설치할 수 있습니다.
이전 버전의 oc 를 설치한 경우 OpenShift Container Platform 4.15의 모든 명령을 완료하는 데 해당 버전을 사용할 수 없습니다. 새 버전의 oc를 다운로드하여 설치합니다.
2.1.2.2.1. 웹 콘솔을 사용하여 Linux에 OpenShift CLI 설치
다음 절차를 사용하여 Linux에서 OpenShift CLI(oc) 바이너리를 설치할 수 있습니다.
프로세스
웹 콘솔에서 ? 를 클릭합니다.
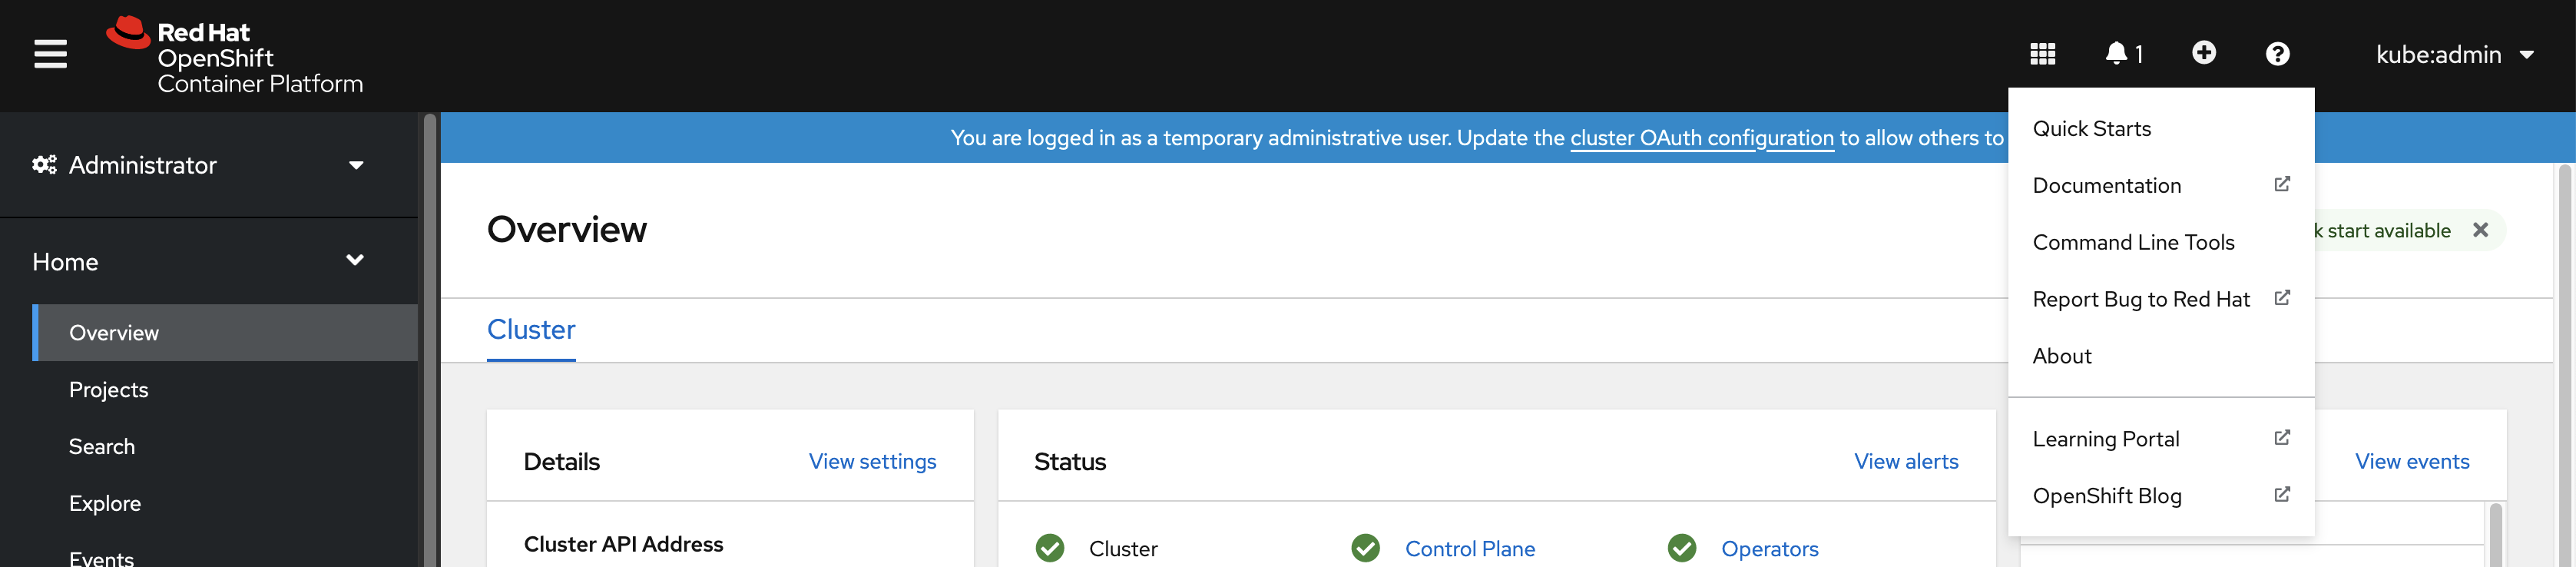
명령줄 툴 을 클릭합니다.
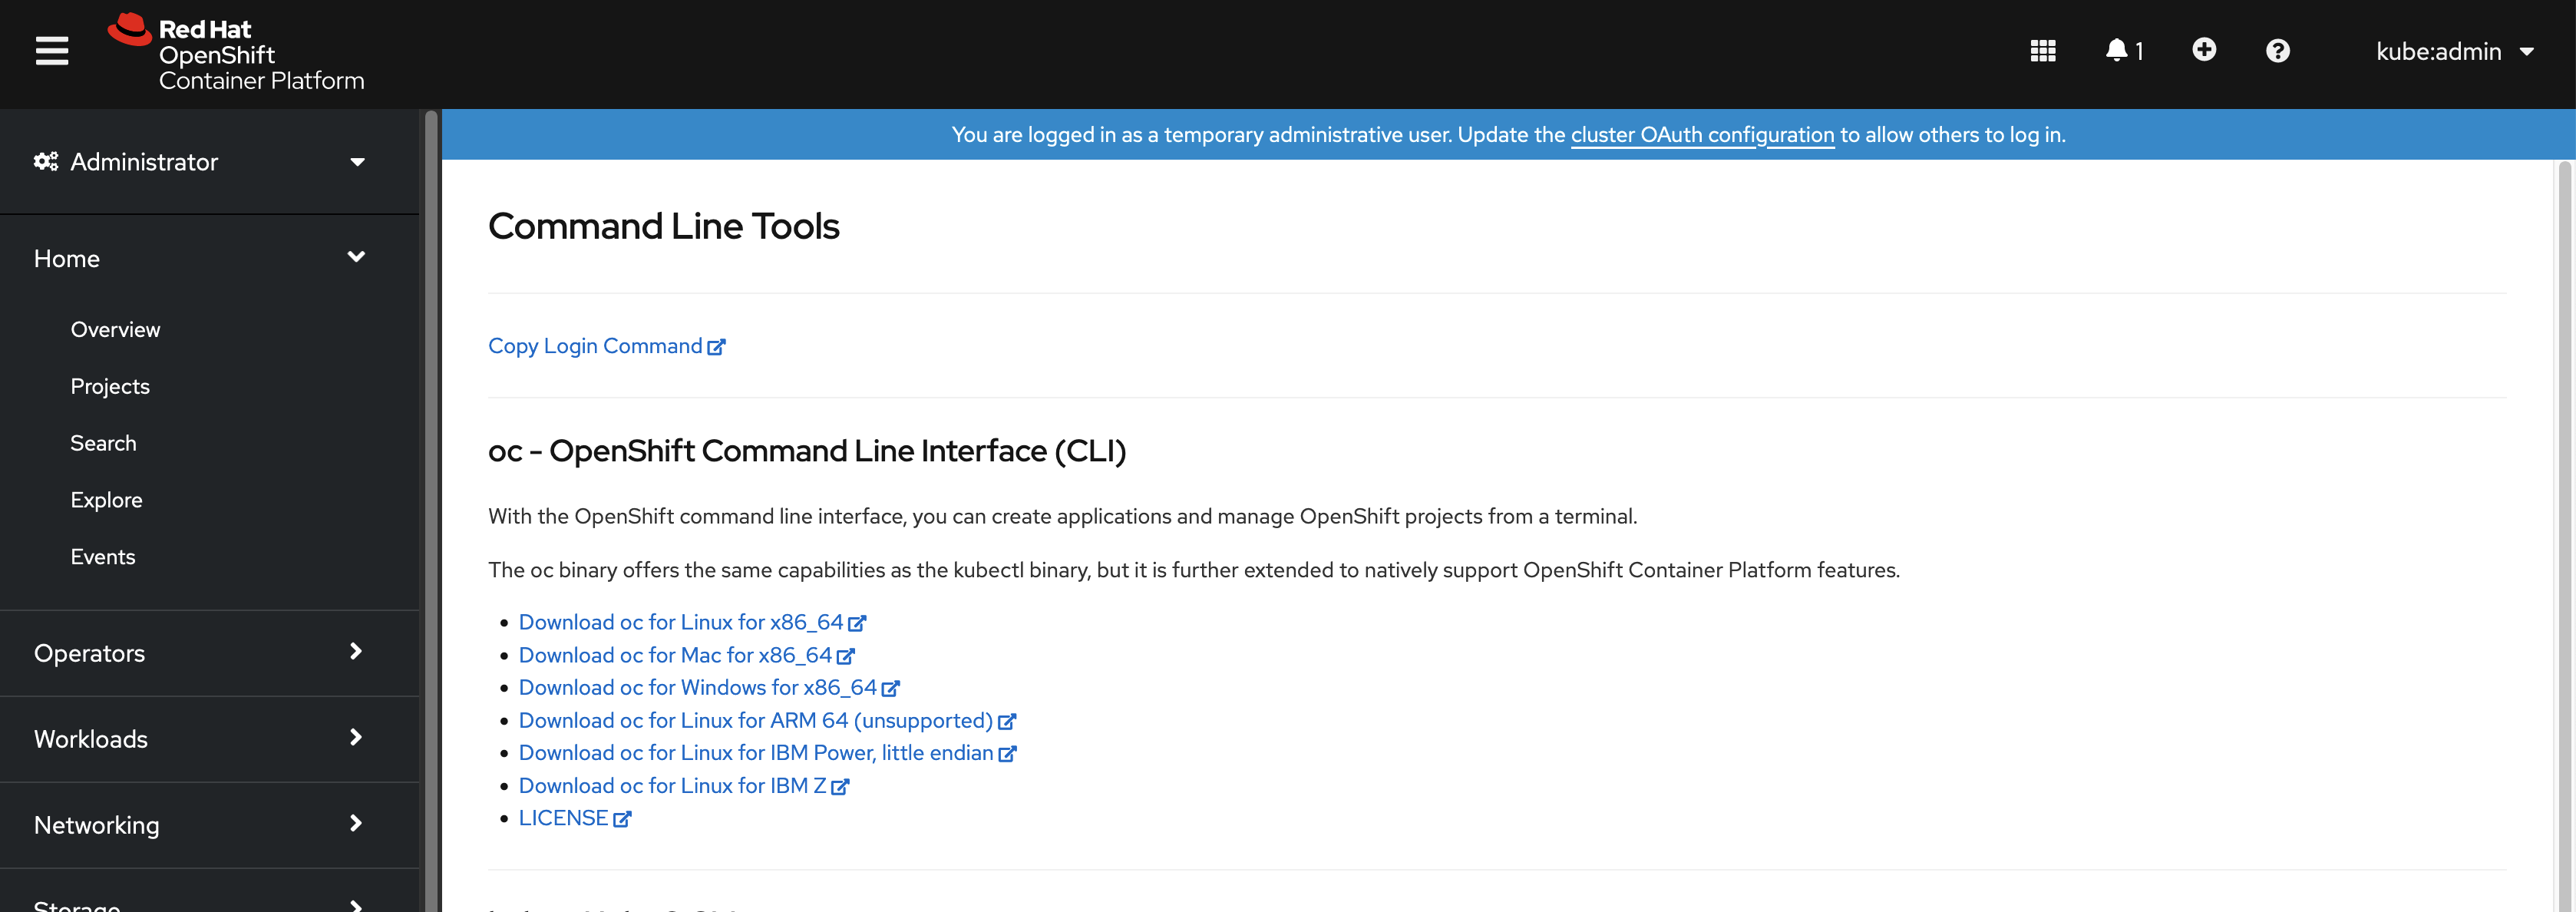
-
Linux 플랫폼에 적합한
oc바이너리를 선택한 다음 Linux용 oc 용으로 다운로드를 클릭합니다. - 파일을 저장합니다.
아카이브의 압축을 풉니다.
$ tar xvf <file>oc바이너리를PATH에 있는 디렉터리로 이동합니다.PATH를 확인하려면 다음 명령을 실행합니다.$ echo $PATH
OpenShift CLI를 설치한 후 oc 명령을 사용할 수 있습니다.
$ oc <command>2.1.2.2.2. 웹 콘솔을 사용하여 Windows에 OpenShift CLI 설치
다음 절차에 따라 Windows에 OpenShift CLI(oc) 바이너리를 설치할 수 있습니다.
프로세스
웹 콘솔에서 ? 를 클릭합니다.
명령줄 툴 을 클릭합니다.
-
oc바이너리 for Windows 플랫폼을 선택한 다음 Download oc for Windows for x86_64 를 클릭합니다. - 파일을 저장합니다.
- ZIP 프로그램으로 아카이브의 압축을 풉니다.
oc바이너리를PATH에 있는 디렉터리로 이동합니다.PATH를 확인하려면 명령 프롬프트를 열고 다음 명령을 실행합니다.C:\> path
OpenShift CLI를 설치한 후 oc 명령을 사용할 수 있습니다.
C:\> oc <command>2.1.2.2.3. 웹 콘솔을 사용하여 macOS에 OpenShift CLI 설치
다음 절차에 따라 macOS에서 OpenShift CLI(oc) 바이너리를 설치할 수 있습니다.
프로세스
웹 콘솔에서 ? 를 클릭합니다.
명령줄 툴 을 클릭합니다.
macOS 플랫폼용
oc바이너리를 선택한 다음 x86_64용 oc for Mac 다운로드를 클릭합니다.참고macOS arm64의 경우 Mac용 oc for ARM 64 다운로드를 클릭합니다.
- 파일을 저장합니다.
- 아카이브의 압축을 해제하고 압축을 풉니다.
oc바이너리 PATH의 디렉터리로 이동합니다.PATH를 확인하려면 터미널을 열고 다음 명령을 실행합니다.$ echo $PATH
OpenShift CLI를 설치한 후 oc 명령을 사용할 수 있습니다.
$ oc <command>2.1.2.3. RPM을 사용하여 OpenShift CLI 설치
RHEL(Red Hat Enterprise Linux)의 경우 Red Hat 계정에 활성 OpenShift Container Platform 서브스크립션이 있으면 OpenShift CLI(oc)를 RPM으로 설치할 수 있습니다.
바이너리를 다운로드하여 RHEL 9용 oc 를 설치해야 합니다. RPM 패키지를 사용하여 oc 를 설치하는 것은 RHEL(Red Hat Enterprise Linux) 9에서 지원되지 않습니다.
사전 요구 사항
- root 또는 sudo 권한이 있어야 합니다.
프로세스
Red Hat Subscription Manager에 등록합니다.
# subscription-manager register최신 서브스크립션 데이터를 가져옵니다.
# subscription-manager refresh사용 가능한 서브스크립션을 나열하십시오.
# subscription-manager list --available --matches '*OpenShift*'이전 명령의 출력에서 OpenShift Container Platform 서브스크립션의 풀 ID를 찾아서 이 서브스크립션을 등록된 시스템에 연결합니다.
# subscription-manager attach --pool=<pool_id>OpenShift Container Platform 4.15에 필요한 리포지토리를 활성화합니다.
# subscription-manager repos --enable="rhocp-4.15-for-rhel-8-x86_64-rpms"openshift-clients패키지를 설치합니다.# yum install openshift-clients
검증
-
oc명령을 사용하여 설치를 확인합니다.
$ oc <command>2.1.2.4. Homebrew를 사용하여 OpenShift CLI 설치
macOS의 경우 Homebrew 패키지 관리자를 사용하여 OpenShift CLI(oc)를 설치할 수 있습니다.
사전 요구 사항
-
Homebrew(
brew)가 설치되어 있어야 합니다.
프로세스
다음 명령을 실행하여 openshift-cli 패키지를 설치합니다.
$ brew install openshift-cli
검증
-
oc명령을 사용하여 설치를 확인합니다.
$ oc <command>2.1.3. OpenShift CLI에 로그인
OpenShift CLI (oc) 에 로그인하면 클러스터에 액세스하여 관리할 수 있습니다.
사전 요구 사항
- OpenShift Container Platform 클러스터에 대한 액세스 권한이 있어야 합니다.
-
OpenShift CLI(
oc)가 설치되어 있어야 합니다.
HTTP 프록시 서버를 통해서만 액세스할 수 있는 클러스터에 액세스하려면 HTTP_PROXY, HTTPS_PROXY 및 NO_PROXY 변수를 설정할 수 있습니다. oc CLI에서는 이러한 환경 변수를 준수하므로 클러스터와의 모든 통신이 HTTP 프록시를 통해 이루어집니다.
인증 헤더는 HTTPS 전송을 사용하는 경우에만 전송됩니다.
프로세스
oc login명령을 입력하고 사용자 이름을 전달합니다.$ oc login -u user1프롬프트가 표시되면 필요한 정보를 입력합니다.
출력 예
Server [https://localhost:8443]: https://openshift.example.com:64431 The server uses a certificate signed by an unknown authority. You can bypass the certificate check, but any data you send to the server could be intercepted by others. Use insecure connections? (y/n): y2 Authentication required for https://openshift.example.com:6443 (openshift) Username: user1 Password:3 Login successful. You don't have any projects. You can try to create a new project, by running oc new-project <projectname> Welcome! See 'oc help' to get started.
웹 콘솔에 로그인한 경우 토큰 및 서버 정보를 포함하는 oc login 명령을 생성할 수 있습니다. 명령을 사용하여 대화형 프롬프트 없이 OpenShift Container Platform CLI에 로그인할 수 있습니다. 명령을 생성하려면 웹 콘솔의 오른쪽 상단에 있는 사용자 이름 드롭다운 메뉴에서 로그인 복사 명령을 선택합니다.
이제 클러스터를 관리하기 위한 프로젝트를 생성하거나 다른 명령을 실행할 수 있습니다.
2.1.4. 웹 브라우저를 사용하여 OpenShift CLI에 로그인
웹 브라우저의 도움말을 사용하여 OpenShift CLI(oc)에 로그인하여 클러스터에 액세스하고 관리할 수 있습니다. 이를 통해 사용자는 액세스 토큰을 명령줄에 삽입하지 않을 수 있습니다.
웹 브라우저를 통해 CLI에 로그인하면 HTTPS가 아닌 localhost에서 서버를 실행합니다. 다중 사용자 워크스테이션에서 주의해서 사용합니다.
사전 요구 사항
- OpenShift Container Platform 클러스터에 대한 액세스 권한이 있어야 합니다.
-
OpenShift CLI(
oc)가 설치되어 있어야 합니다. - 브라우저가 설치되어 있어야 합니다.
프로세스
--web플래그를 사용하여oc login명령을 입력합니다.$ oc login <cluster_url> --web1 - 1
- 선택적으로 서버 URL 및 콜백 포트를 지정할 수 있습니다. 예:
oc login <cluster_url> --web --callback-port 8280 localhost:8443.
웹 브라우저가 자동으로 열립니다. 그렇지 않은 경우 명령 출력의 링크를 클릭합니다. OpenShift Container Platform 서버를 지정하지 않으면
oc는 현재oc구성 파일에 지정된 클러스터의 웹 콘솔을 엽니다.oc구성이 없는 경우oc에서 서버 URL을 대화형으로 입력하라는 메시지를 표시합니다.출력 예
Opening login URL in the default browser: https://openshift.example.com Opening in existing browser session.- 둘 이상의 ID 공급자를 사용할 수 있는 경우 제공된 옵션에서 선택한 항목을 선택합니다.
-
해당 브라우저 필드에 사용자 이름과 암호를 입력합니다. 로그인한 후 브라우저에
access token received successfully; please return to your terminal라는 텍스트가 표시됩니다. CLI에서 로그인 확인을 확인합니다.
출력 예
Login successful. You don't have any projects. You can try to create a new project, by running oc new-project <projectname>
웹 콘솔은 기본적으로 이전 세션에서 사용된 프로필로 설정됩니다. 관리자와 개발자 프로필 간에 전환하려면 OpenShift Container Platform 웹 콘솔에서 로그아웃하고 캐시를 지웁니다.
이제 클러스터를 관리하기 위한 프로젝트를 생성하거나 다른 명령을 실행할 수 있습니다.
2.1.5. OpenShift CLI 사용
다음 섹션을 검토하여 CLI로 일반적인 작업을 완료하는 방법을 알아봅니다.
2.1.5.1. 프로젝트 생성
oc new-project 명령을 사용하여 새 프로젝트를 생성합니다.
$ oc new-project my-project출력 예
Now using project "my-project" on server "https://openshift.example.com:6443".2.1.5.2. 새 애플리케이션 생성
oc new-app 명령을 사용하여 새 애플리케이션을 생성합니다.
$ oc new-app https://github.com/sclorg/cakephp-ex출력 예
--> Found image 40de956 (9 days old) in imagestream "openshift/php" under tag "7.2" for "php"
...
Run 'oc status' to view your app.2.1.5.3. Pod 보기
oc get pods 명령을 사용하여 현재 프로젝트의 Pod를 봅니다.
Pod 내부에서 oc 를 실행하고 네임스페이스를 지정하지 않으면 기본적으로 Pod의 네임스페이스가 사용됩니다.
$ oc get pods -o wide출력 예
NAME READY STATUS RESTARTS AGE IP NODE NOMINATED NODE
cakephp-ex-1-build 0/1 Completed 0 5m45s 10.131.0.10 ip-10-0-141-74.ec2.internal <none>
cakephp-ex-1-deploy 0/1 Completed 0 3m44s 10.129.2.9 ip-10-0-147-65.ec2.internal <none>
cakephp-ex-1-ktz97 1/1 Running 0 3m33s 10.128.2.11 ip-10-0-168-105.ec2.internal <none>2.1.5.4. Pod 로그 보기
oc logs 명령을 사용하여 특정 Pod의 로그를 봅니다.
$ oc logs cakephp-ex-1-deploy출력 예
--> Scaling cakephp-ex-1 to 1
--> Success2.1.5.5. 현재 프로젝트 보기
oc project 명령을 사용하여 현재 프로젝트를 봅니다.
$ oc project출력 예
Using project "my-project" on server "https://openshift.example.com:6443".2.1.5.6. 현재 프로젝트의 상태 보기
oc status 명령을 사용하여 서비스, 배포, 빌드 구성 등 현재 프로젝트에 대한 정보를 봅니다.
$ oc status출력 예
In project my-project on server https://openshift.example.com:6443
svc/cakephp-ex - 172.30.236.80 ports 8080, 8443
dc/cakephp-ex deploys istag/cakephp-ex:latest <-
bc/cakephp-ex source builds https://github.com/sclorg/cakephp-ex on openshift/php:7.2
deployment #1 deployed 2 minutes ago - 1 pod
3 infos identified, use 'oc status --suggest' to see details.2.1.5.7. 지원되는 API 리소스 나열
oc api-resources 명령을 사용하여 서버에서 지원되는 API 리소스 목록을 봅니다.
$ oc api-resources출력 예
NAME SHORTNAMES APIGROUP NAMESPACED KIND
bindings true Binding
componentstatuses cs false ComponentStatus
configmaps cm true ConfigMap
...2.1.6. 도움말 가져오기
다음과 같은 방법으로 CLI 명령 및 OpenShift Container Platform 리소스에 대한 도움말을 얻을 수 있습니다.
oc help를 사용하여 모든 사용 가능한 CLI 명령 목록 및 설명을 가져옵니다.예: CLI에 대한 일반적인 도움말 가져오기
$ oc help출력 예
OpenShift Client This client helps you develop, build, deploy, and run your applications on any OpenShift or Kubernetes compatible platform. It also includes the administrative commands for managing a cluster under the 'adm' subcommand. Usage: oc [flags] Basic Commands: login Log in to a server new-project Request a new project new-app Create a new application ...--help플래그를 사용하여 특정 CLI 명령에 대한 도움말을 가져옵니다.예:
oc create명령에 대한 도움말 가져오기$ oc create --help출력 예
Create a resource by filename or stdin JSON and YAML formats are accepted. Usage: oc create -f FILENAME [flags] ...oc explain명령을 사용하여 특정 리소스에 대한 설명 및 필드를 봅니다.예:
Pod리소스에 대한 문서 보기$ oc explain pods출력 예
KIND: Pod VERSION: v1 DESCRIPTION: Pod is a collection of containers that can run on a host. This resource is created by clients and scheduled onto hosts. FIELDS: apiVersion <string> APIVersion defines the versioned schema of this representation of an object. Servers should convert recognized schemas to the latest internal value, and may reject unrecognized values. More info: https://git.k8s.io/community/contributors/devel/api-conventions.md#resources ...
2.1.7. OpenShift CLI에서 로그아웃
OpenShift CLI에서 로그아웃하여 현재 세션을 종료할 수 있습니다.
oc logout명령을 사용합니다.$ oc logout출력 예
Logged "user1" out on "https://openshift.example.com"
이렇게 하면 저장된 인증 토큰이 서버에서 삭제되고 구성 파일에서 제거됩니다.